I’m a certified tailor! Here’s my final project.
Last post, I showed you my design for the Night and Day dress but I’m still trying to get my mitts on a pattern, so that project is on hold for the moment.
This summer, I took my final exams for the bespoke women’s tailoring certification I’ve been working towards. The biggest part was practical portion of the exams: sew a two-piece garment in 40 hours.
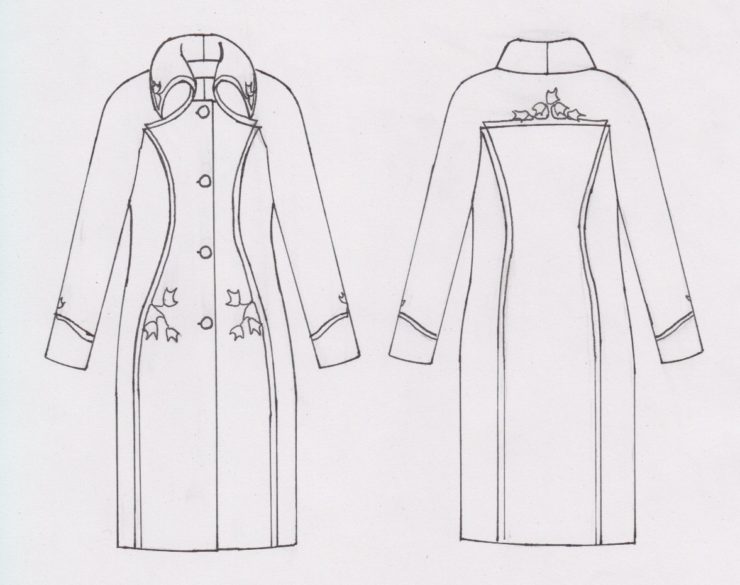
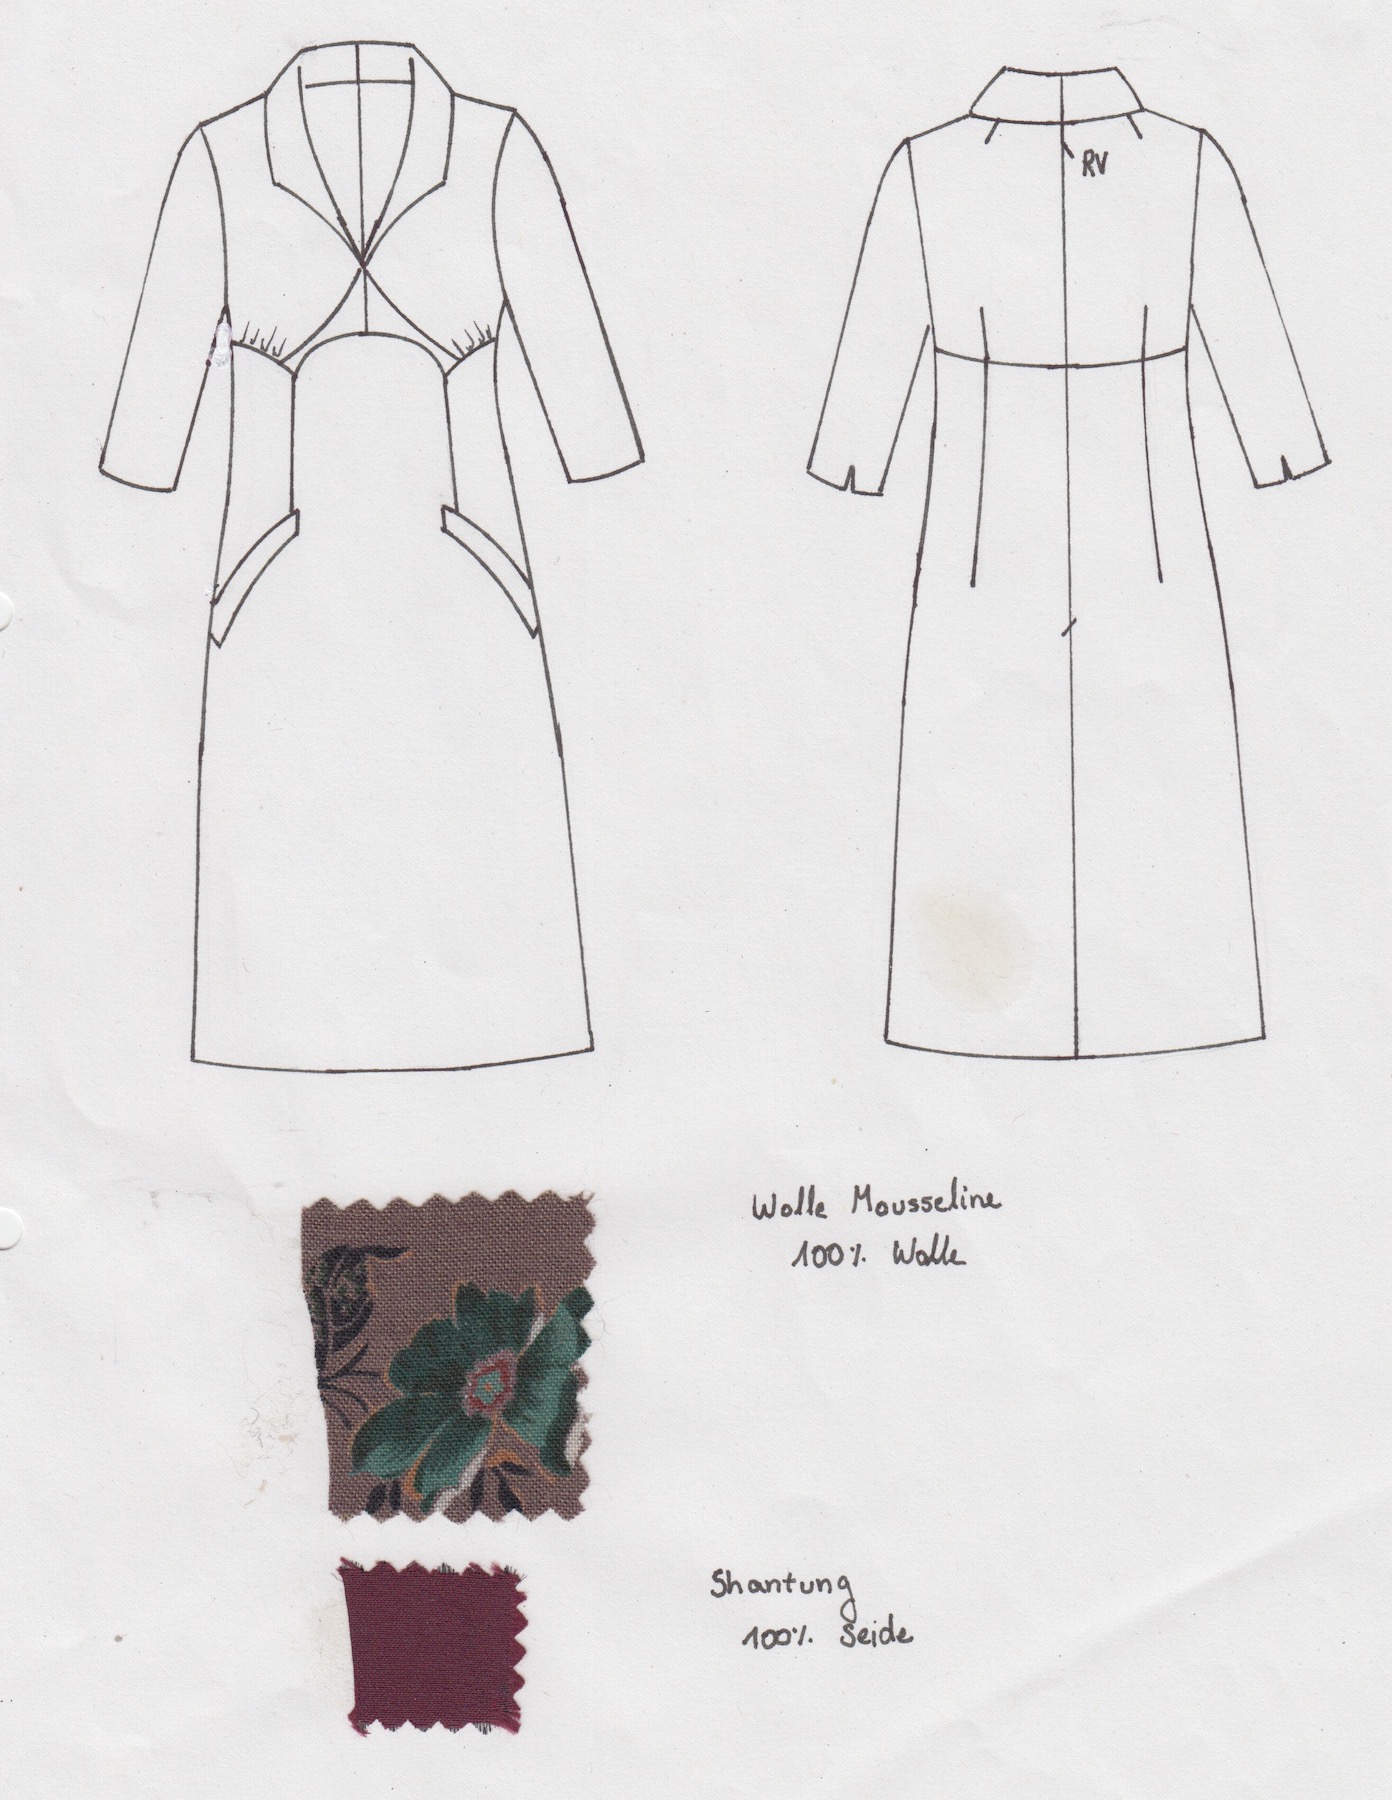
I had to submit a design beforehand that fulfilled certain specifications, like having a collar, set-in sleeves, welt pockets, a slit, and and some type of embellishment technique.
Most people go for the safe choice and make a plain blazer and pencil skirt.
But I wanted something I would wear afterwards – and I’m insane – so I chose to make a coordinating coat and dress:
Once that was approved, my boss and I made the patterns, then I made a sample version. Here’s my test coat, nearly finished. Just the coat took 34 hours – eek! I knew I’d have to work much faster in the exam to finish the dress as well.
Once the samples were done, I cut out the real garments and basted them together to test the fit. Then I had to take them back apart because I was only allowed to bring cut-out, but unsewn pieces to the exam, plus notions and supplies.
The exam itself took place in a workshop with 7 other students, watched over by a proctor sent by the examination board. If anyone handed in an incomplete project at the end of that week, the best grade they could hope for was a barely-passing C. No pressure!
It’s 2 days before the exam in this picture, and I was just as exhausted as I look. It’s clear by this point that I’ll be hard-pressed to finish dress and coat in the alotted time. But there’s no way to change it!
During the exam, I sewed faster than I ever have before. Since I didn’t have time to make mistakes, my strategy was to drop any part of the project that went wrong, and move onto something else. Then, in the evening, I’d practice the part where I made mistake at home on scraps. That way I could fix it in the exam really fast the next day.
I needed that strategy – due to the fabric being different from my sample – my first attempt at bound buttonholes in the coat were a catastrophe. Also, the slits on my dress’s sleeves completely unravelled on my first try!!
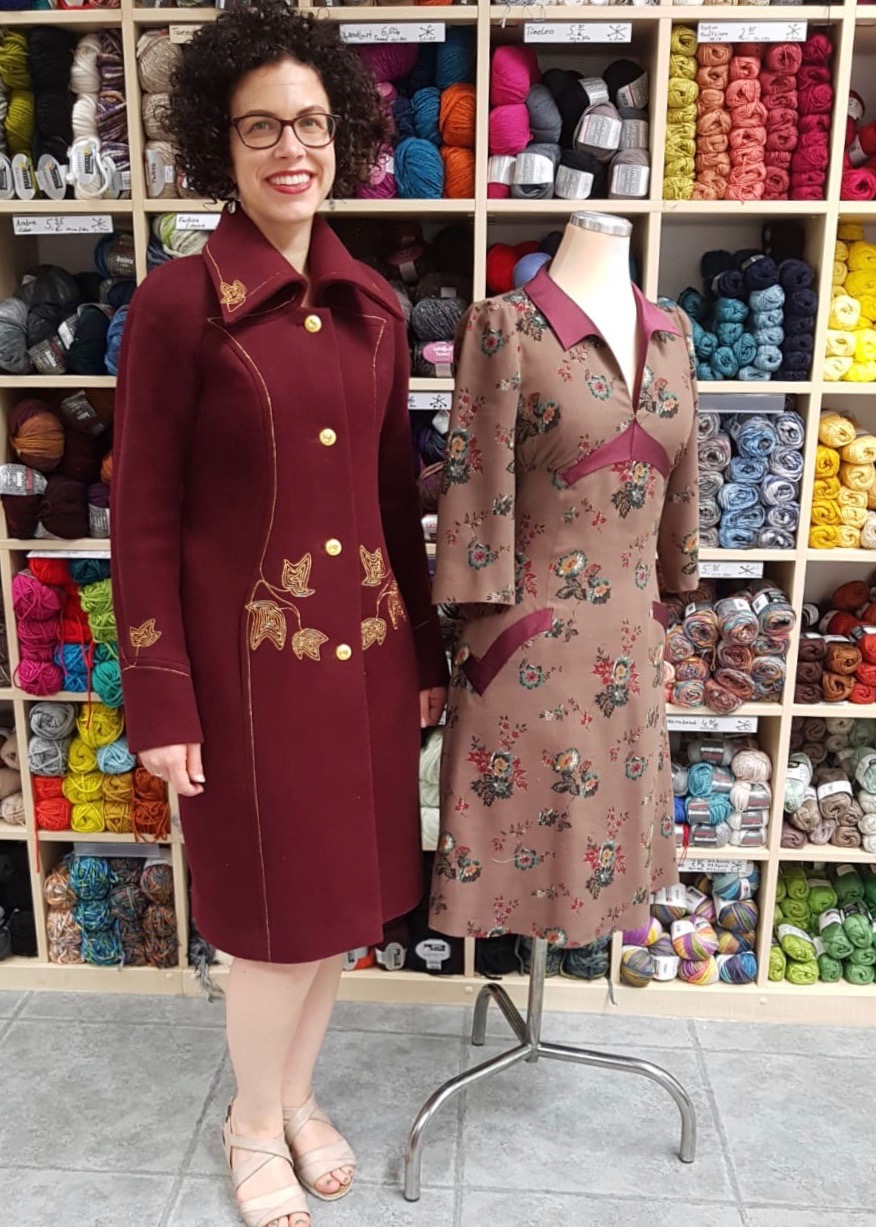
But I managed to fix everything and finish everything! Here’s me at graduation, trying on my exam outfit for the first time:
The dress has these unusual hook-shaped welt pockets that I’m really proud of. I made a lot of practice pockets beforehand to get them right:
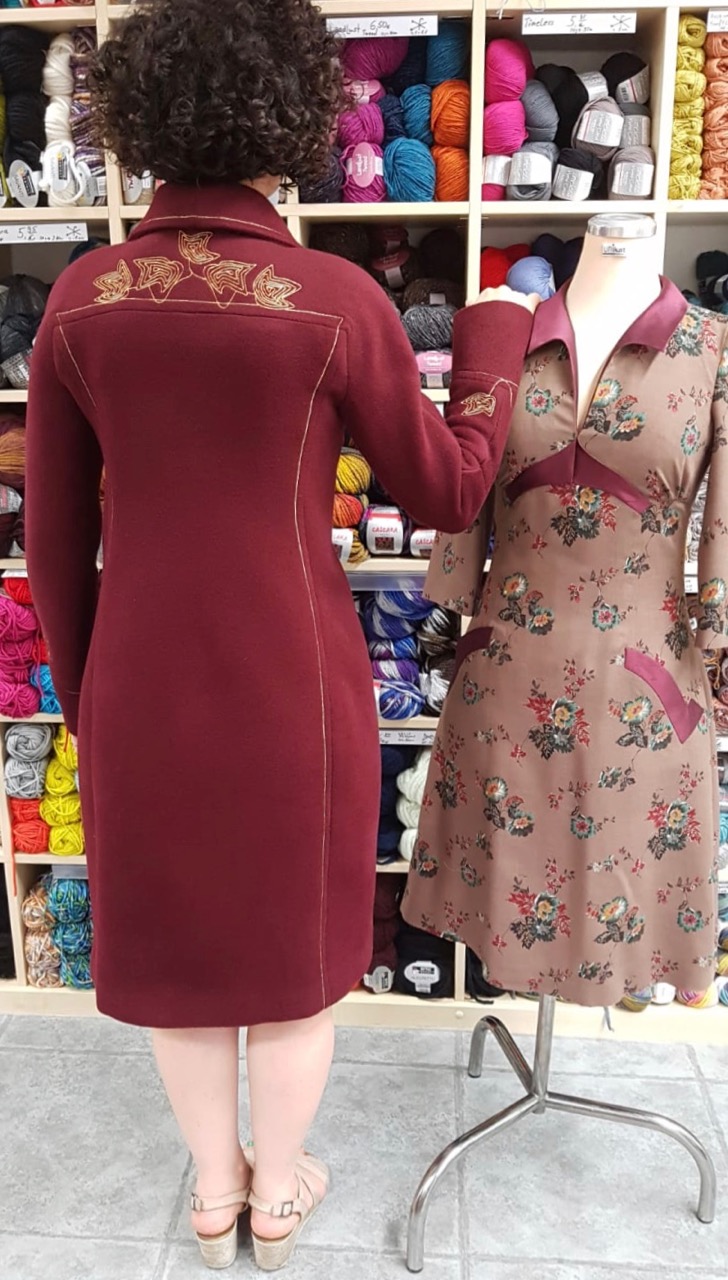
The coat has nearly-invisible pockets in the curved princess seam. But the more obvious feature is my embellishment, which is gold braid couched on using a zig-zag stitch.
I couched the leaves onto the fabric in the exam before I sewed the coat together. Since the cord spirals inwards on each leaf, I had to turn the fabric around and around under the machine. So the smaller the pieces of fabric were, the easier they were to work with.

I used metallic gold thread to zig-zag over the gold cord. It’s absolutely essential that the thread is blends into the braid, so that it’s not apparent if I go over a spot more than once.
On my photo of my test coat, I couched on turquoise-colored cotton yarn. I used invisible thread, which blended in even better than perfectly matched turquoise thread.
Now that it’s over, I’m glad that I pushed my limits on how much I could finish. I learned a lot and built up my resilience in the process.
And I’ve got this great new outfit to boot!


Saba
Wow both the coats look amazing, thank you for the detailed instructions on the couched braid trim it looks like so much hard work and the result is spectacular!
Robin Hunter
Congrats Helen!!!! Absolutely beautiful and an amazing growth opportunity fir you professionally! Robin
Britt
So awesome! I had been wondering what you had been getting up to!
Gina
So beautiful!!
Kait Kerin
Congratulations, Helen! Amazing work! I never would have guessed that detailing was done by machine. So nice! And that red fabric is beautiful!
Virginia
Wow!!!!! You are a sewing superhero. I am in awe you sewed all this in 40 hours and finished, even with some hiccups along the way! Incredible job!!!
Helen
Thank you!
Lynne
Oh my goodness! I have no words for how amazing your coat and dress are! I LOVE the leaf embellishment on the coat, and the shape of the collar. And am I right in saying that the dress zip stops below the centre back of the collar? It would make sense, as the neckline is then wide enough to pull over your head. I’ve never seen this before, and it is genius! You did an amazing job, and I’ll be saving this post for inspiration.
Bosco
Superb workmanship! I particularly like the the coat.
Congratulations!