How I trimmed Jokerette’s skirt (and almost tore my hair out in frustration)
- No Comments
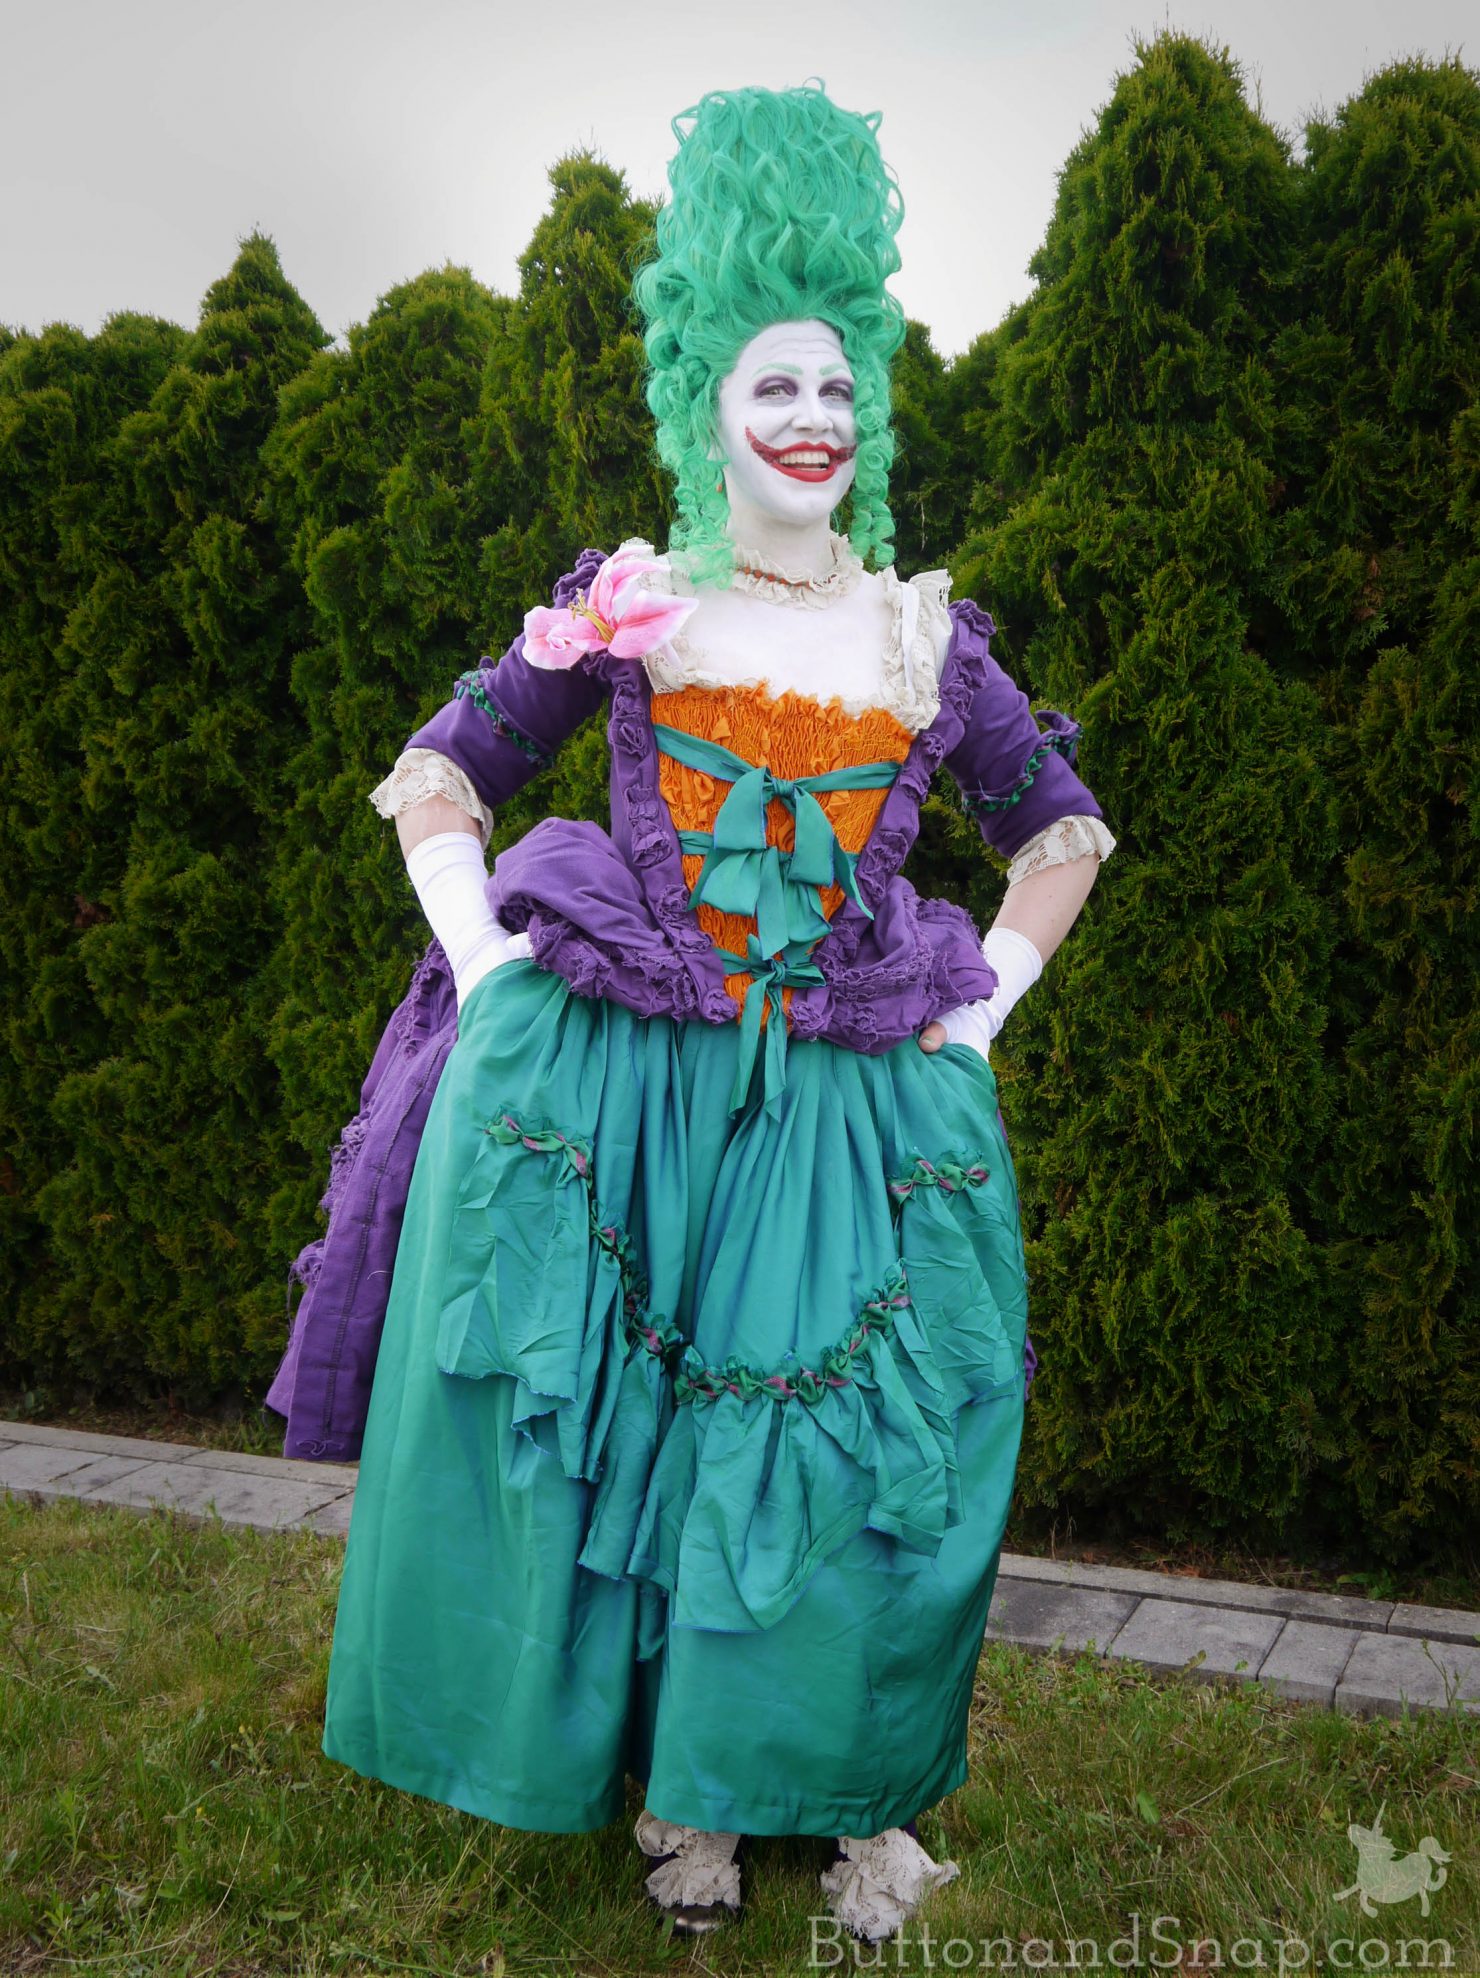
Jokerette’s skirt is made from the same pattern I used for her petticoats – trimmed with a raggedy ruffle and striped puffs of silk. It’s made from an iridescent taffeta I had in my stash. Yay stashbusting! Iridescent fabric didn’t exist in the 18th century, but that’s a detail I’m willing to overlook for this costume.
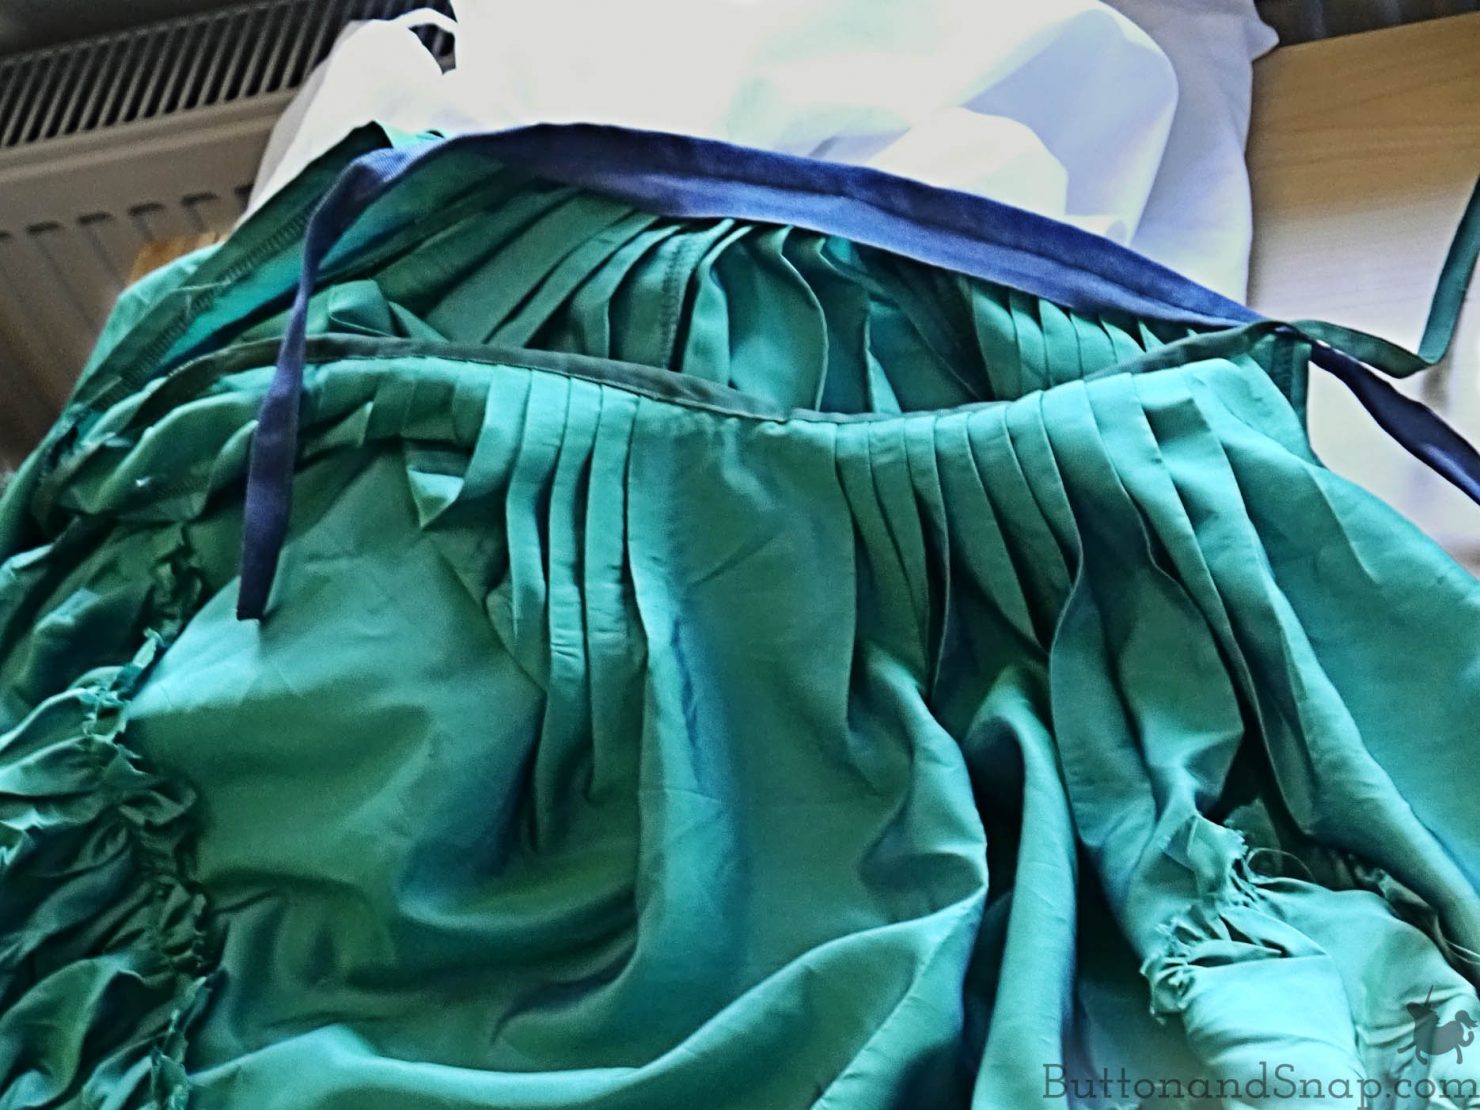
I used every scrap of the fabric, which was only about 2.5 yards long. The back of the skirt, which will be hidden by the overdress, is pieced together.
So is the ruffle – which I left unhemmed because I didn’t want it to be any shorter than the scrap of fabric I had. Since I didn’t have any fabric left, I finished the waistband with grosgrain ribbon. It’s mismatched because I was, once again, using what I had – and nobody will ever see it.
Last of all, I used scraps from hemming the skirt to make the “ribbons” on the stomacher and cover buttons for the purple overdress.
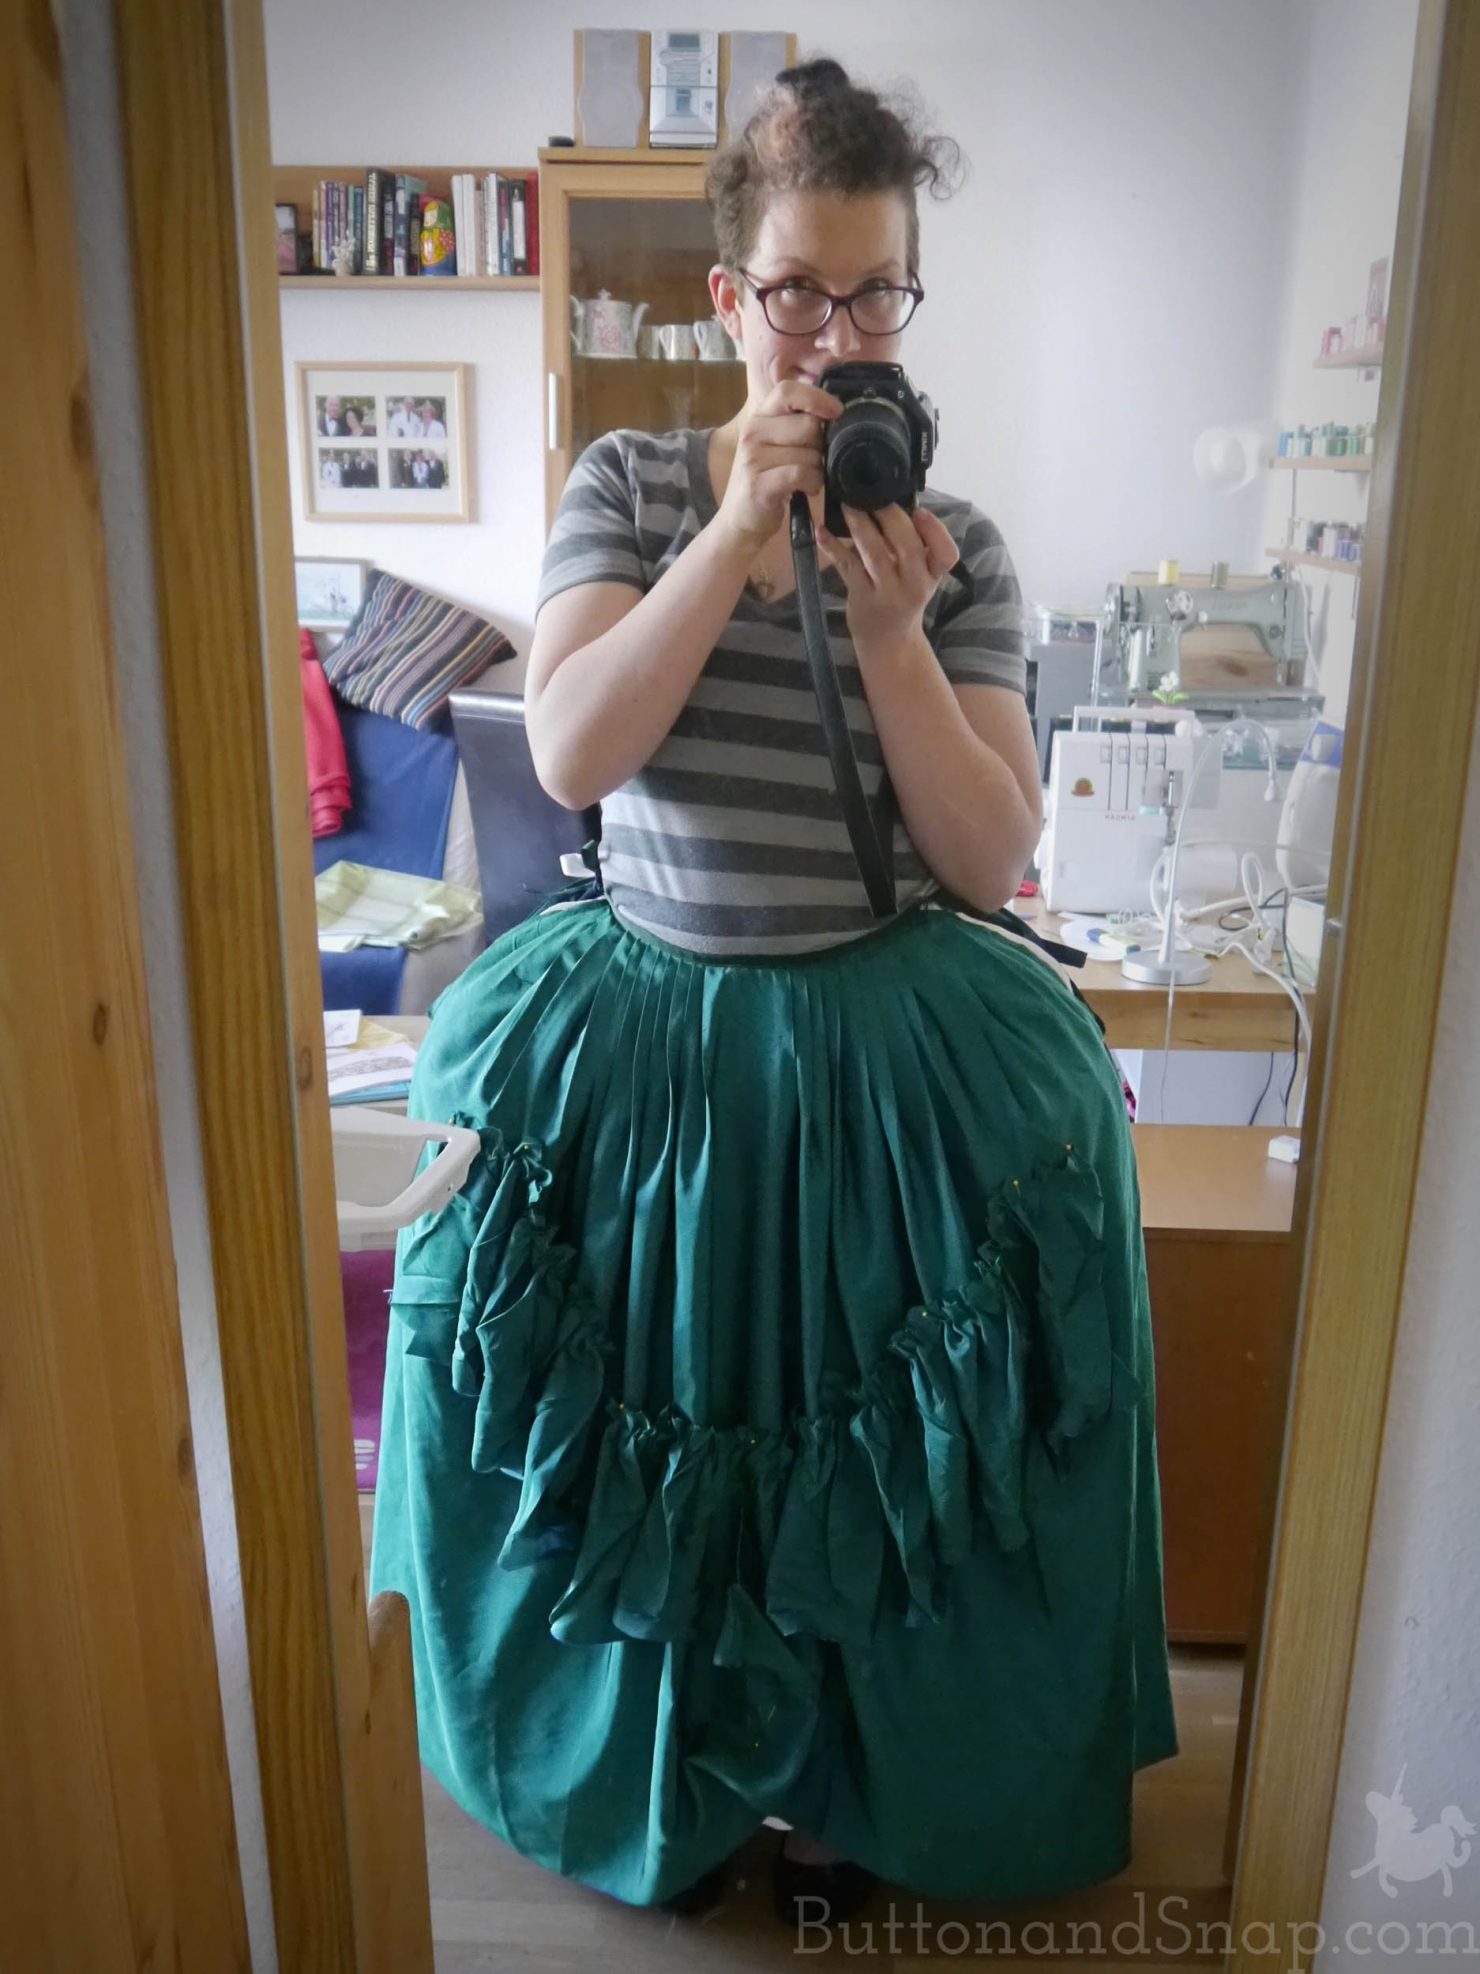
After making the skirt itself (which was exactly the same as the last two petticoats) I was looking forward to embellishing it! I had drawn a row of pleats at knee height in my original design. However, I didn’t have enough fabric for pleats. So instead, I made a gathered ruffle.
When I made the ruffle, I TRIED to make every mistake in the book. I ruched it using a jagged gathering stitch, and I caught other parts of the fabric into my stitching in spots. At other points, I ran off the edge.
Then I cut the top edge in uneven zig-zag shapes, a perversion of the neatly pinked edges on other gowns. I finished my work with a round under the iron to press IN as many wrinkles as I could.
Once satisfied with the disheveled state of my ruffle, I put on my undergarments and skirt so I could determine the placement. I knew I wanted the piece to hang in a crescent shape halfway up the skirt. Nevertheless, I had to experiment a bit before I was satisfied with the curve and the height of the embellishment.
If I were doing this again, I would hem the skirt before I attached the ruffle. That way, I would have that I had the best possible view of the skirt’s proportions as I decided where the ruffle goes.
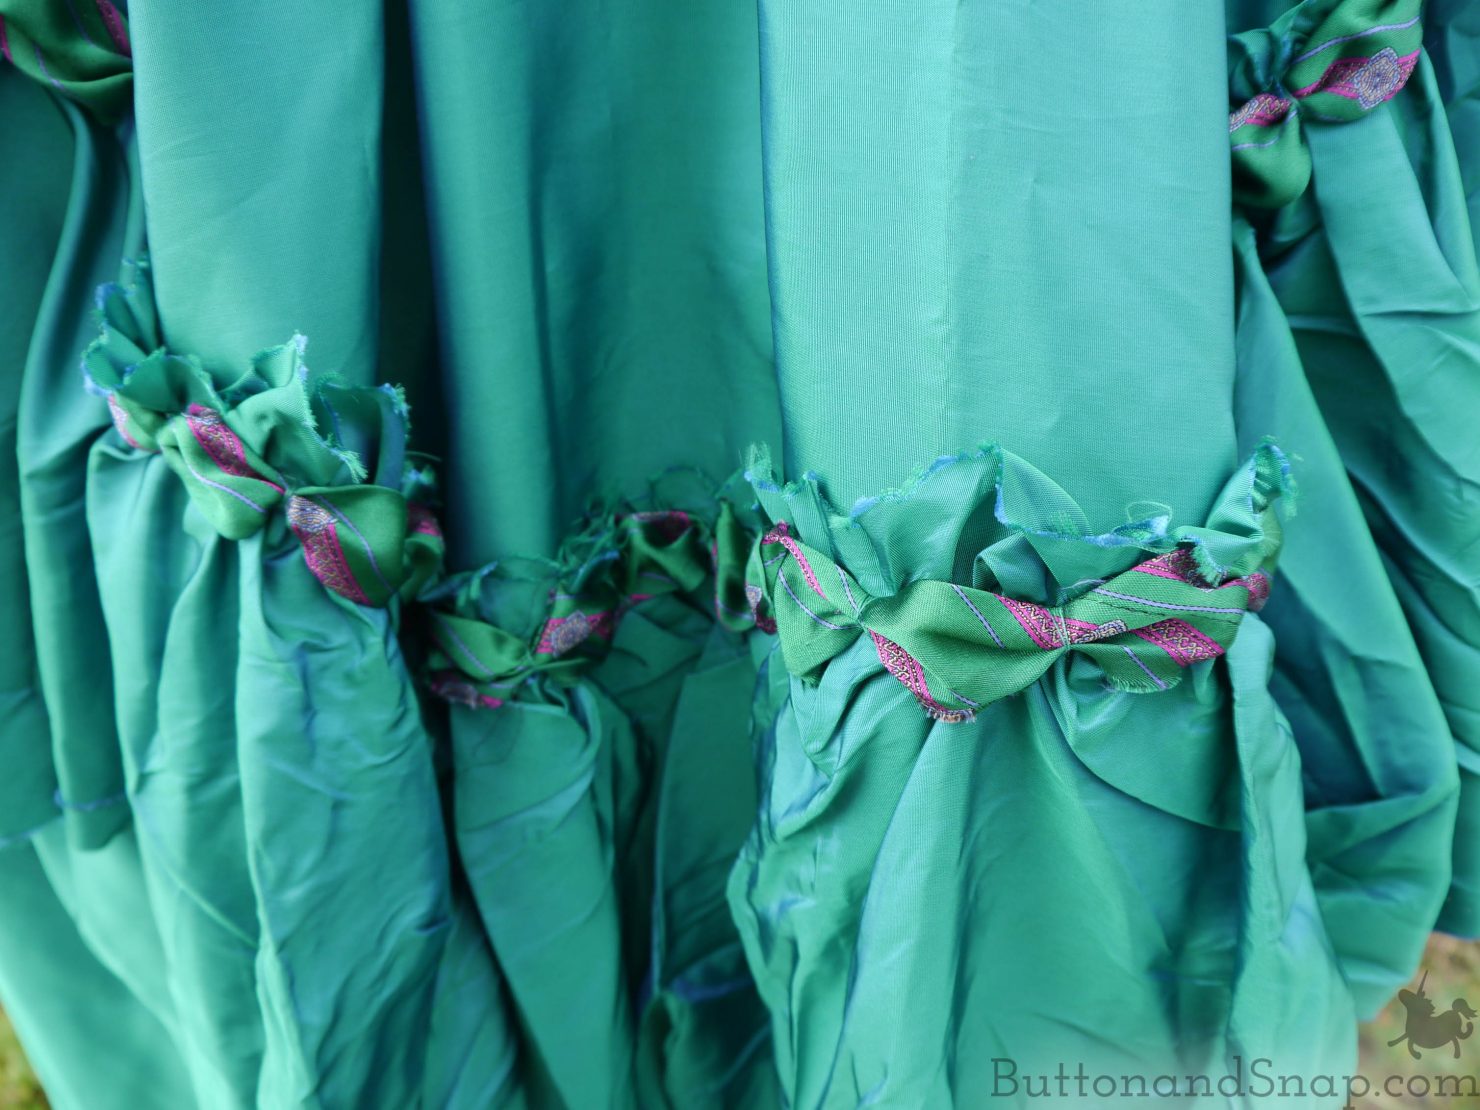
After machine-sewing the ruffle onto the skirt on using a straight stitch, I was ready to attach some trim. I want to add a row of little puffs in contrasting fabric along the top. The key to making these is to use fabric cut on the bias (on the diagonal – at a 45° angle to the grain), which is more flexible because of its cut. Because of this, I can get it to fold tightly together between the puffs, but fan out nice and wide in the middle of each puff.
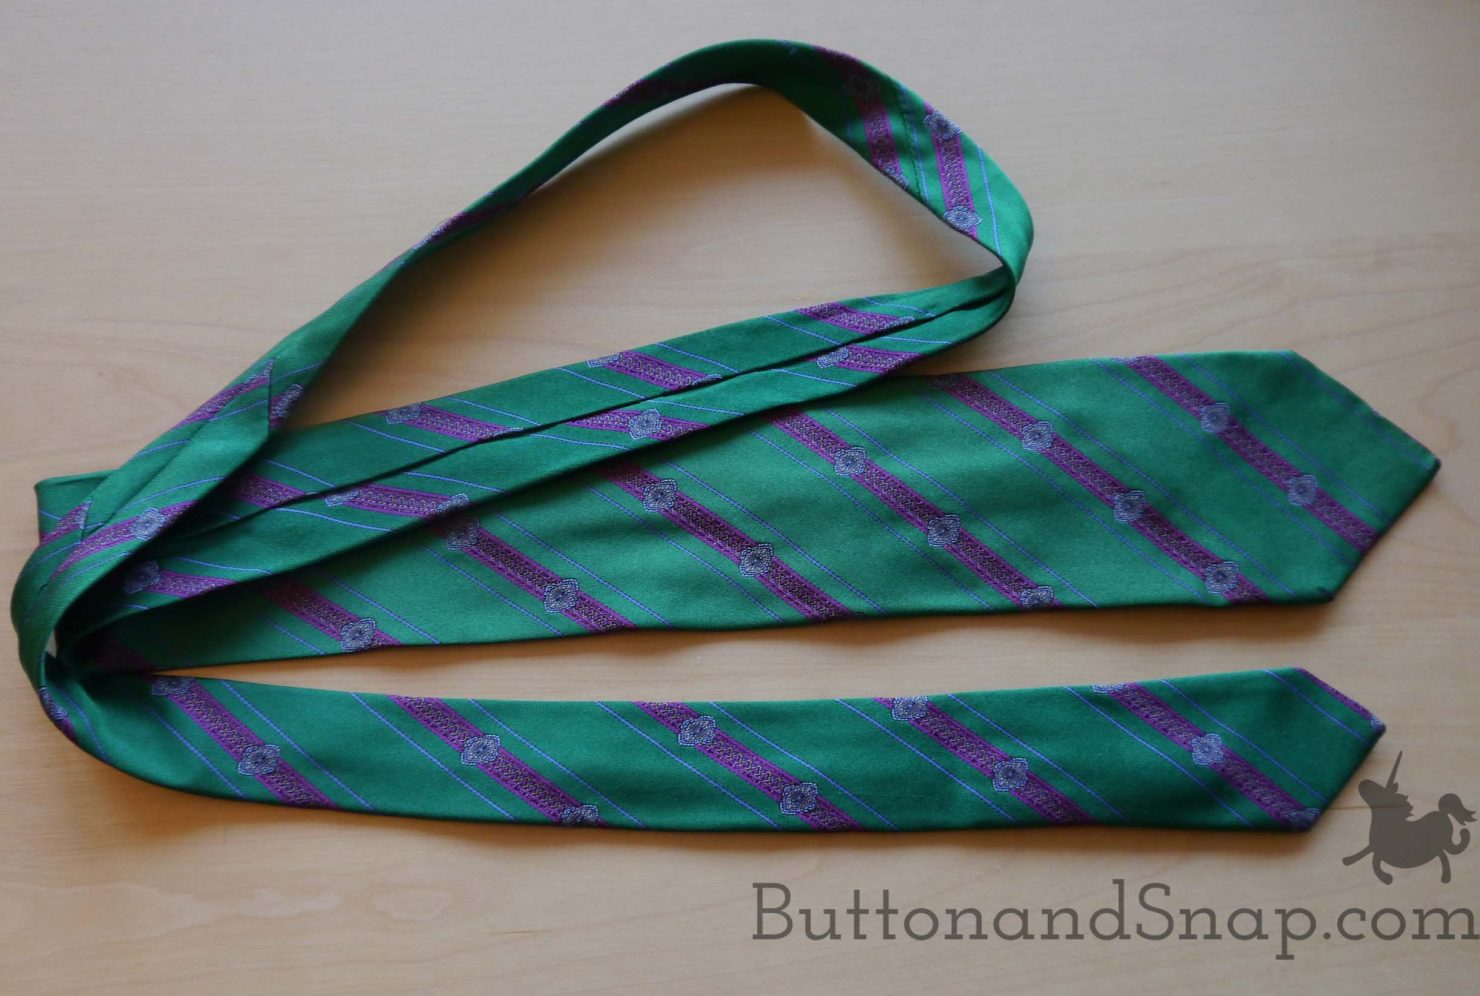
I made the trim from a striped green and purple men’s tie I found at a thrift store. Men’s ties are always cut on the bias, so they are perfect for this application.
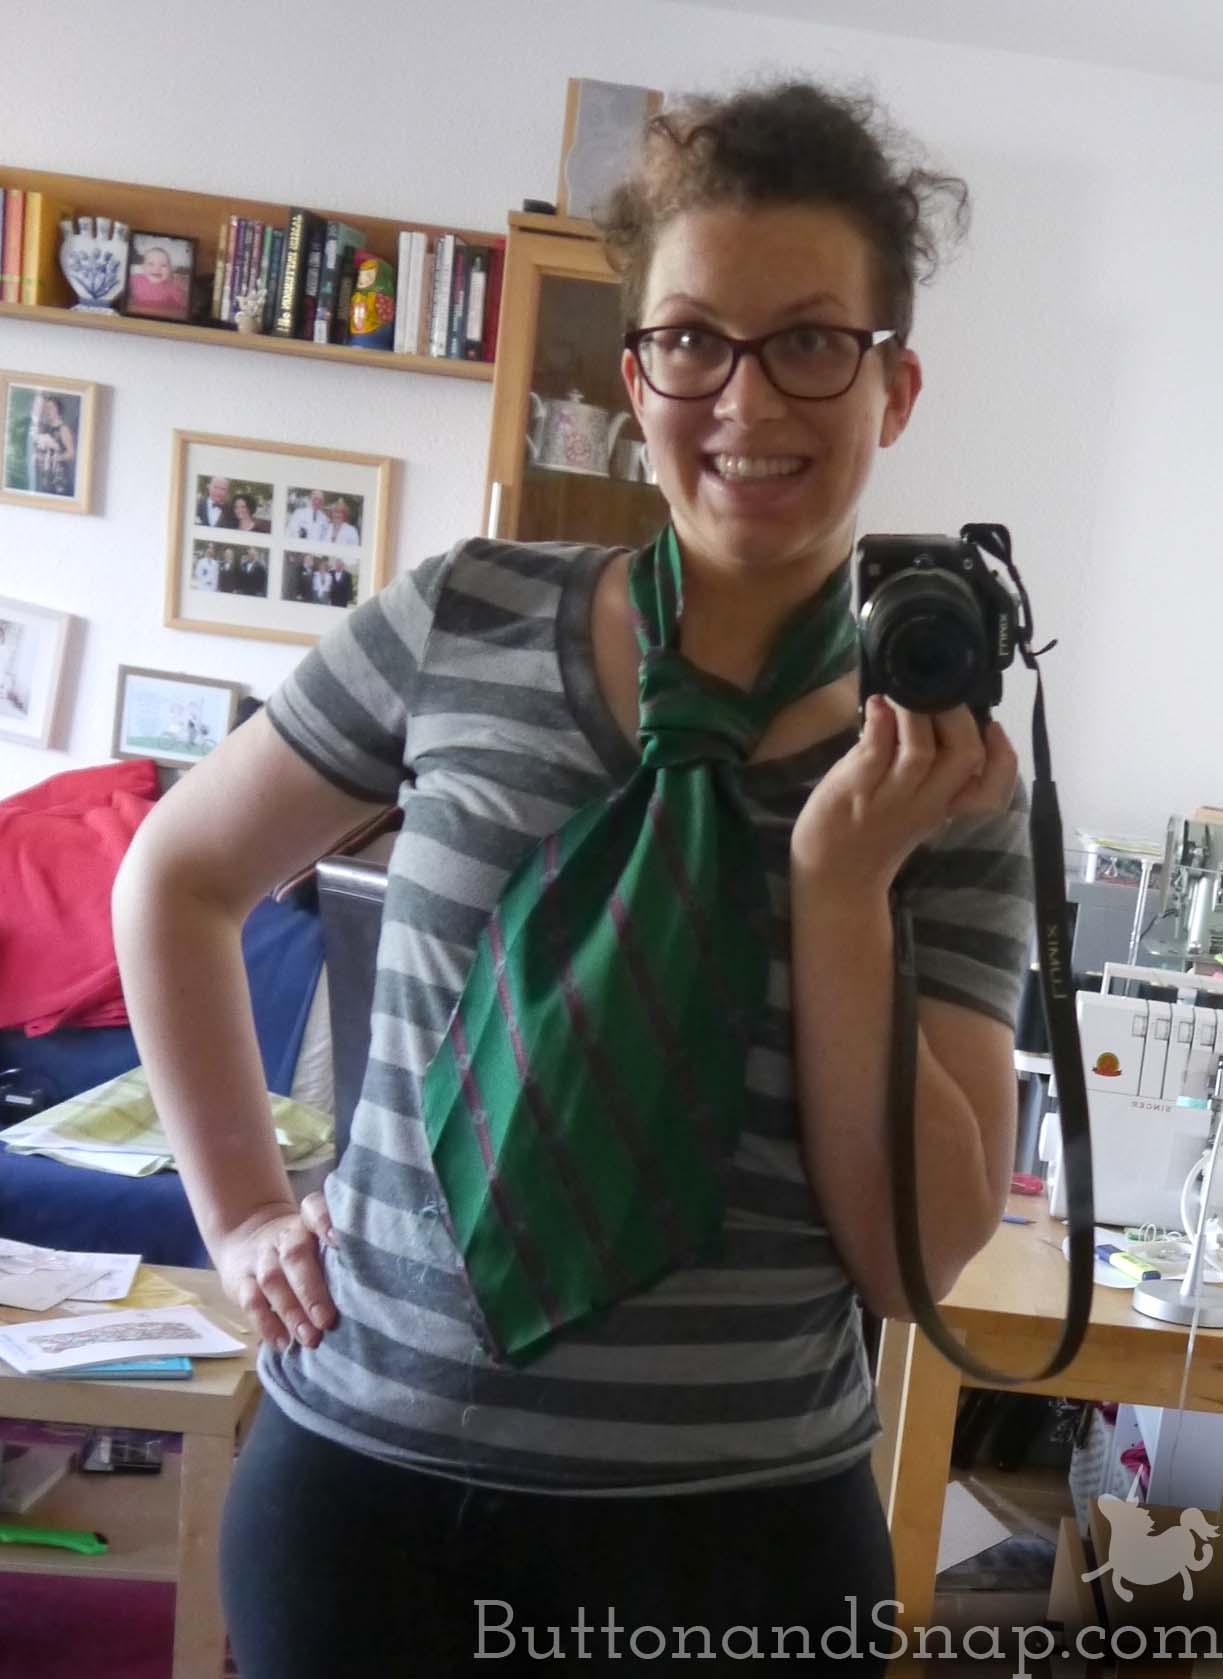
I opened up the tie and ironed it flat. Now it looks like a clown tie : D
Here’s what the inside of a tie looks like, in case you have been wondering:
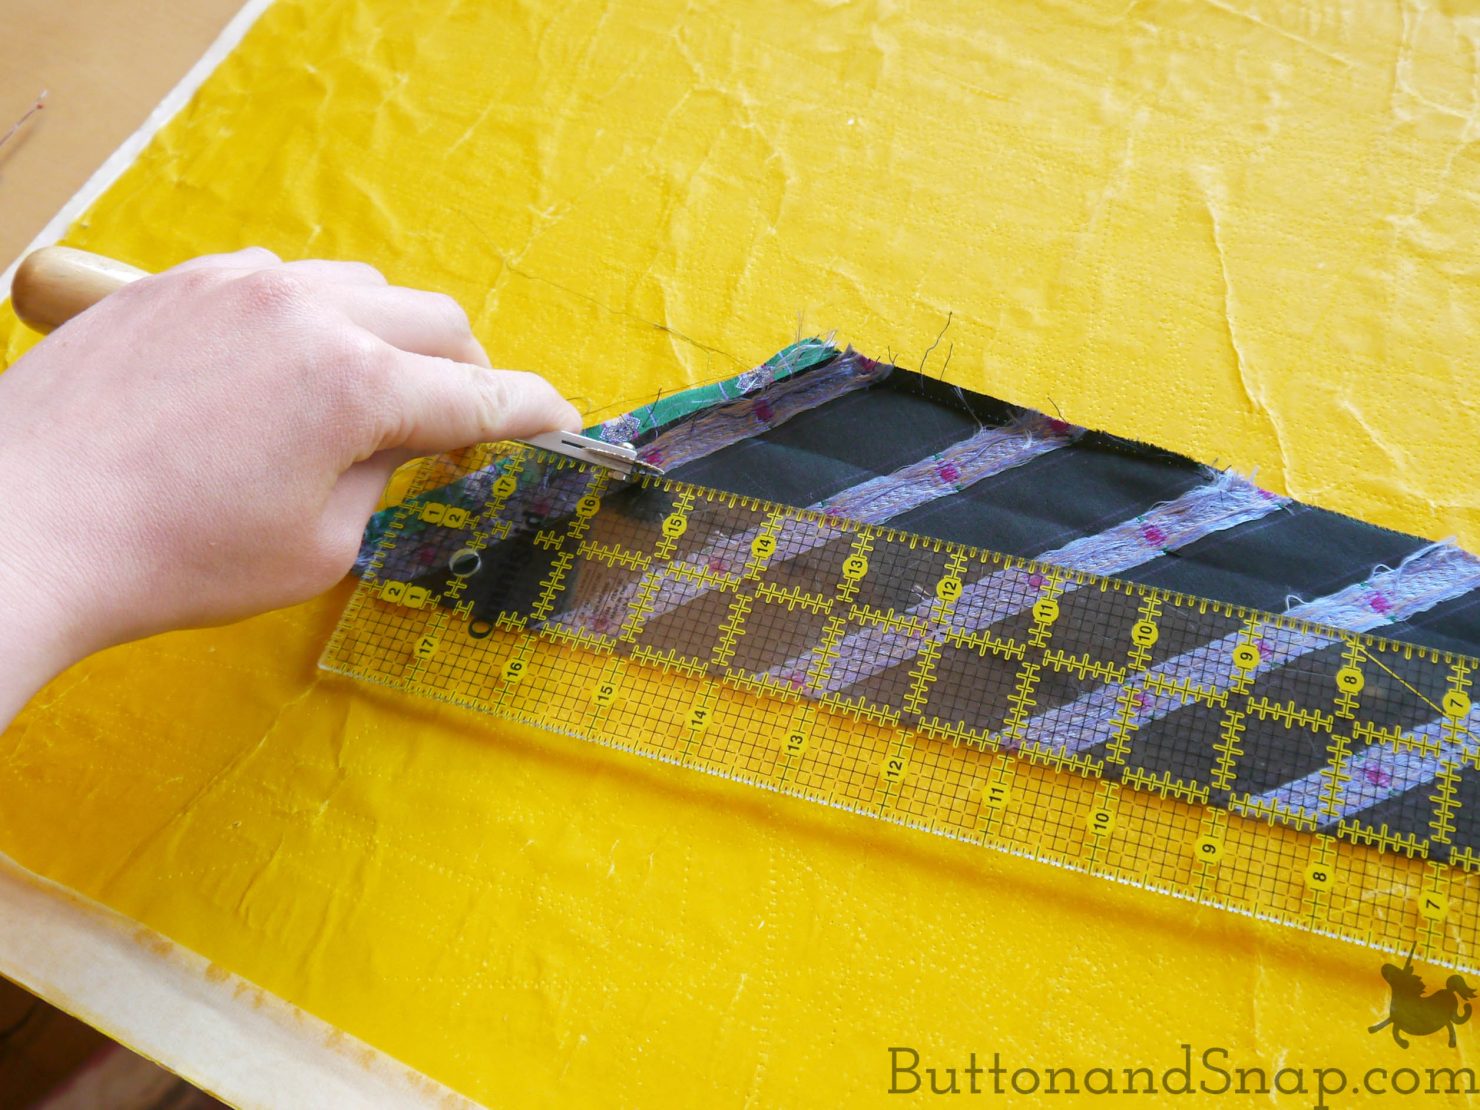
Then I marked 1-3/4” wide strips on the tie and cut them out.
The next step was to fold the edges under – basically, I’m making bias tape at this point. There are gadgets that help make bias tape, but I don’t have one. So instead, I use my cheap-o hack for making bias tape:
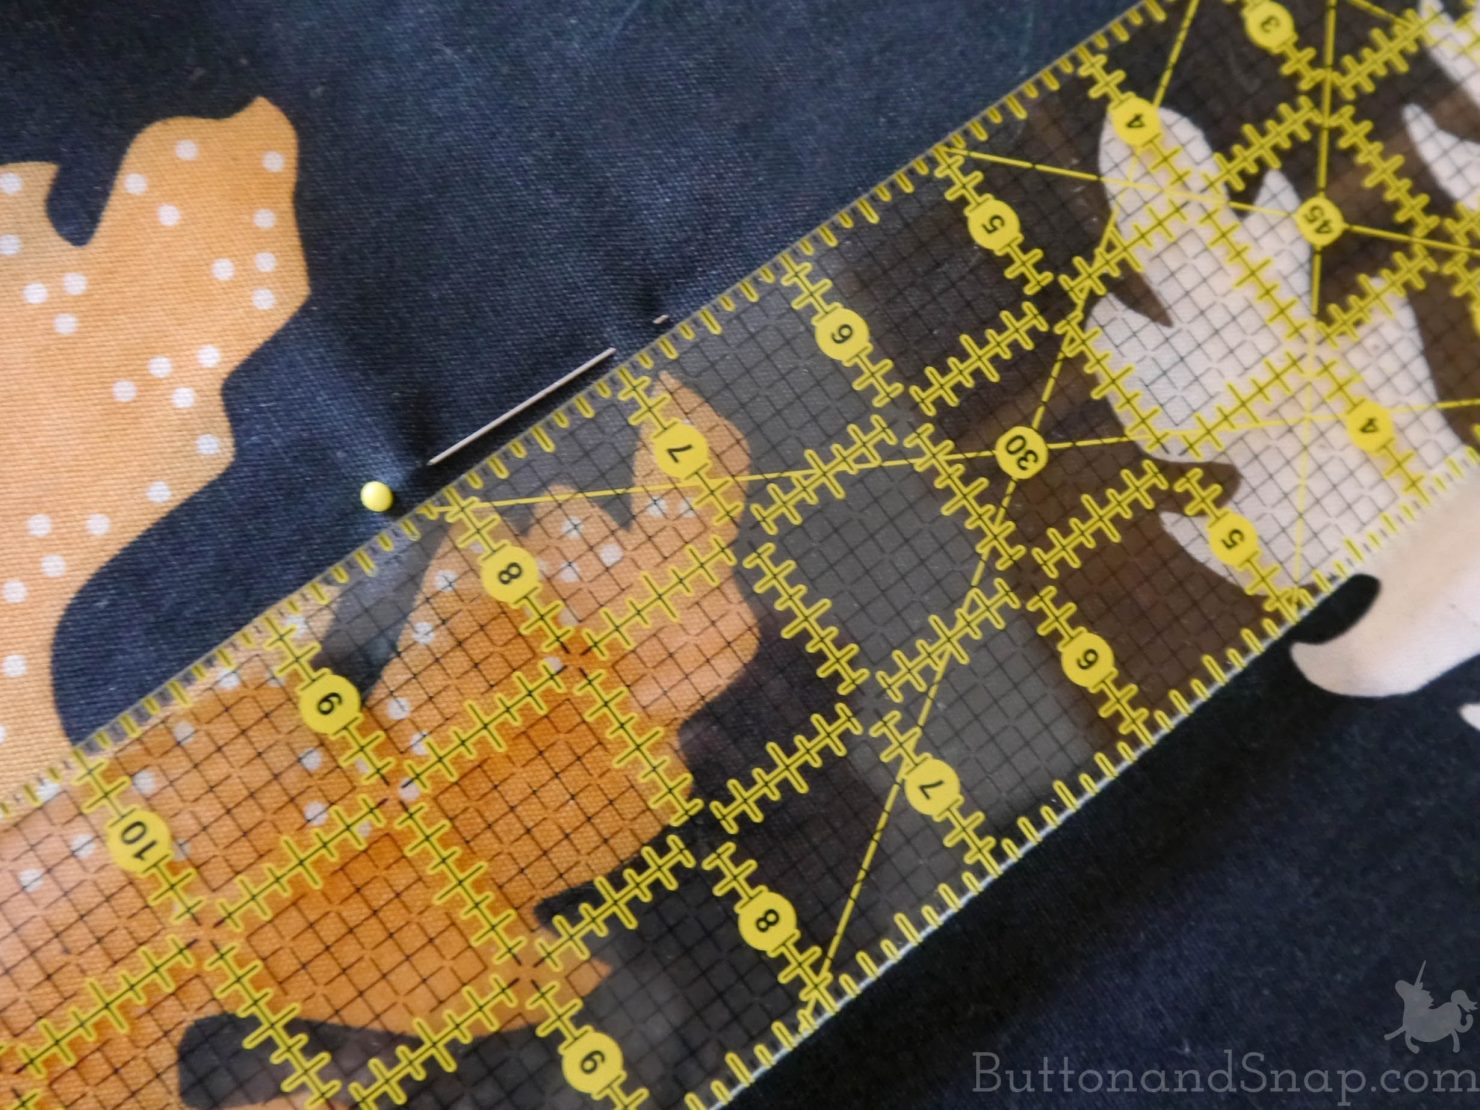
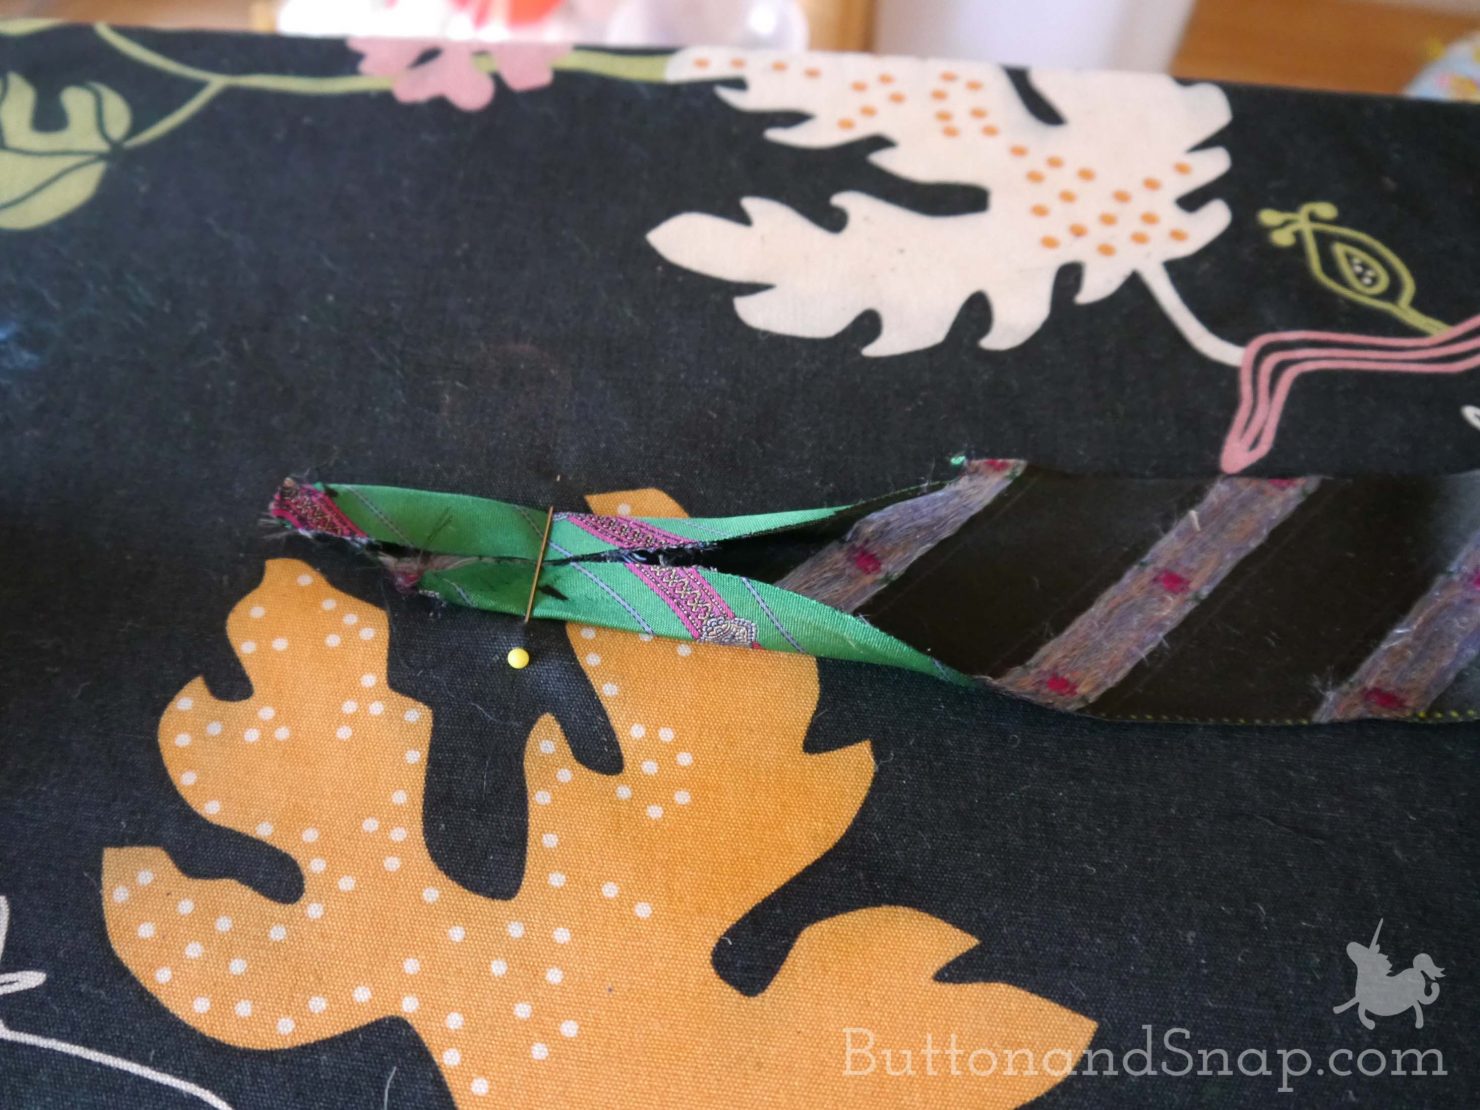
Using a long straight pin, I pin through the ironing board, catching the fabric of the board twice. I measure the gap between the two chunks of the board I’ve pinned through – I want this to be the width of my finished bias tape, or maybe just a hair wider.
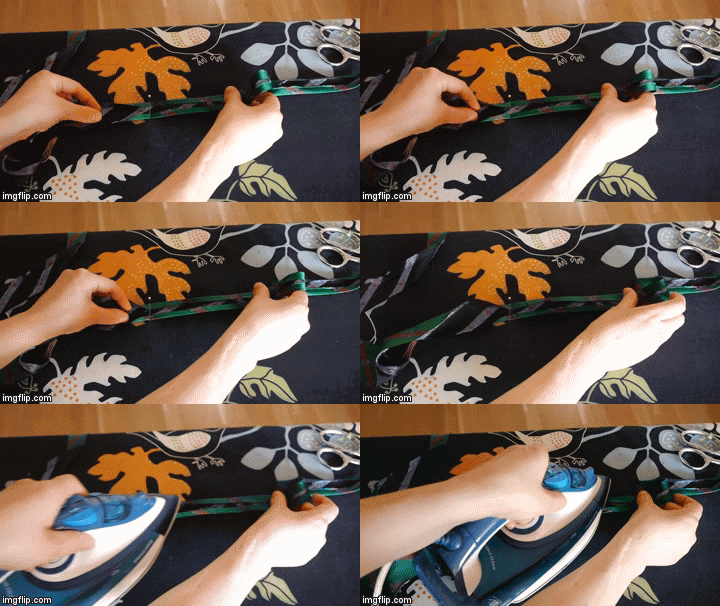
I thread the bias fabric under the pin, folding the edges toward the center. The pin acts as a guide for getting the tape the right width. I pull the fabric under the pin a couple inches at a time, guiding it so the edges fold evenly, and press the folded edges in place with my iron.
Now I was ready to sew the bias tape onto the skirt and form the puffs. Normally I would have done this by hand, tacking the bias tape every inch or so to cinch it into puffs. But then I had bright idea for doing this by machine. I’m always looking for efficient ways to do things, so I was excited to try this out!
((Editor’s comment: Time for some foreshadowing: Storm clouds gather on the horizon, Jaws music plays in the distance. Jaws himself pulls out a fork, knife, and lobster bib…. A voice offstage speaks: “Little did the eager seamstress know what was in store…”))
My machine has stitch setting where it sews a line of straight stitches interrupted by a single zig-zag stitch at regular intervals. The stitch setting can be used for different things – my machine’s manual says it’s for making a scalloped edge. I’ve seen other machines where this is a blind hem stitch.
Regardless of what the stitch is actually for, my plan was to line it up so that the straight stitches caught only the fabric of the skirt. The intermittent zig-zags would stitch over the trim fabric, attaching it at regular intervals to create even puffs.
Before starting, I tested this on a scrap of fabric to check the best length and width settings. I chose to uses the widest zig-zag available, and to use a medium stitch length. BUT I decided to only sew over the trim fabric every other zig-zag stitch.
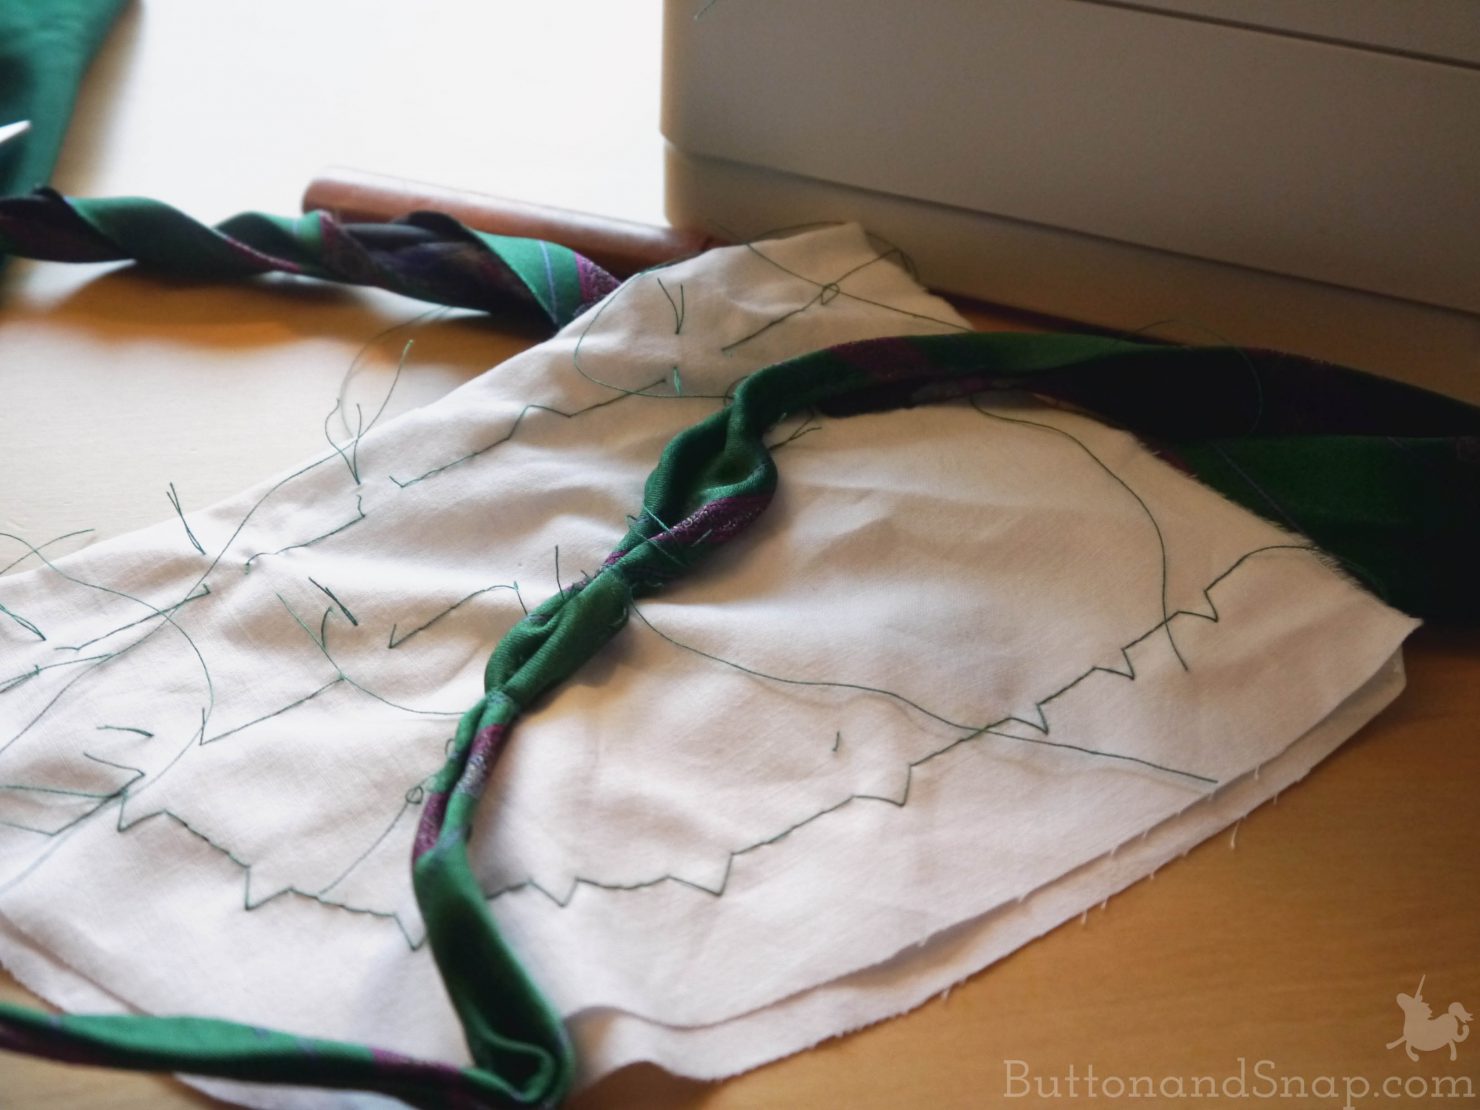
It quickly became apparent that this was going to be much fiddlier than I’d imagined. I couldn’t just sew next to the trim fabric because it wouldn’t stay out of the way of the straight stitches – and it would get caught it all the zig zags not every other one. Also, I need the trim fabric to be tightly bunched up so that I could zig-zag over all of it.
I tried several different methods, and ended up having to stop, lift the presser foot and move the trim fabric completely out of the way, then back right next to the needle, for each puff. This meant I also had to count stitches very carefully so I knew when a zig-zag stitch was coming. (1, 2, 3, 4, zig, zag, 1, 2, 3, 4, zig, zag, etc.)
I would have abandoned the machine-sewing plan, but I really wanted to have a cool new technique to show off to you. And I was hoping that with a little practice, I would get a rhythm going and speed up… hope springs eternal, as they say.
No dice. It took 40 frustrating minutes to stitch all the puffs to the skirt. Here’s a 1 minute video of me making 1 puff:
Despite the frustration, I finished it.

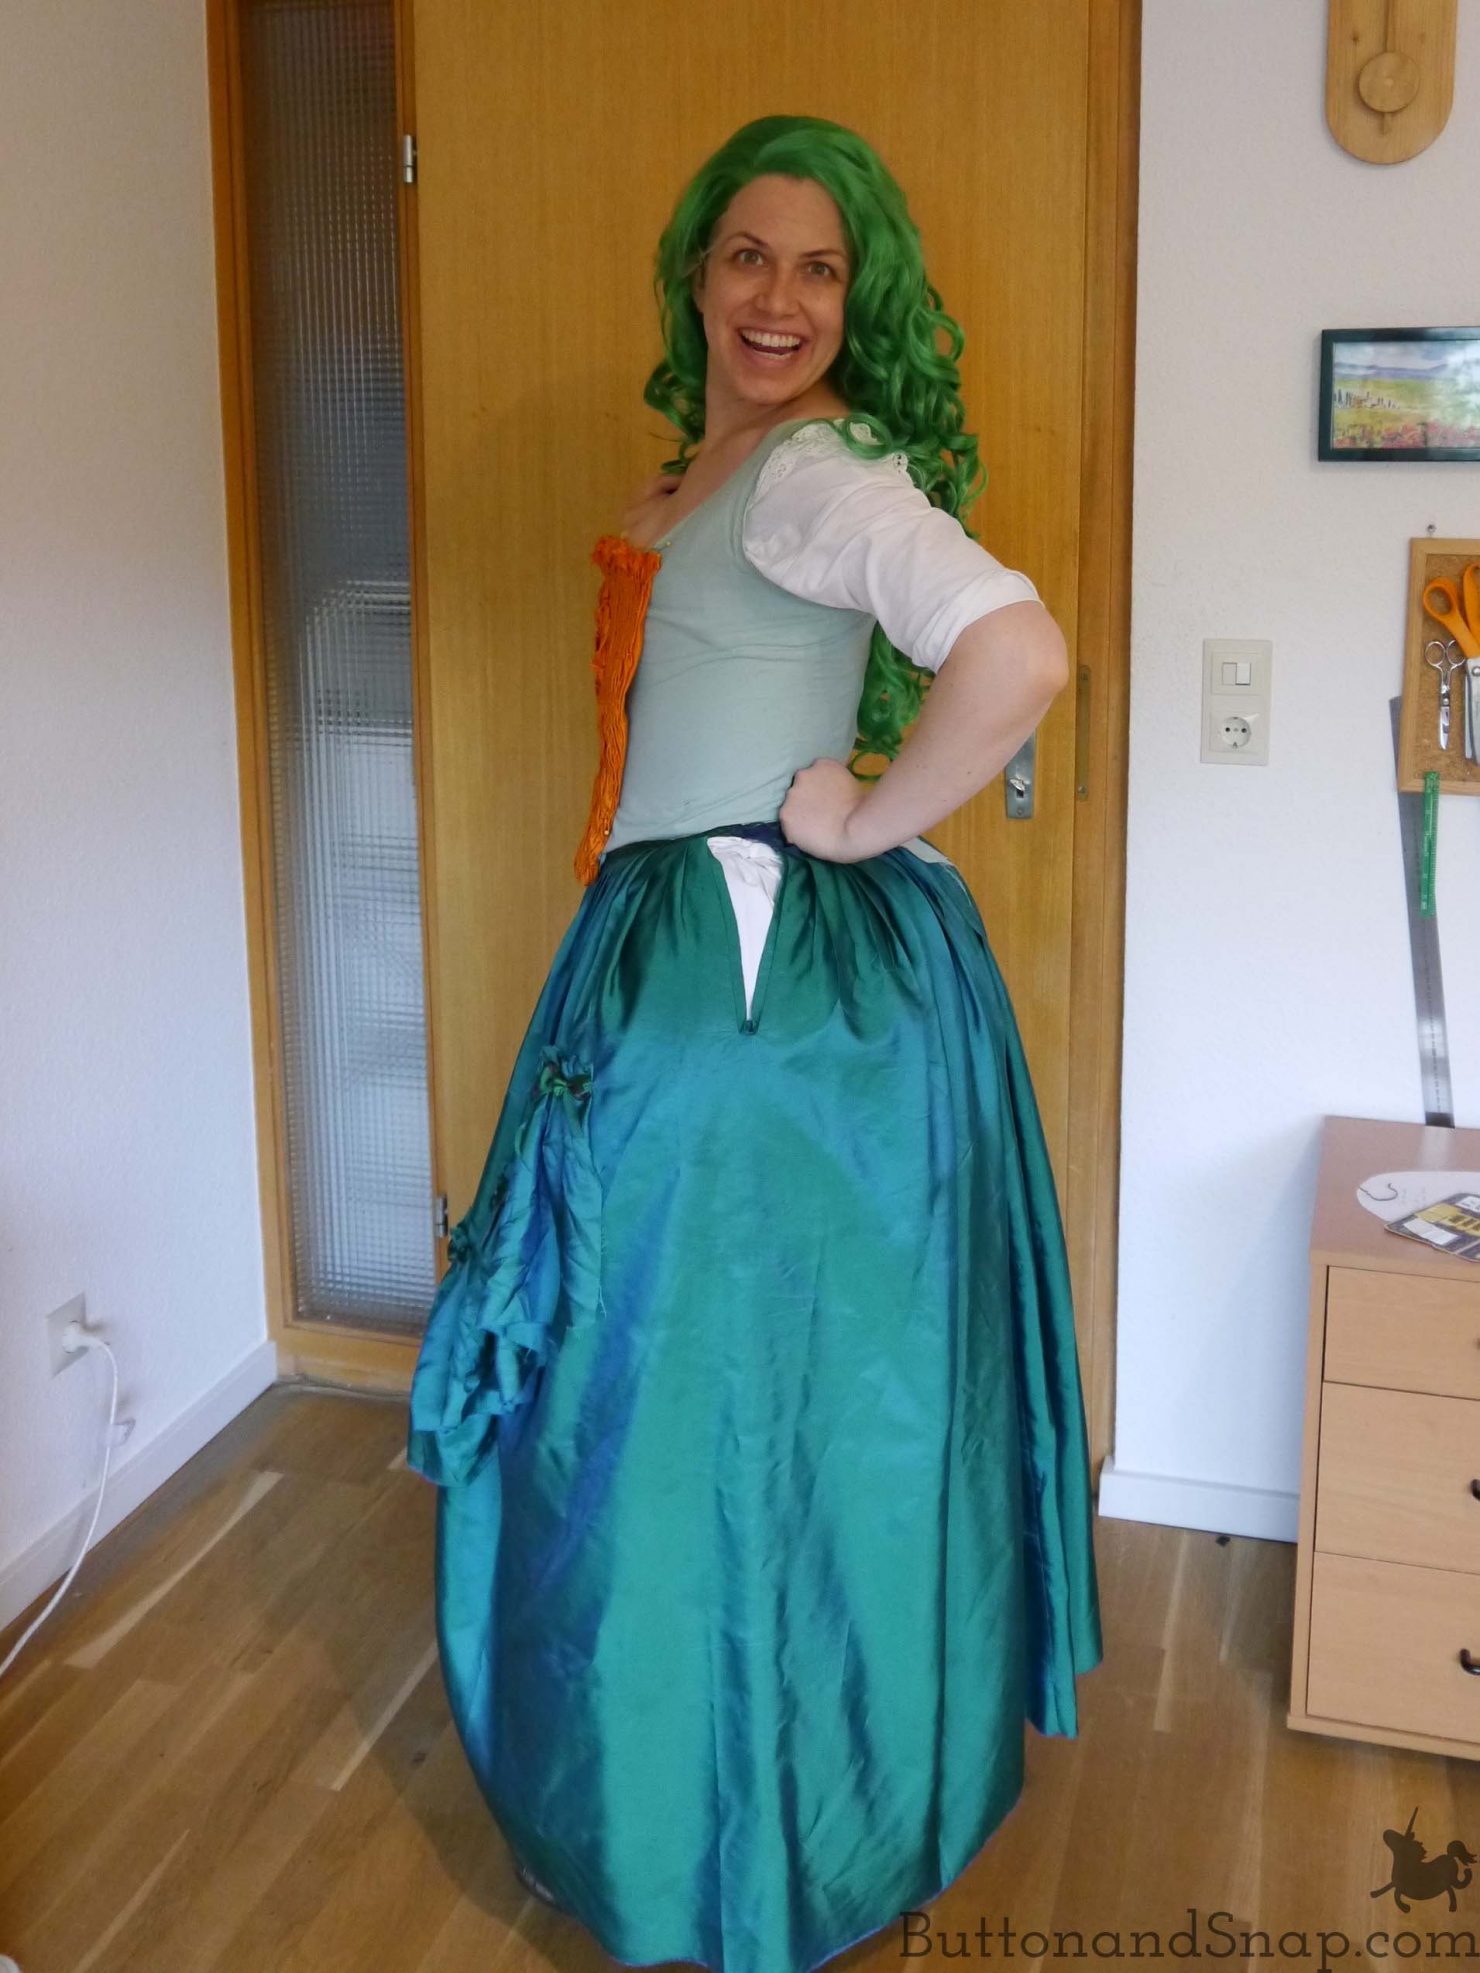
Nevertheless, I wouldn’t try this by machine again. In fact, when I trimmed the sleeves with matching cuffs I did it by hand.
((Editor’s comment: Maybe the foreshadowing was a bit heavy…))
((Jaws’ comment: me still hungry :’( ))








Leave a Reply