
Easy tutorial: How to sew a french seam

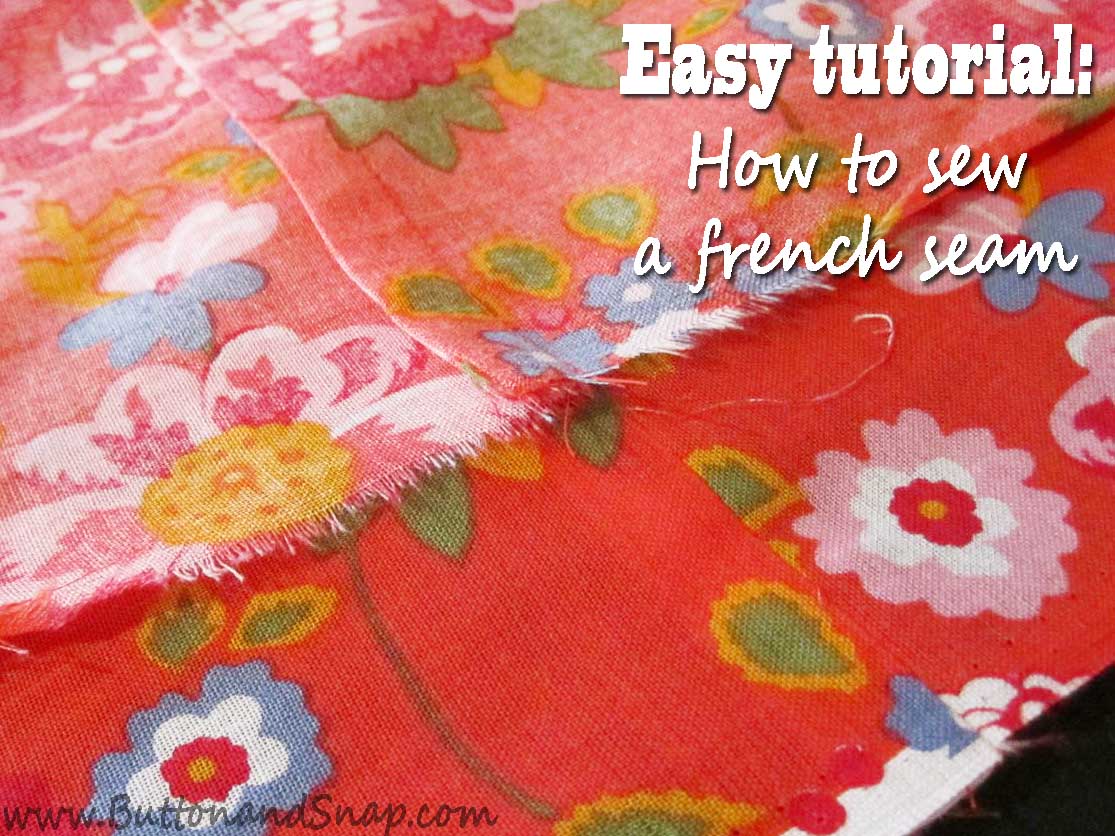 Today I want to show you how to sew a french seam. This seam finish looks as nice from the wrong side as it does from the right side. A french seam sounds couture, but it is actually a simple technique that even an absolute beginner can master. In this post you’ll learn:
- what a french seam is
- when to use a french seam
- how to sew a french seam
What it is…
A french seam is a seam finish that sandwiches the raw edge of the fabric inside the seam allowance. It’s sewn in two steps. First, the pieces are sewn wrong sides together. Then the right sides are folded together and sewn a second time. The raw edges of the fabric are hidden, producing a clean, finished look on the inside of the garment.

When to use it…
Since you end up with four layers of fabric in your seam allowance, a french seam works best on relatively lightweight materials. These seams make an especially beautiful finishing touch when you’re working with transparent fabric, such as chiffon, where your seam allowances are visible from the outside of the garment.
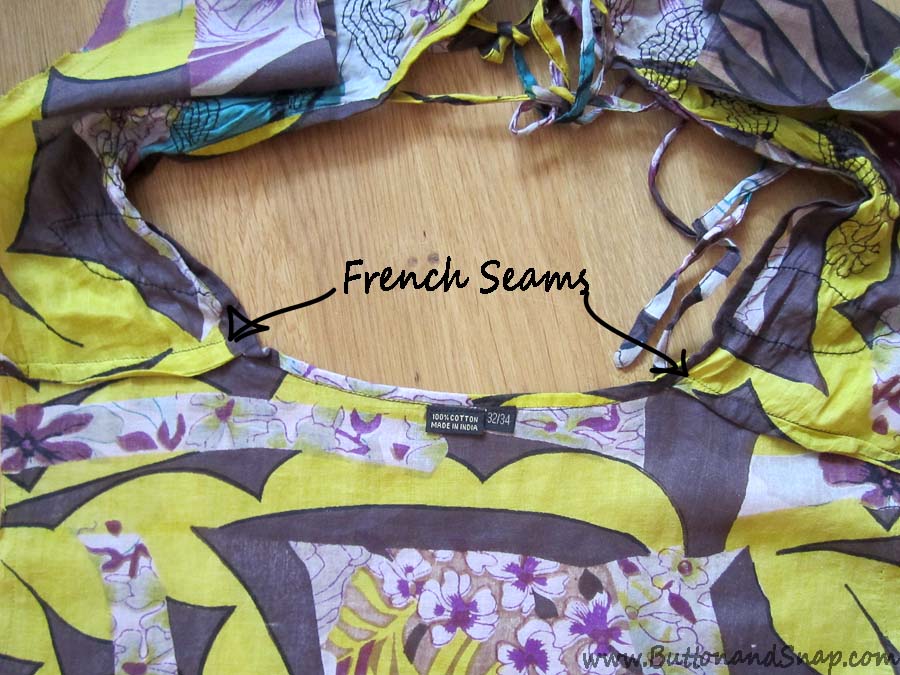
French seams are also ideal for loosely woven fabric because they prevent the raw edges from unraveling and pulling out. You’ll often see french seams in cheap garments for this reason. The tunic below, for instance, has french seams at the shoulders.
 French seams are only good for finishing straight seams. Sewing a curved french seam is problematic because you can’t notch your curves. Also, getting the right amount of ease in the proper places is nearly impossible.
By the way, curved seams can be finished with a mock french seam. I’ll write a tutorial if you’d like – just tell me. However, mock french seams are much more frustrating and time-intensive than normal french seams.
Let’s get on to the step-by-step:
How to sew it…
French seams can be any width you want them to be. I’m going to give you the widths for making a french seam with a 5/8″ seam allowance, since that’s what’s usually given on commercial patterns.
 Put your fabric pieces WRONG side together and sew a seam 1/4″ from the edge. Trim any threads that are sticking out from the raw edge of the fabric. Trimming now will make your life easier later.
 Press your seam open. It doesn’t matter if you press the seam allowance open or to one side.
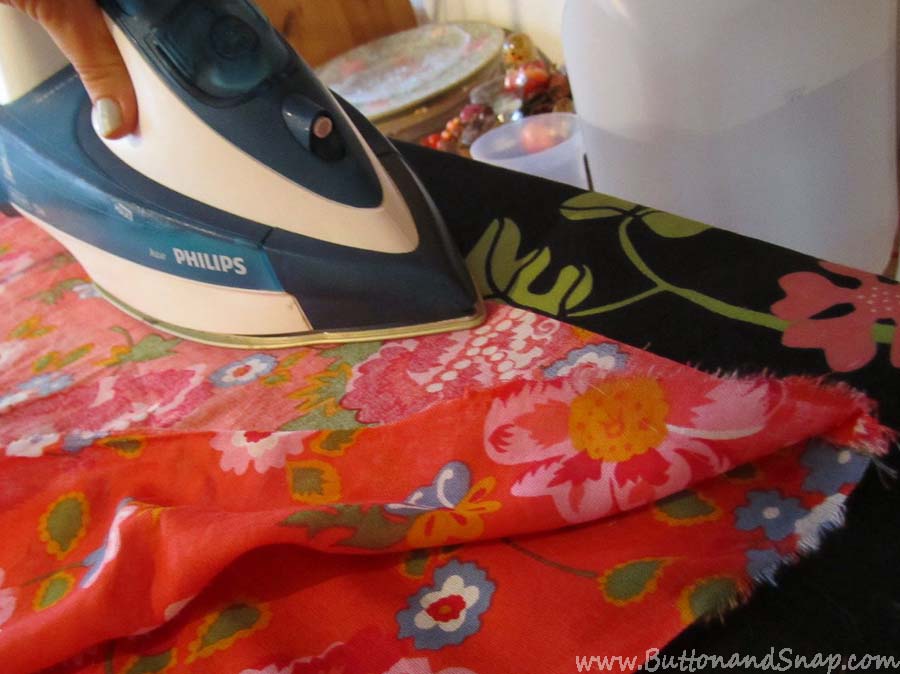 Fold your fabric RIGHT sides together and press along the seam.
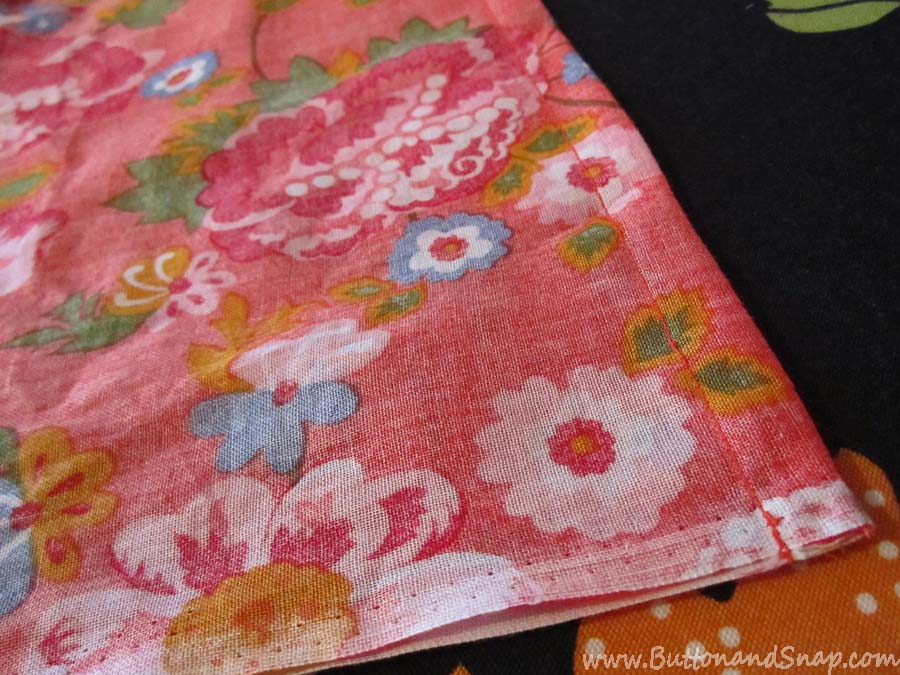 Next, stitch along the seam a second time. Stich 3/8″ from the edge.
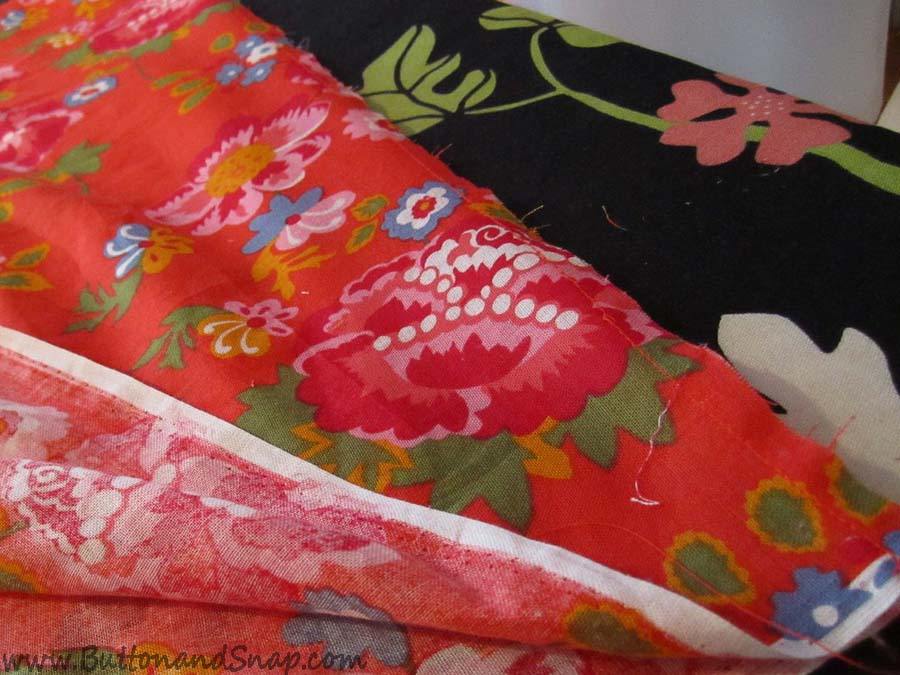
 Press your seam open.
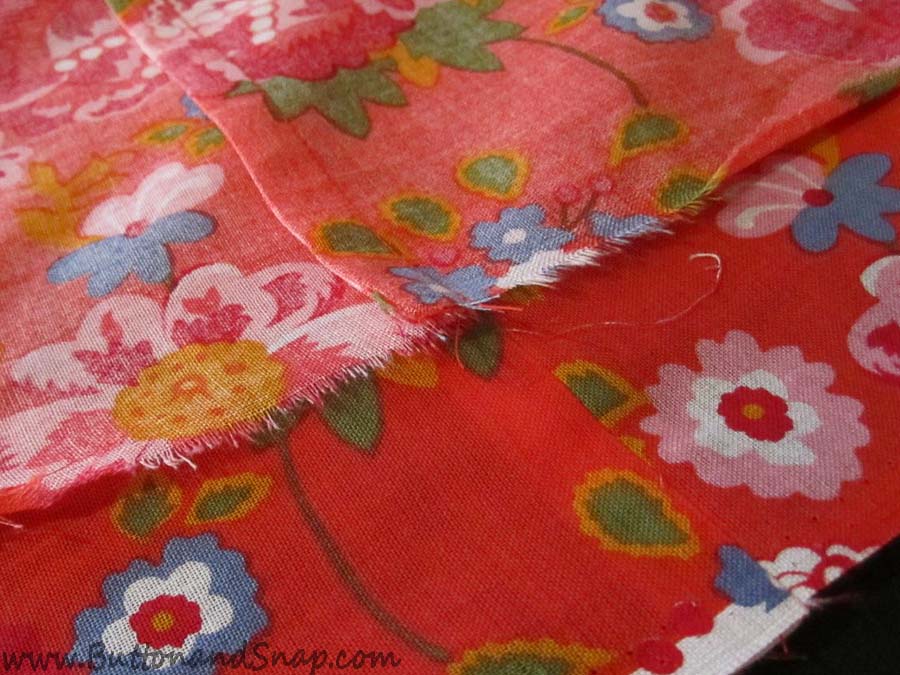
 Trim any threads that are poking through to the right side of the fabric.
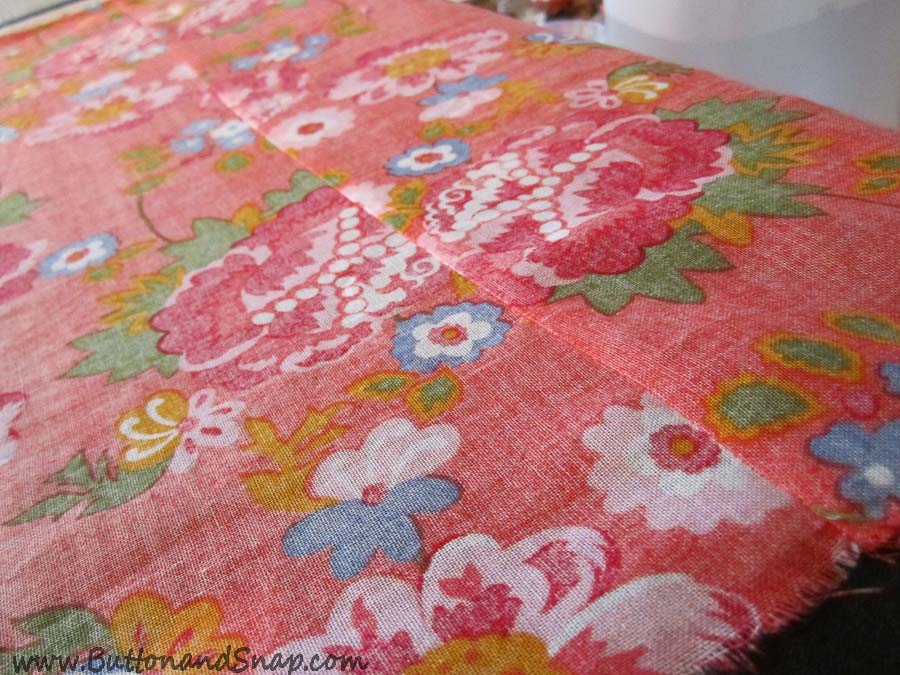
Et voilá, you’re ready to hit the haute couture scene. Not bad, eh? French seams take a few extra steps, but all these steps are very simple.
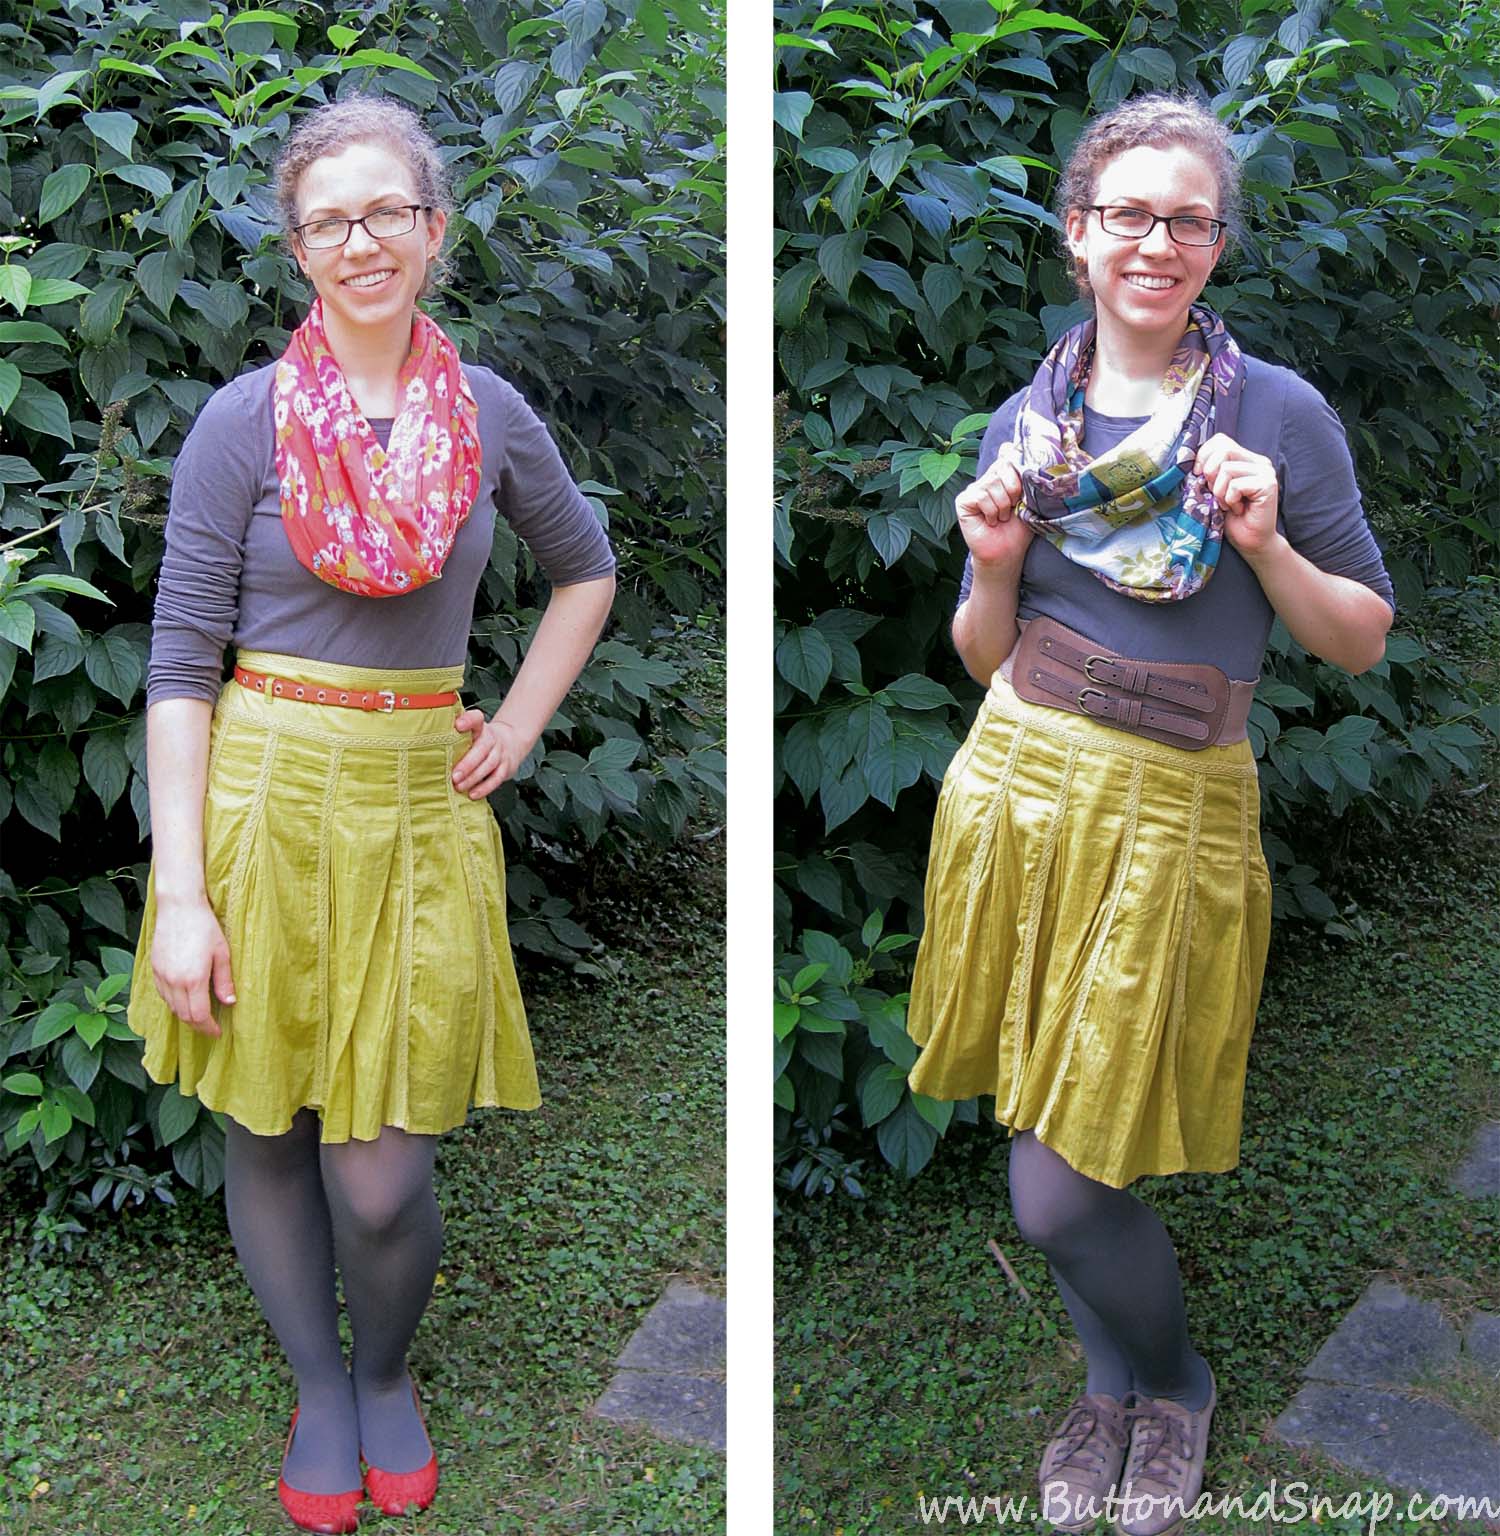 I made two new cotton scarves this summer, but I didn’t have a large enough rectangle of fabric for either of them. I pieced them in the middle using french seams because both sides of the scarf show when I’m wearing it.
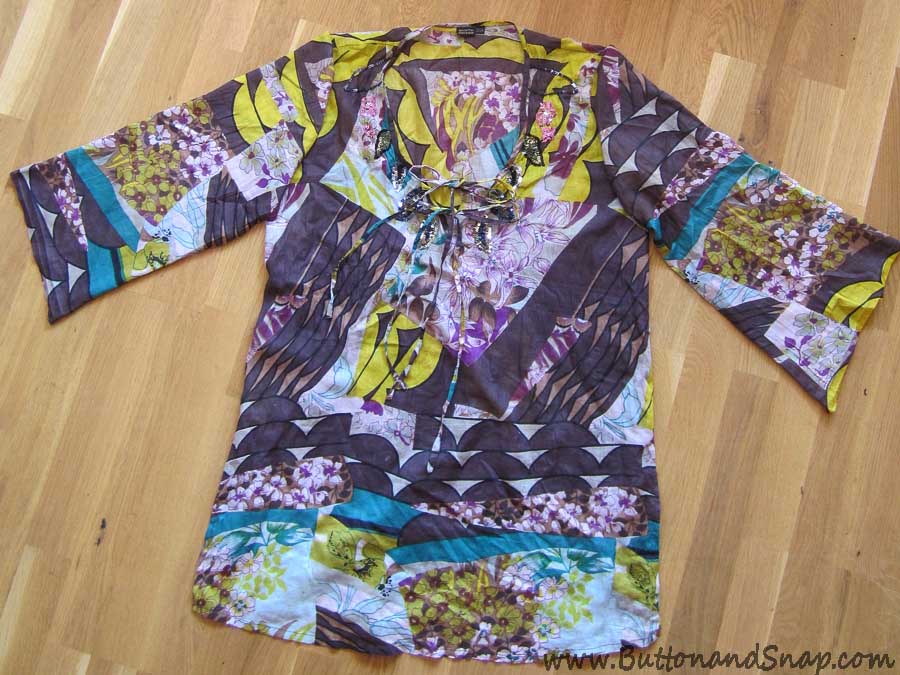 By the way, I upcycled the cheap tunic mentioned earlier in the post to make scarf number two. I cut the sleeves and bodice off at the armpits to make four rectangles that became the scarf.
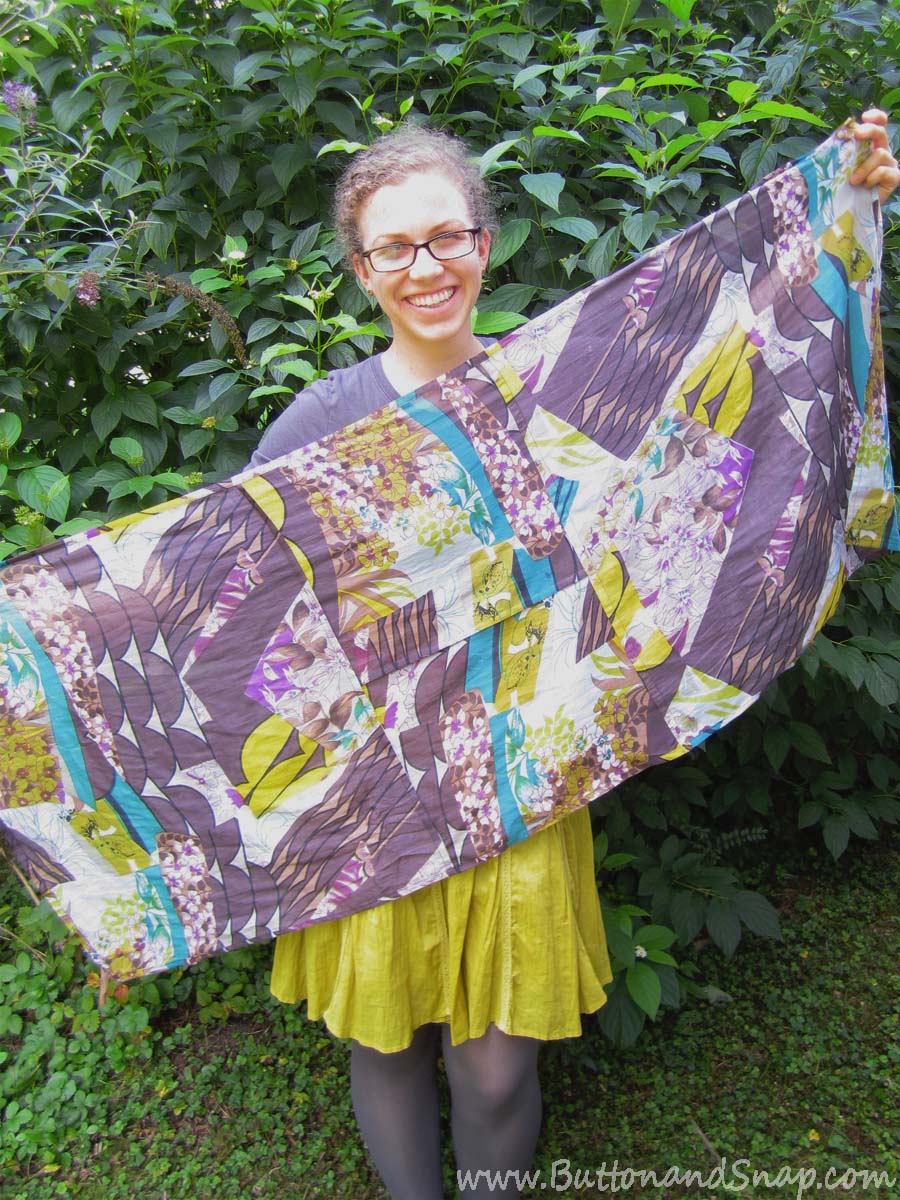 Look! There’s an “H” for Helen in the middle. Now I challenge you to spot the piecing when I’m wearing it – I’ve even put it at the front.
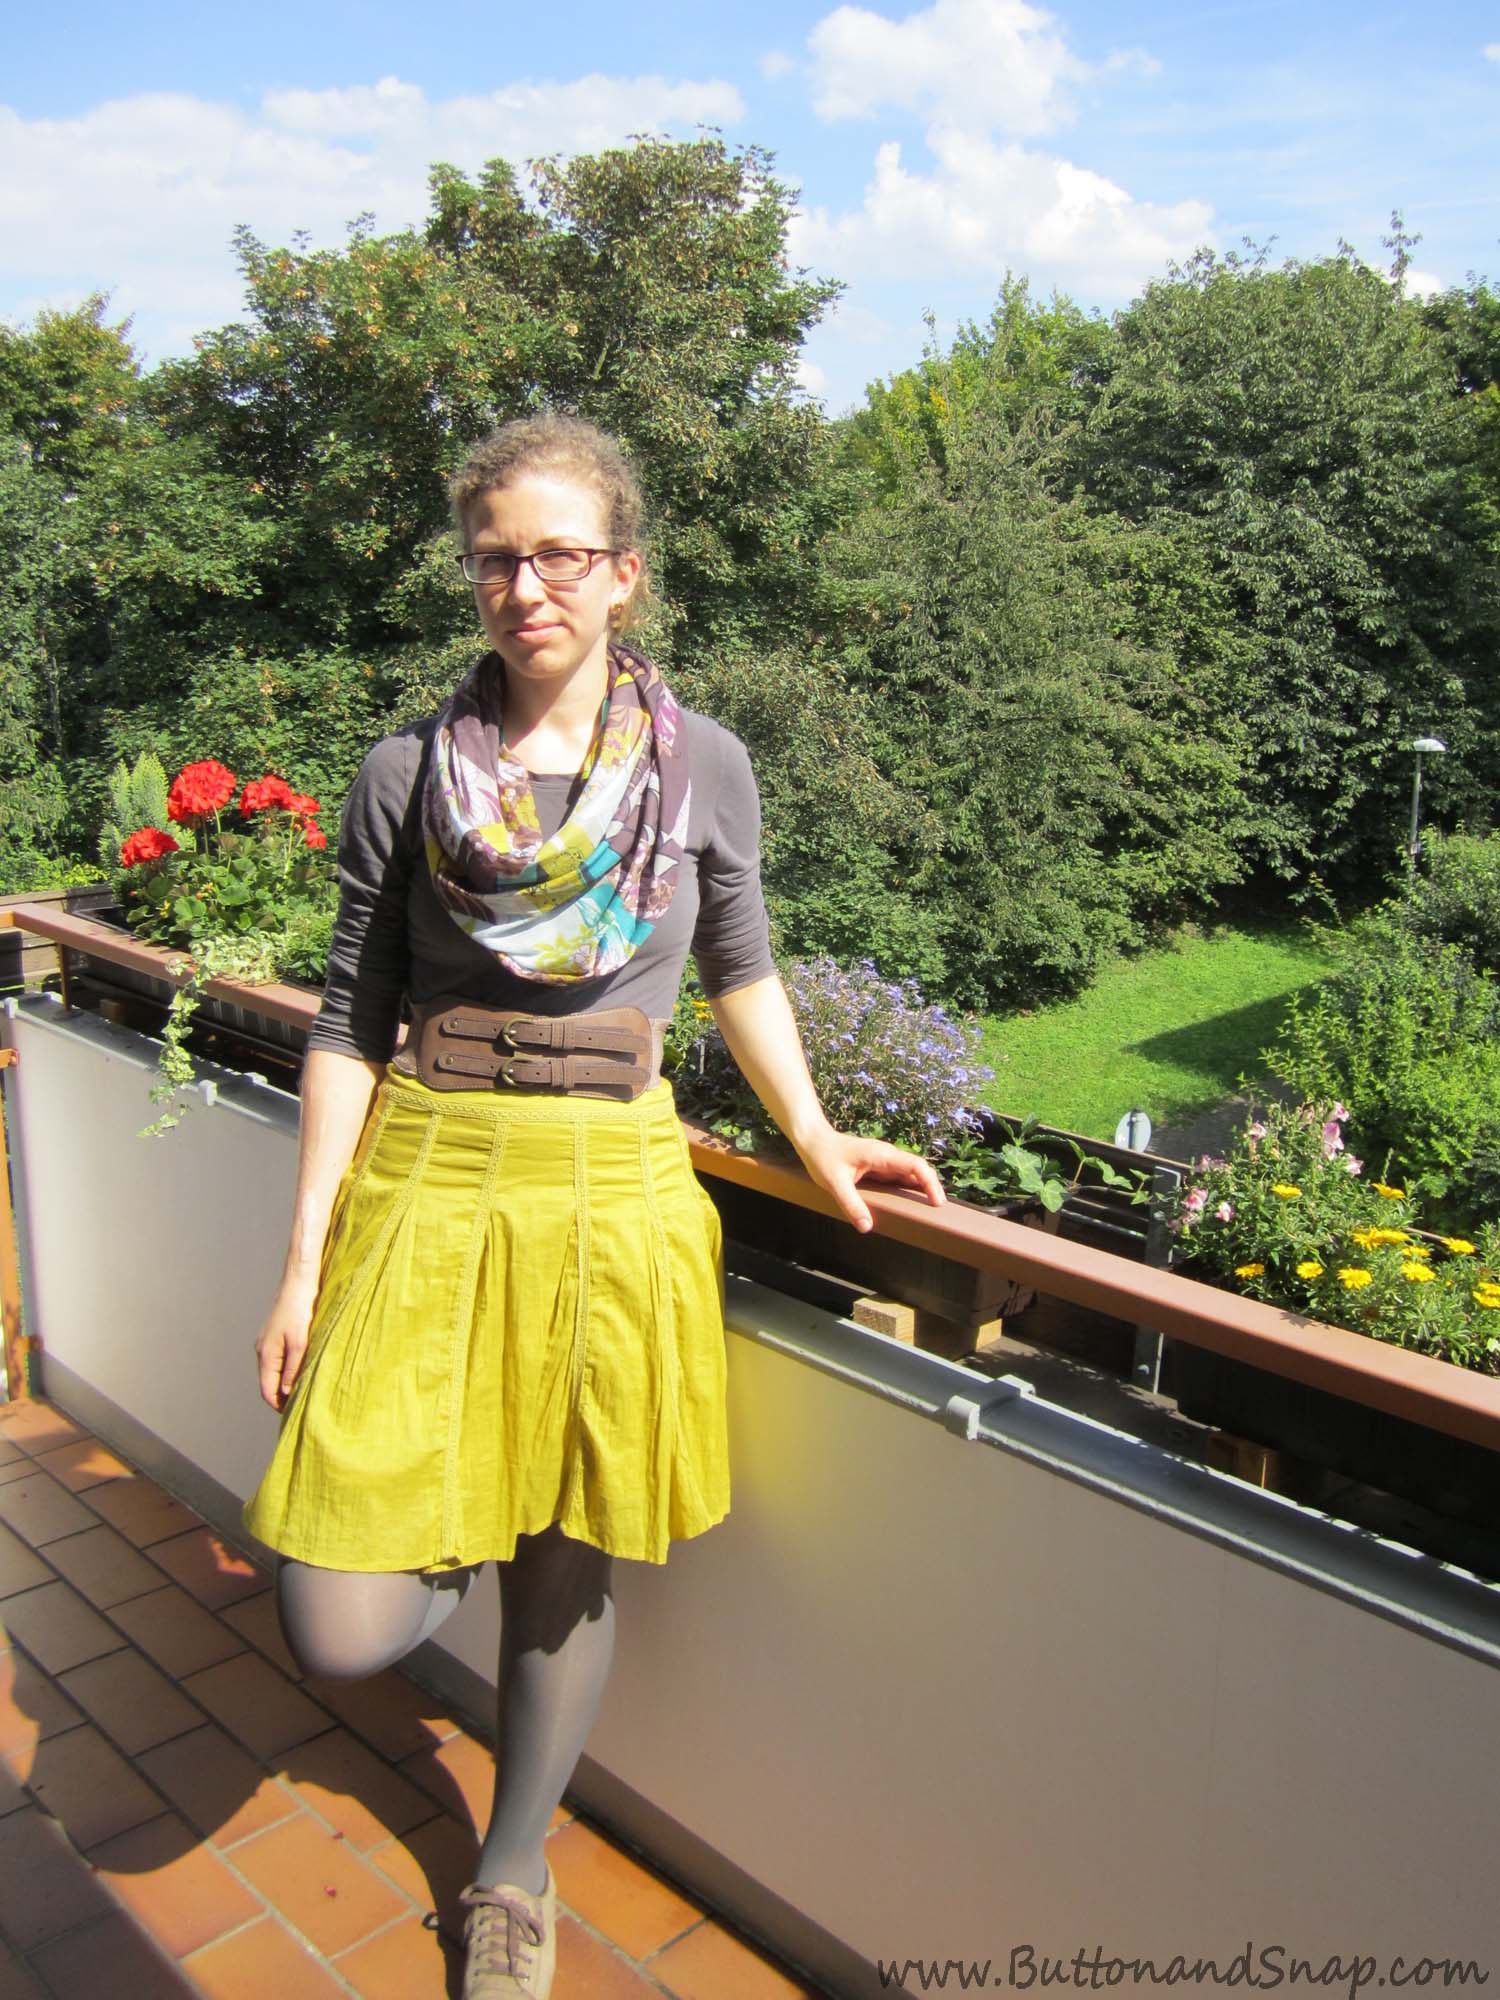
Boy, this was not scarf weather! It’s been cold the last two weeks, but the sun came out to just for these photos.
I hope you’ve been able to add a new technique to your sewing skills toolbox! If you try it out, please share it with me! And if you have a question, tell me in the comments below!
Aura
French seam is not used for cheap garment finishing as it is clean look and takes more time then serging.