Joker Antoinette’s Undies, Part 5: The Petticoats
- No Comments
 Last time: I’m making period 18th century underwear for my Joker/Marie Antoinette cosplay; design here; about the shift; Making the corset here and here; About the hip padding; A free downloadable pattern for my hip pads here.
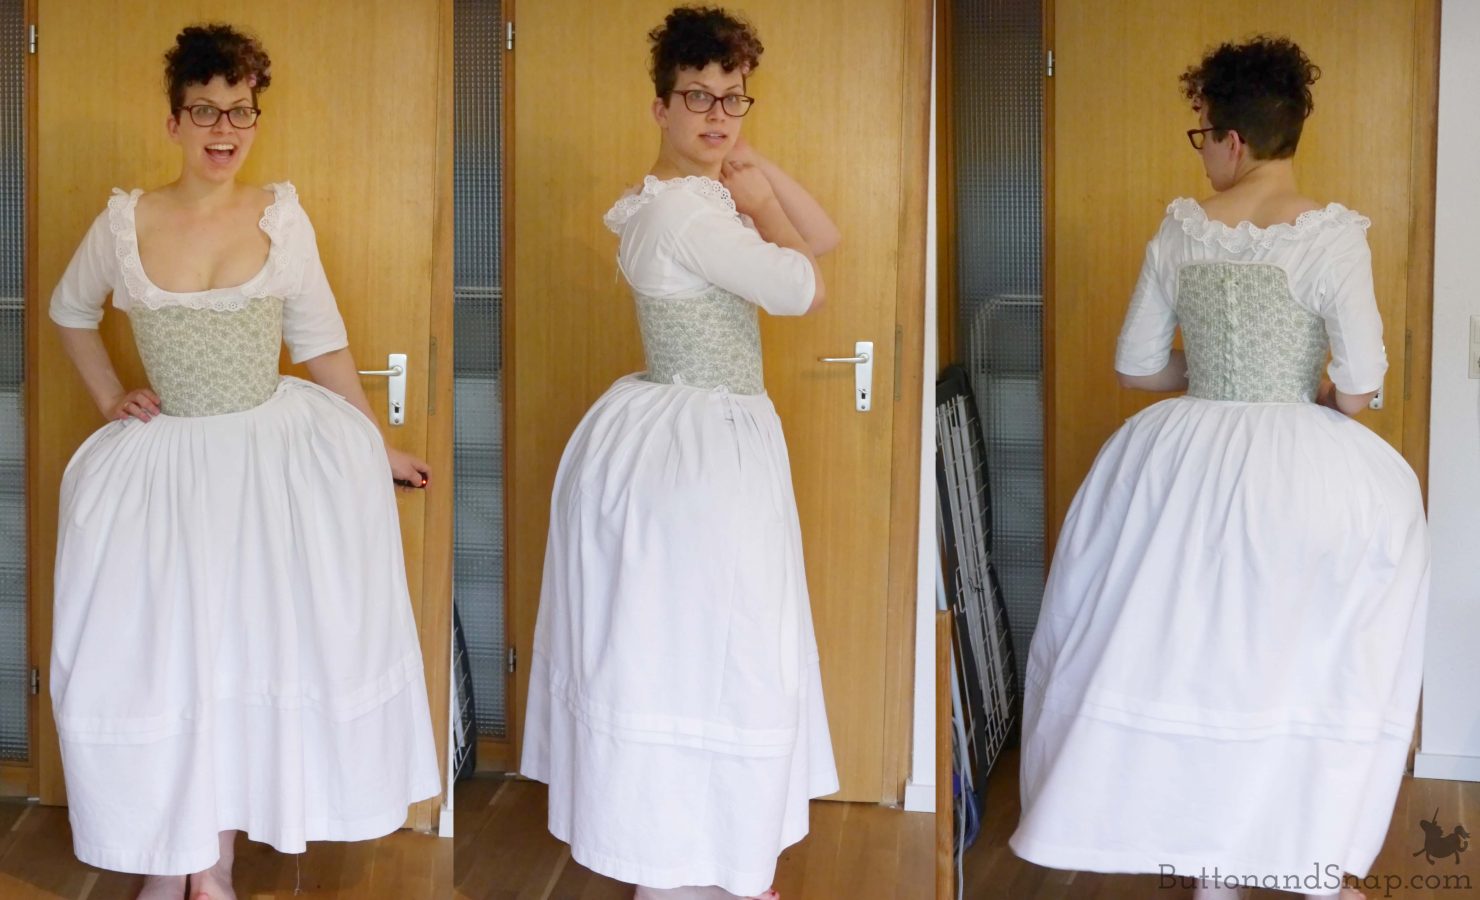
The final layer of Joker Antoinette’s underwear is the petticoats. Women back then wore three or four petticoats under their dresses. But I have my limits. I made two.
I am sewing the petticoats from vintage sheets. They are much prettier than modern sheets; each piece is decorated with an embroidered pattern and the owner’s monogram (though I didn’t find any with my initials). I took care to cut the petticoats to showcase the beautiful embroidery!

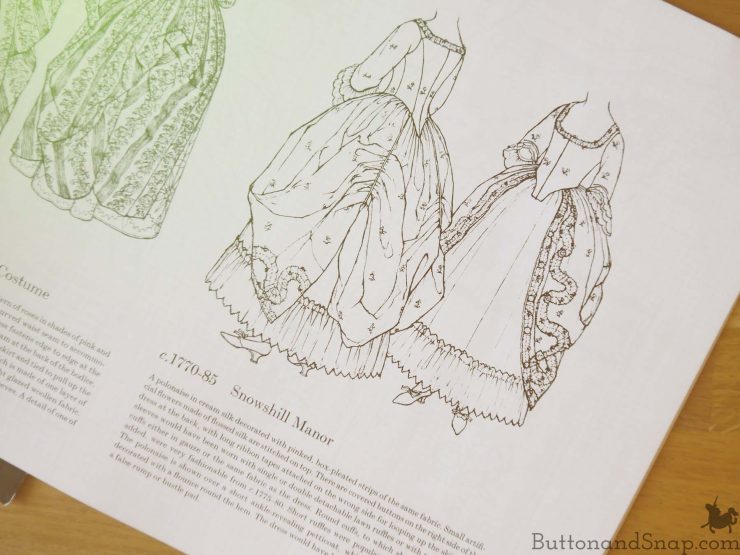
I used a pattern from Janet Arnold’s Patterns of Fashions 1 (p. 41, for those who have the book). But enlarging the pattern with the computer, printing it out, and taping together 30+ pieces of paper was just too much work for my taste.
Instead, I copied the pattern directly onto my fabric. I marked the pleats on the wrong side using my trusty 18”x3” clear plastic ruler and a mechanical pencil.
I like mechanical pencils because they stay sharp – essential for clear, accurate marks. One drawback though is that pencil isn’t removable. So use it only on the wrong side of the fabric, and test that it doesn’t show through before you start.

Janet Arnold sets her patterns on a 1:8 grid – meaning one square on the page equals 1/8” on my ruler. When the page is blown up to size, each of these squares equals 1″. So theoretically, I could use a ruler with 1/32″ markings to accurately measure the patterns as they appear in the book down to 1/4″. However, for this project, I just eye-balled anything less than an inch.
A snapshot of my thought process: “Ok, that’s a bit more than halfway across the grid square. I’ll call it 5/8″. Hmm – that’s about a quarter inch.” While this isn’t exactly scientific accuracy, I don’t think I was too far off.
Following the pattern exactly, I ended up with a floor-length petticoat (for reference, I am 5’7″). But I want Joker Antoinette’s skirt to be short-ish so that her ankles peek out. To take up the extra length I added tucks around the bottom.
At first blush the tucks look like they are even – each 1” deep. This, however, is an illusion. It is created by spacing the tucks so that their bottom edges are each 1” from one another. In fact, the top pleat measures 1”, the second pleat 1.25”, and the third pleat is 1.75” at its widest …more on that in a minute.
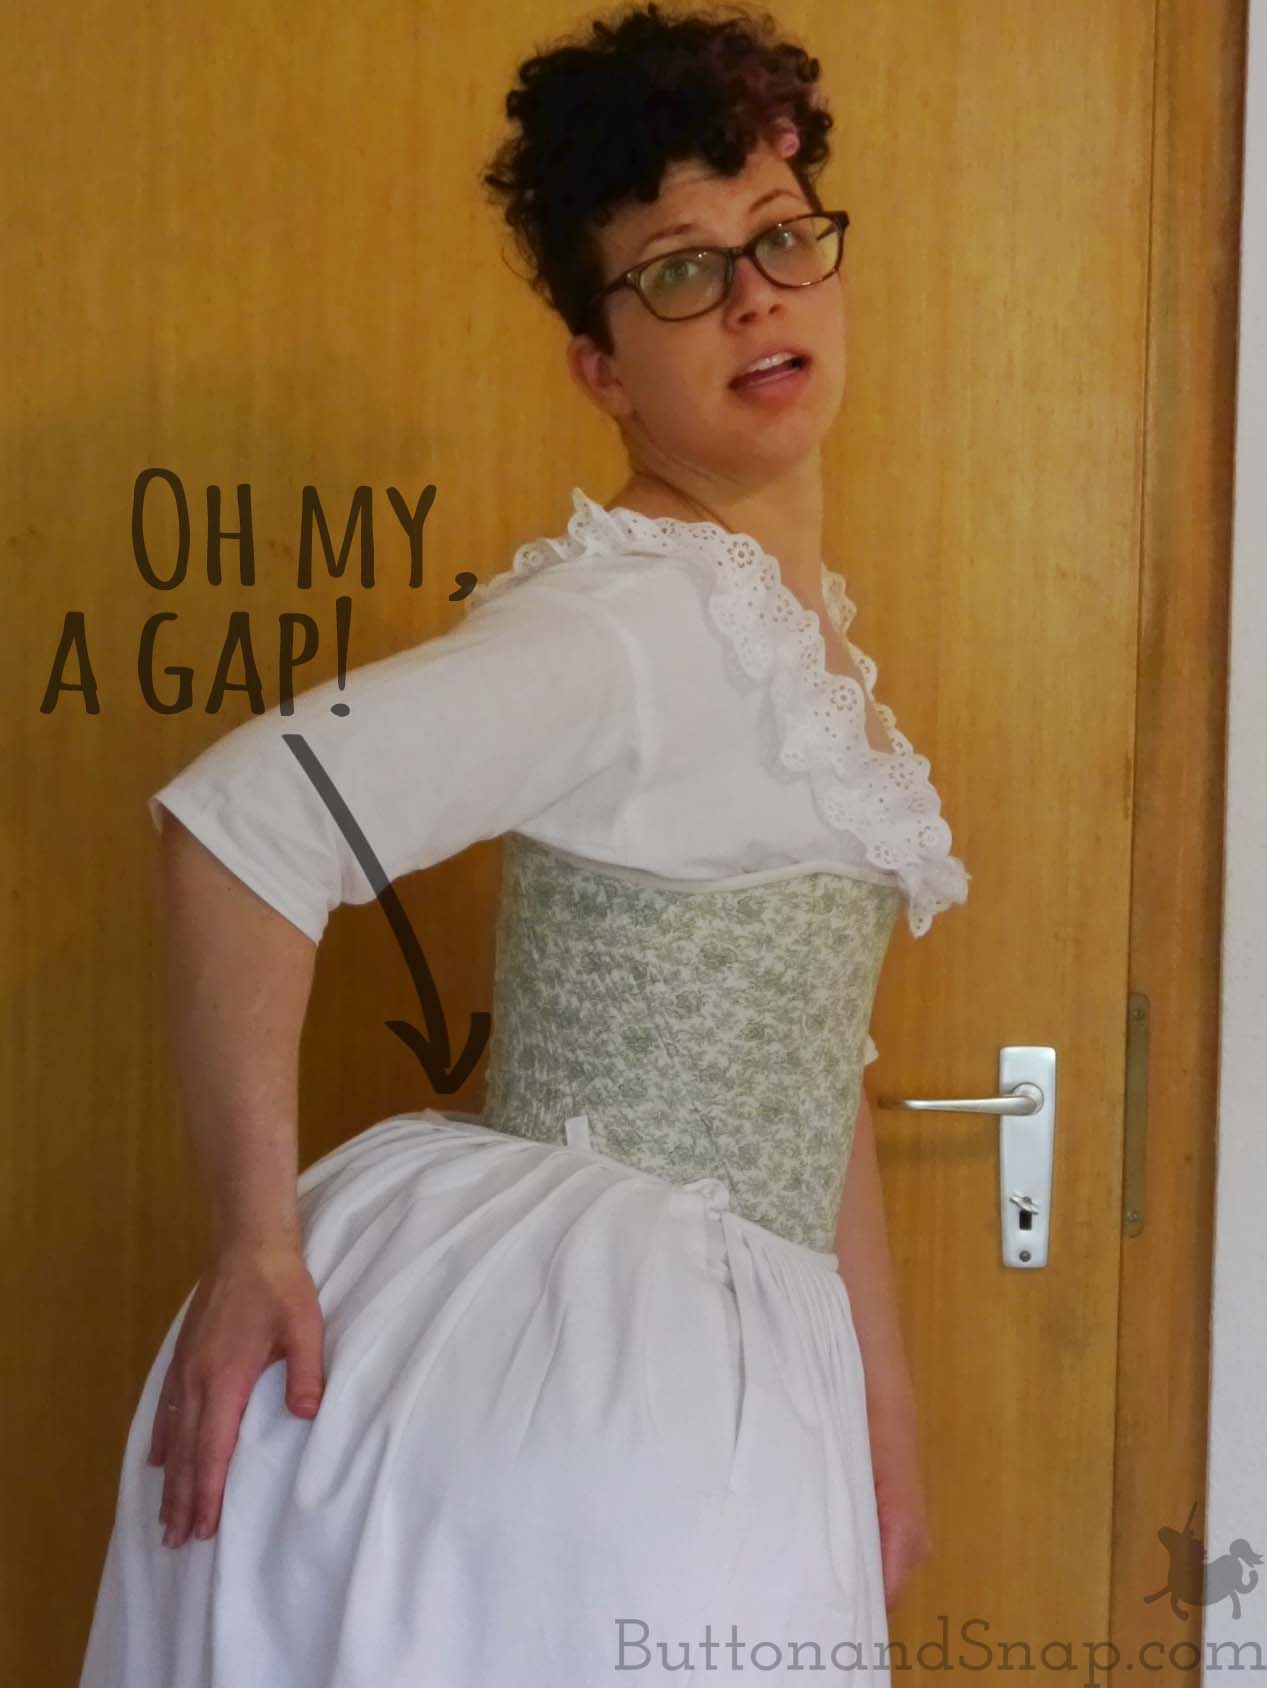
When trying it on, I noticed the petticoat was at least 1″ longer in the front than in the back. Don’t worry, this isn’t a universal problem with the pattern. It will vary depending on what padding you’re wearing.
I evened the hem out with the bottom tuck. It is 1.75” deep in the front, but only 1.25” inches deep in the back. This ½” inch difference in tuck depth translates to a 1” difference in hem length.
Following the pattern, I ended up with a petticoat that measures 96″ around the hem. It is 13.5″ across the front waist, and 20 inches across the back waist for a 33.5″ waist in total. That’s a little large, since my waist measurement with the stays on is 29”. Nevertheless, my hip padding holds the petticoat up, so I decided to leave it as is.
Naturally, I wanted the waist smaller on the second petticoat. And I wanted this petticoat to be even fuller than the first. This one is 120” around – and I added a ruffle at the bottom to kick it out even more.
On the second petticoat, I drafted the waist pleating myself. Also, I adjusted the length at the waistline so that the hem would hang evenly.
It was a lot of math.
As closures I added waist tapes that tie at the sides. Unlike modern skirts, the petticoat’s side slits are meant to be left open. Back in the 18th cen., pockets were not sewn into garments. Instead, the pockets were separate (imagine a pouch sewn to a waistband and you’re not far off) and were worn under the rest of the clothing. Slits were left open in clothing so that people could access their pockets.

I do plan to make pockets, but I’m waiting on them until I finish all the important elements of the costume. Speaking of which, in the next post I will (finally!) be moving on to the main dress!


Leave a Reply