Refashioned felt vest: lapped seams and darts
- No Comments
 So, I’ve got the shell of the vest together. I did the lapped seams, as promised. They’re a little hard to see here – black is always difficult to photograph. Can you see the piecing seams? It’s the seam coming from the armhole to the middle of the (fake) welt pocket and the seam at the outer edge of the pocket at the bottom. I’m so pleased with how they came out. The top seam sort of looks like princess seaming, and I made the edge of the fake welt pockets line up with the lower seam so it looks like a pocket detail.
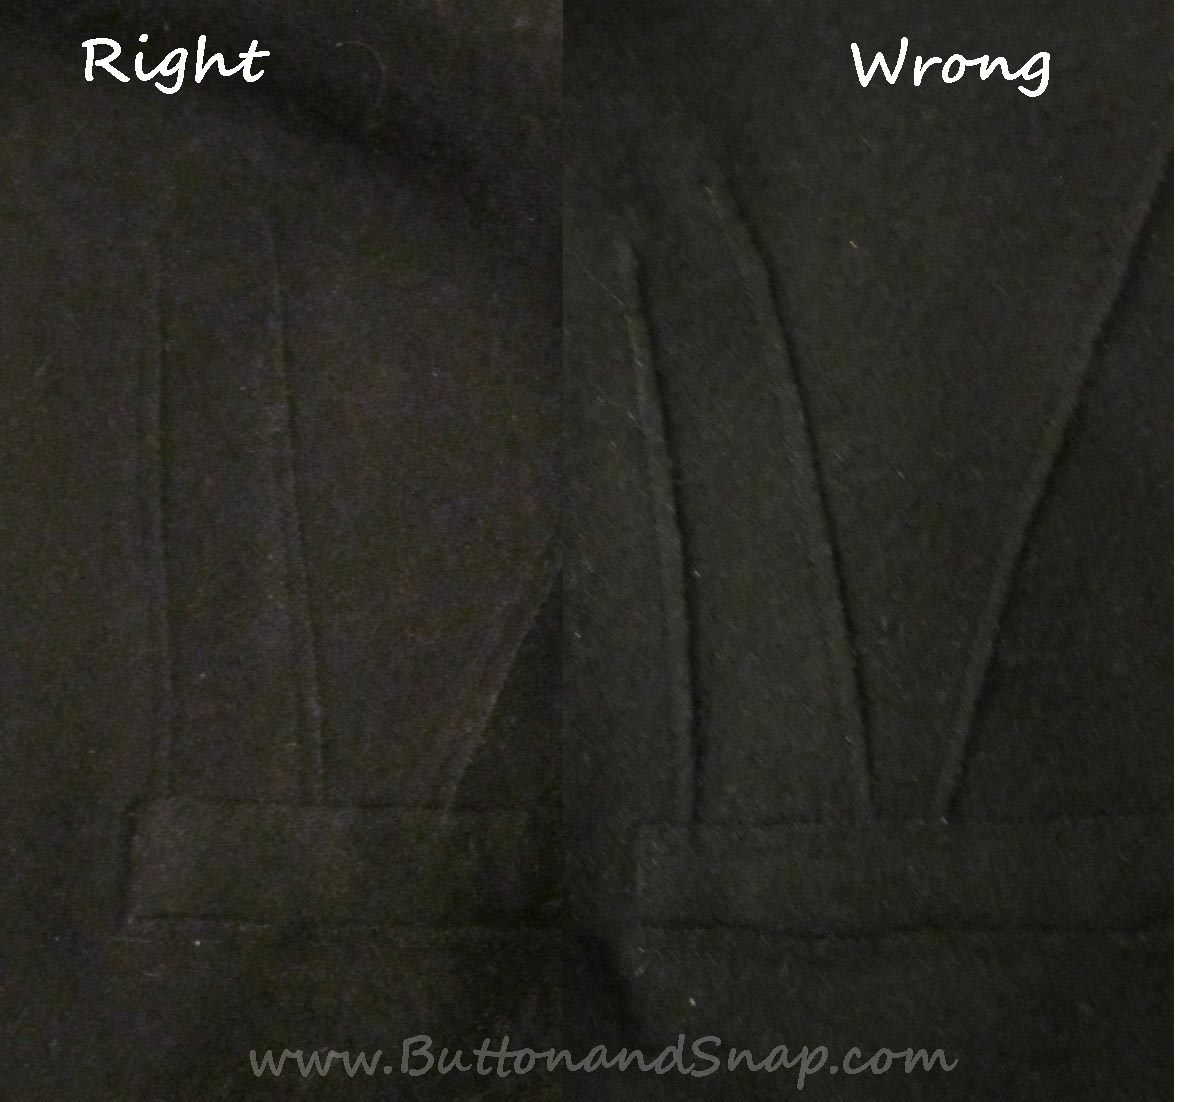
Everything went together pretty smoothly, though I had a little trouble with the darts. If you look closely, you can kind of tell that the darts on the right are straight and parallel to each other, but the darts on the left are slightly curved and not quite parallel.
 Here’s a close-up of them (if it’s not clear, the darts are the 2 left seams on each picture; the third seam to the right is the piecing seam).
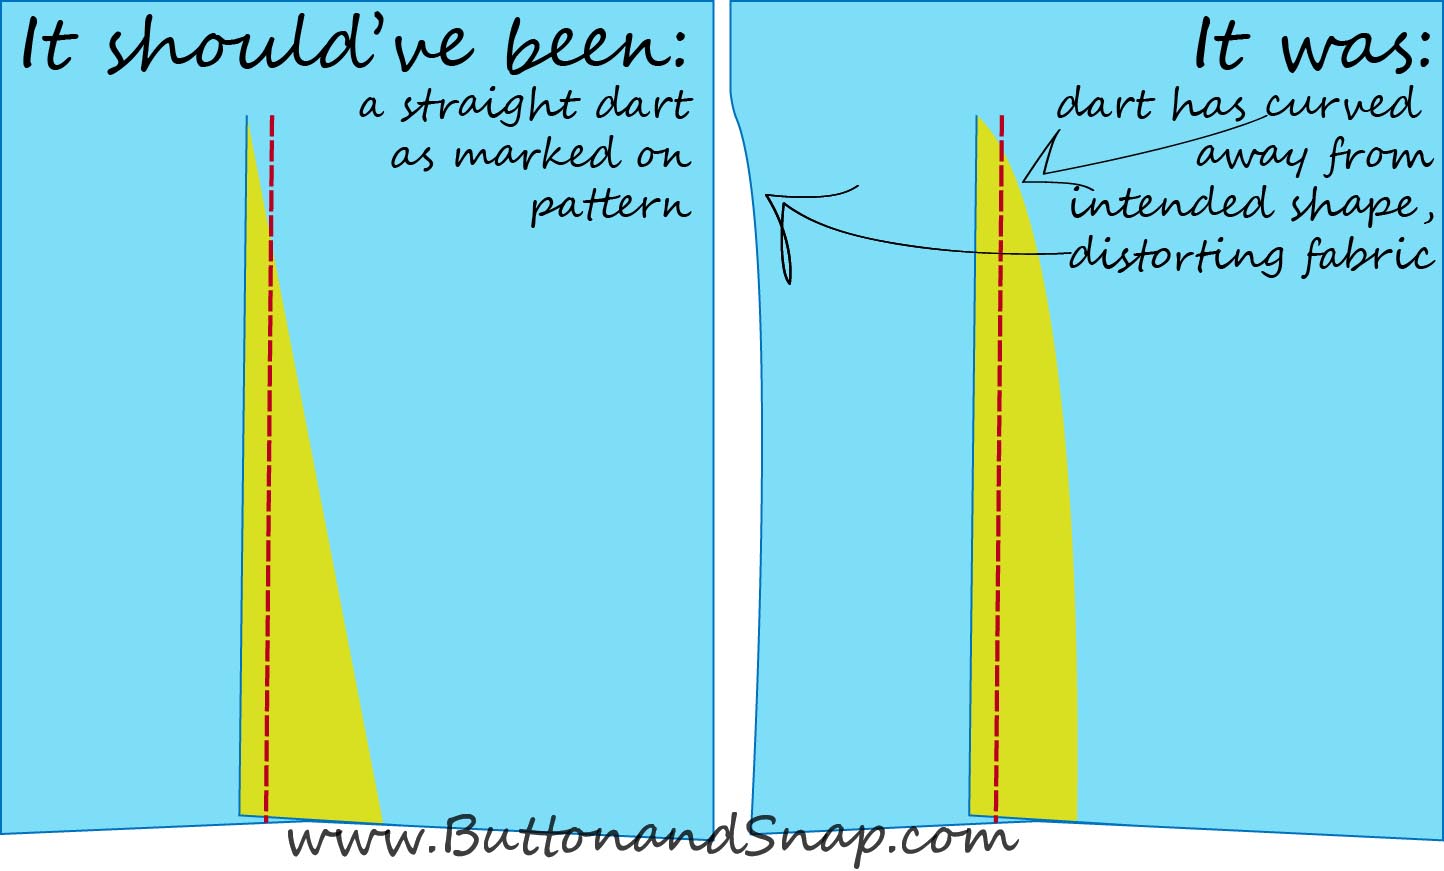
The “wrong” darts are the first 2 I sewed. I’ve made a diagram of what’s happening and what went wrong (on a side note, I’ve just learned how to make diagrams with Adobe Illustrator; hence the penchant for them!):
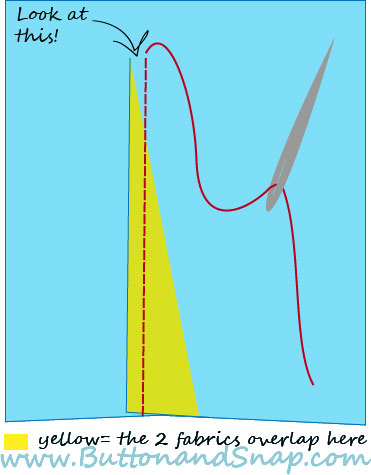
Because we’re dealing with lapped seams, the fabric has been cut along the blue vertical line, and then overlapped to form the dart (the area of overlap is yellow). The red stitching is the topstitching that forms the dart. The topstitching cannot be right on top of the blue line – it’s a raw edge, so I had to leave a small (3/16″) seam allowance or it would pull out. However, this leads to a problem at the point of the dart. As you can see, the fabric doesn’t overlap far enough to be caught by the topstitching, which means that there would be a big old gaping hole at the bust point. The solution, of course, is simple: go back and invisibly handstitch the point closed.
But here’s the problem: despite careful pinning, I wasn’t able to maintain control of the fabric of the fabric and it slipped, warping the darts. Look, a second diagram!
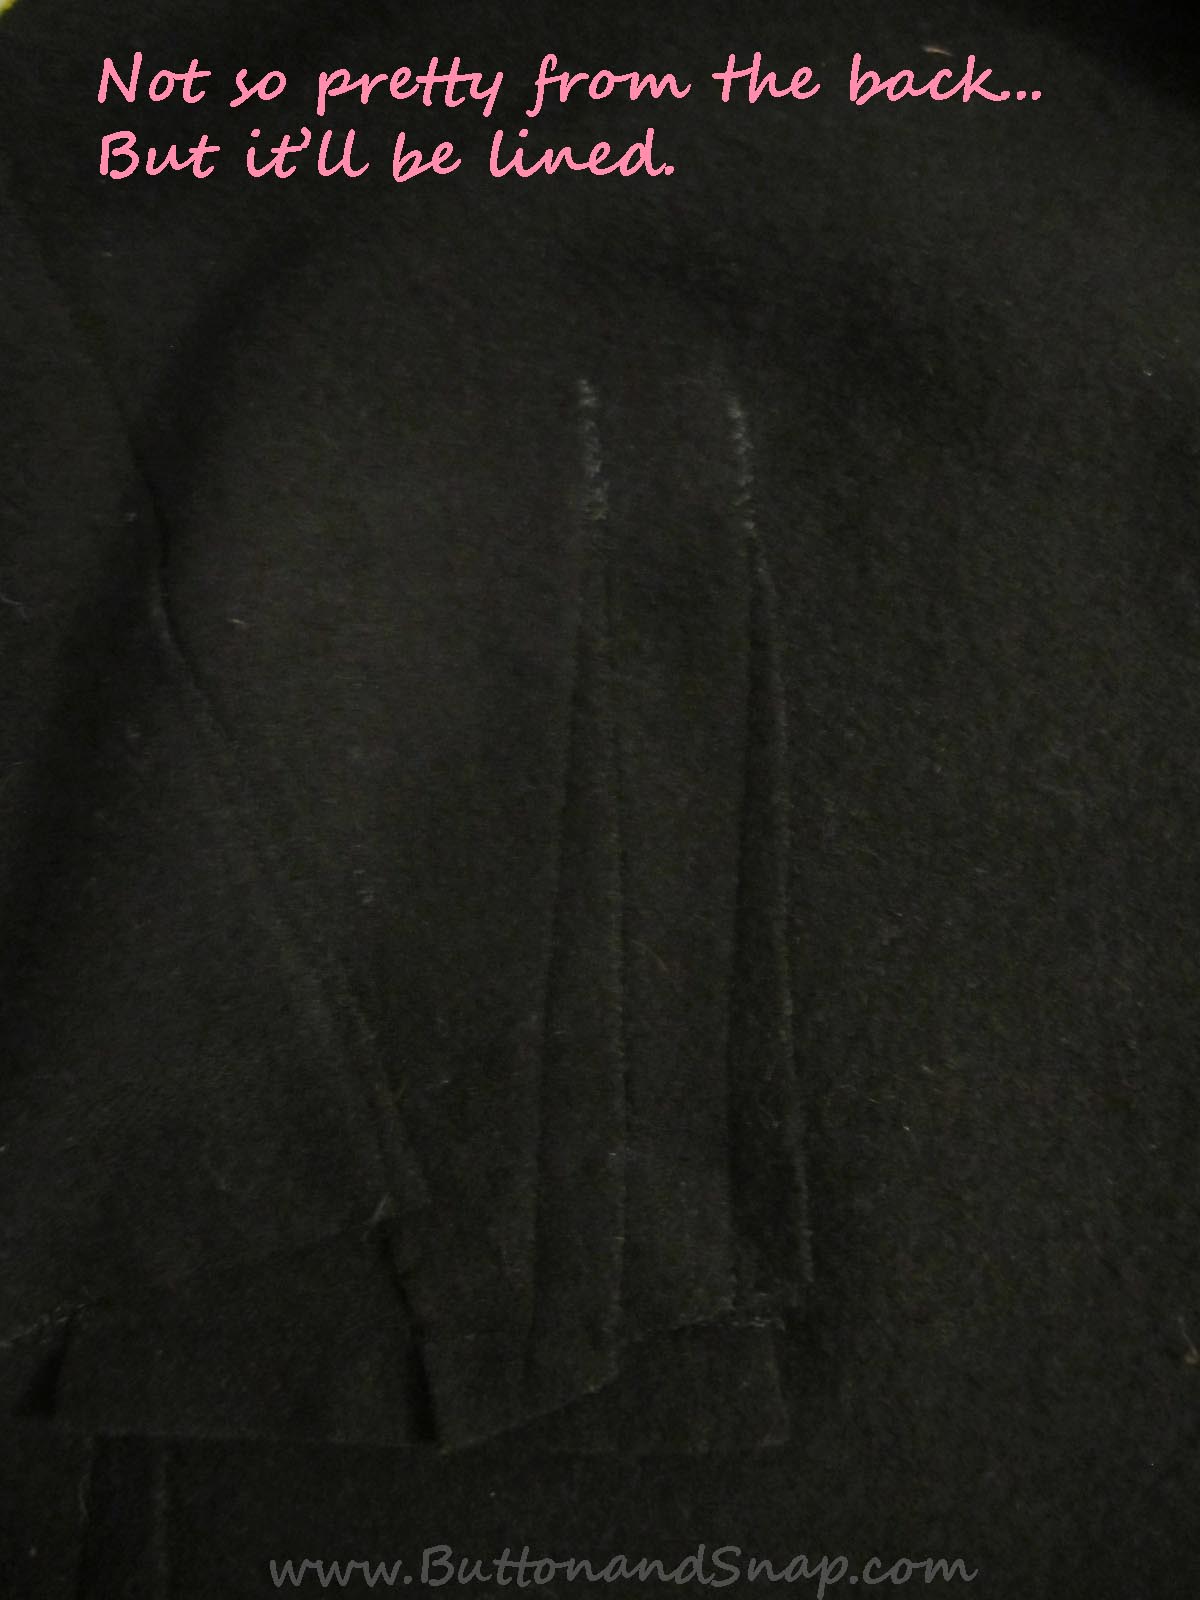
 I could probably have tried to use a little more finger finesse for the second set of darts, but here’s a tip: I pinned them, then invisibly hand-stitched from the bust point about an inch down, and thentopstitched. It worked perfectly, easy peasy. So that was my big tip, and the point of all these diagrams. By the way, in case you were wondering what wonderful invisible stitch I used, it was just a plain old whipstitch; I was just careful not to sew all the way through the front layer.


Leave a Reply