
Promod-inspired dress with vortexes of DOOM on the sides

 You know the feeling when you go through old stuff and realize how many things you planned and never got around to doing? Yes? Oh boy. ME TOO.
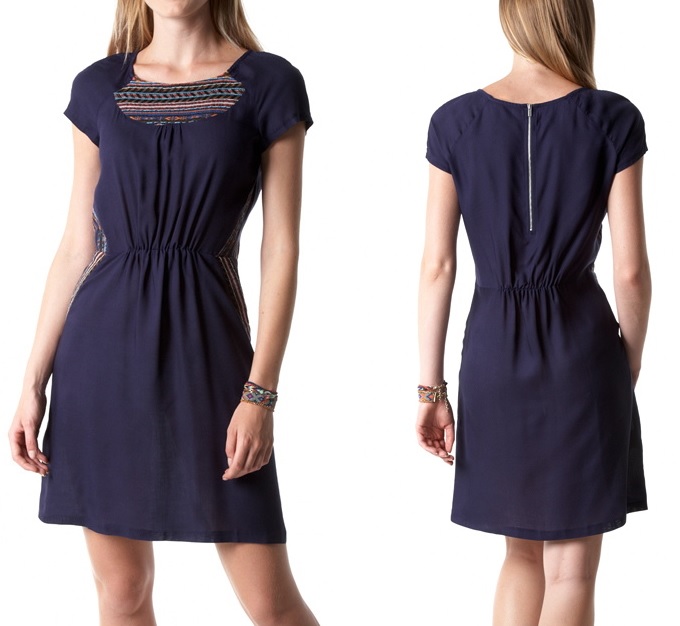
Speaking of which, I made plans back in 2013 to make my own version of this dress from the store Promod using fabric in my stash… And you know what?!? I totally did it! I had that dress done by Thanksgiving that year! Boo-YAH!!
Uh, but, I never wrote a follow-up blog showing you. Or even took any pictures. derp.

But that’s all in the past because I hit the park in 40°F weather in open-toed shoes and got. those. shots!


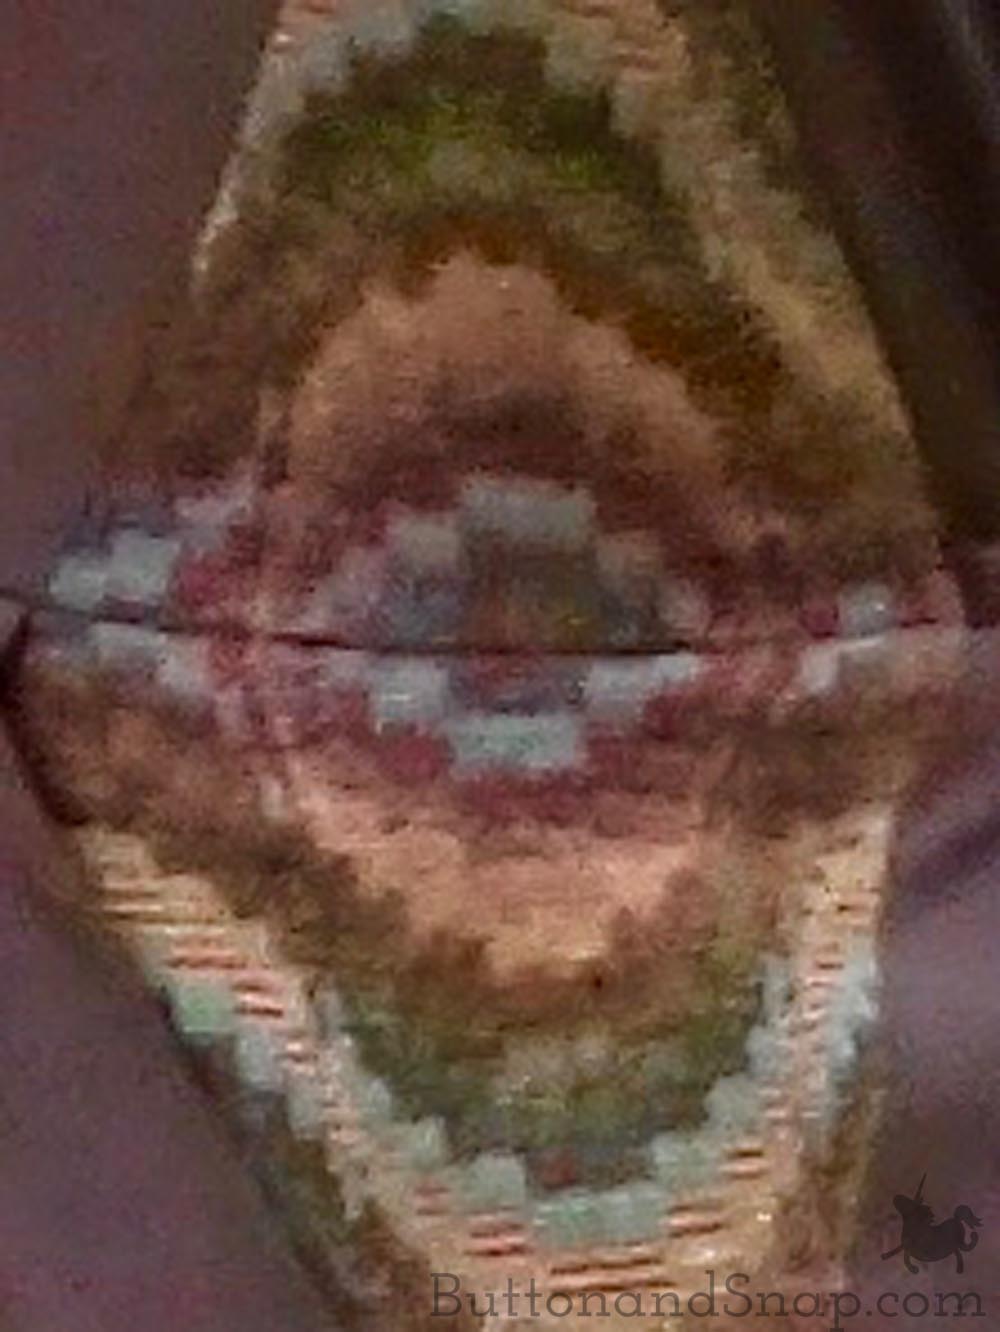
Look at that beautiful front insert! I cut the fabric so that the pattern curves up with the edges. Eagle-eyed readers will notice that it has a different shape than the original. That’s because I nixed the original raglan sleeves and gave myself set-in puffy sleeves.

Here’s an inside view of the sleeves. The bodice is completely lined, but the sleeve inseam is pinked, as I didn’t own a serger then. The hem is bound with a matching strip of fabric cut on the straight of grain and handstitched closed on the inside.

The bodice is shaped with side darts at the bust and gathering at the waist. This gathering replaces two vertical darts below the bust. I kept these darts on the lining. However, I had to shorten them because the points were showing through the fabric and looking like …well, just unsightly.
I didn’t change the way the darts tapered, I just backstitched 1.25″ from the original points, even though the seam was still 1/8″ from the edge of the fabric. That’s why the ends look like little pleats opening up.

You can see a little mistake on the lining – there are horizontal seams just above the waistline at the sides. The lining was too short after fitting so I had to piece it there.

Now let’s talk about the elephant in the room – the swirling vortexes of DOOM on my sides.

Nothing escapes the vortex.
NOTHING!
And if you’re not screaming with horror yet, let me just whisper this to you seamsters and seamstresses…
no.
side.
seams.
Yup, between fitting a dress with no side seams and matching up fabric patterns, making these diamonds was a bear! Oh, and the patterned fabric is fairly instable, so it’s all fused it to interfacing to keep it from getting wonky
OH, and that’s not the end of the story. BECAUSE YOU COULDN’T DO THIS WITH THE ORIGINAL DRESS:

Pockets!

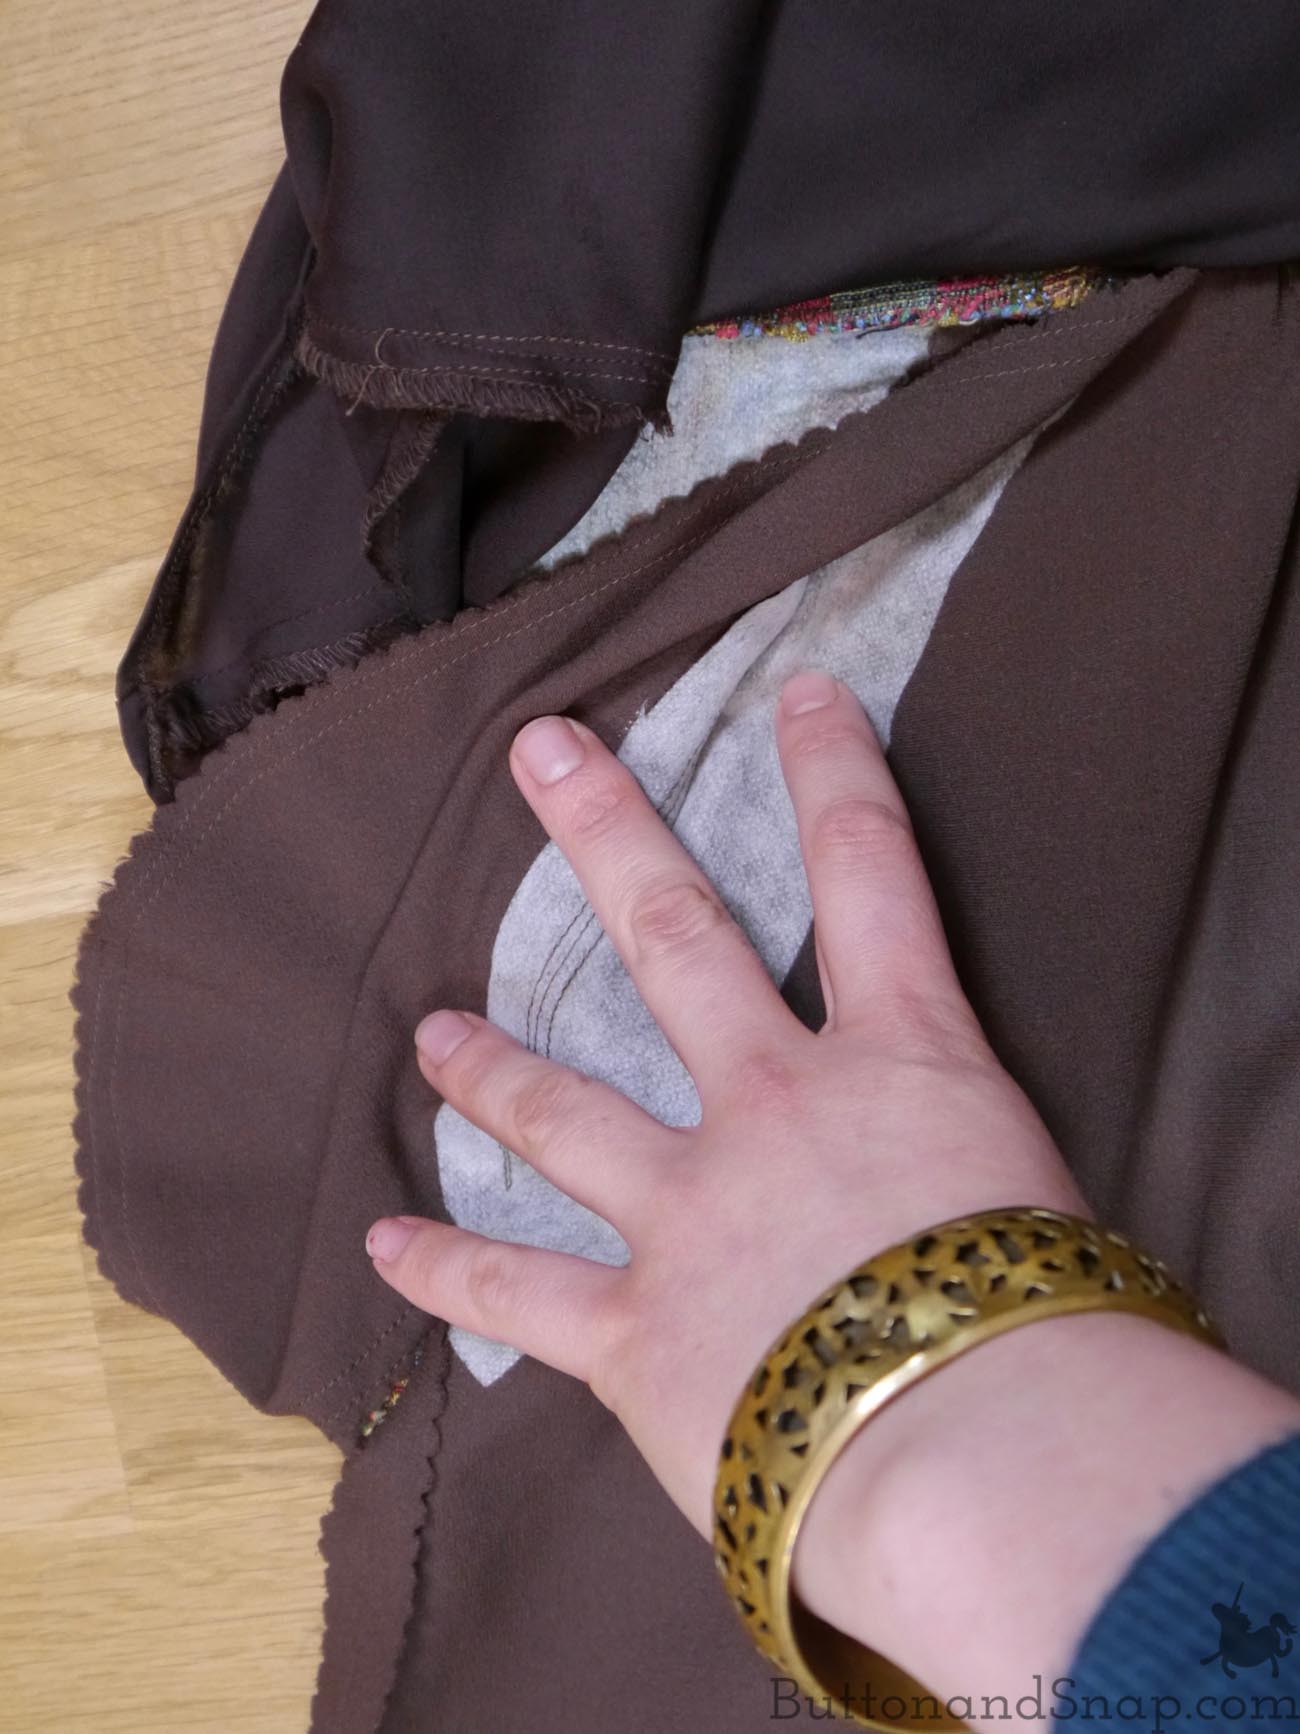
They’re designed to use the least amount of patterned fabric possible because I didn’t have much. Also, I thought the pocket bags would lay better if they were made from thinner fabric.

You can see the construction here. The pocket bag is stitched twice for strength and to prevent raveling. When I flip the pockets back, you can see that the edge of the skirt where pocket attaches has been interfaced. This is a very important step to prevent stretching and warping, since the fabric edge is on the bias!
 I’ve lined the skirt using a different fabric simply because I was short on fabric. It’s salvaged from an old bias-cut dress with a high-low hem. (Mind you, not from the most recent mullet-hem trend. From the last-last time they were in style, 15 years ago.) So the front is a bit short and I had to hem the back.


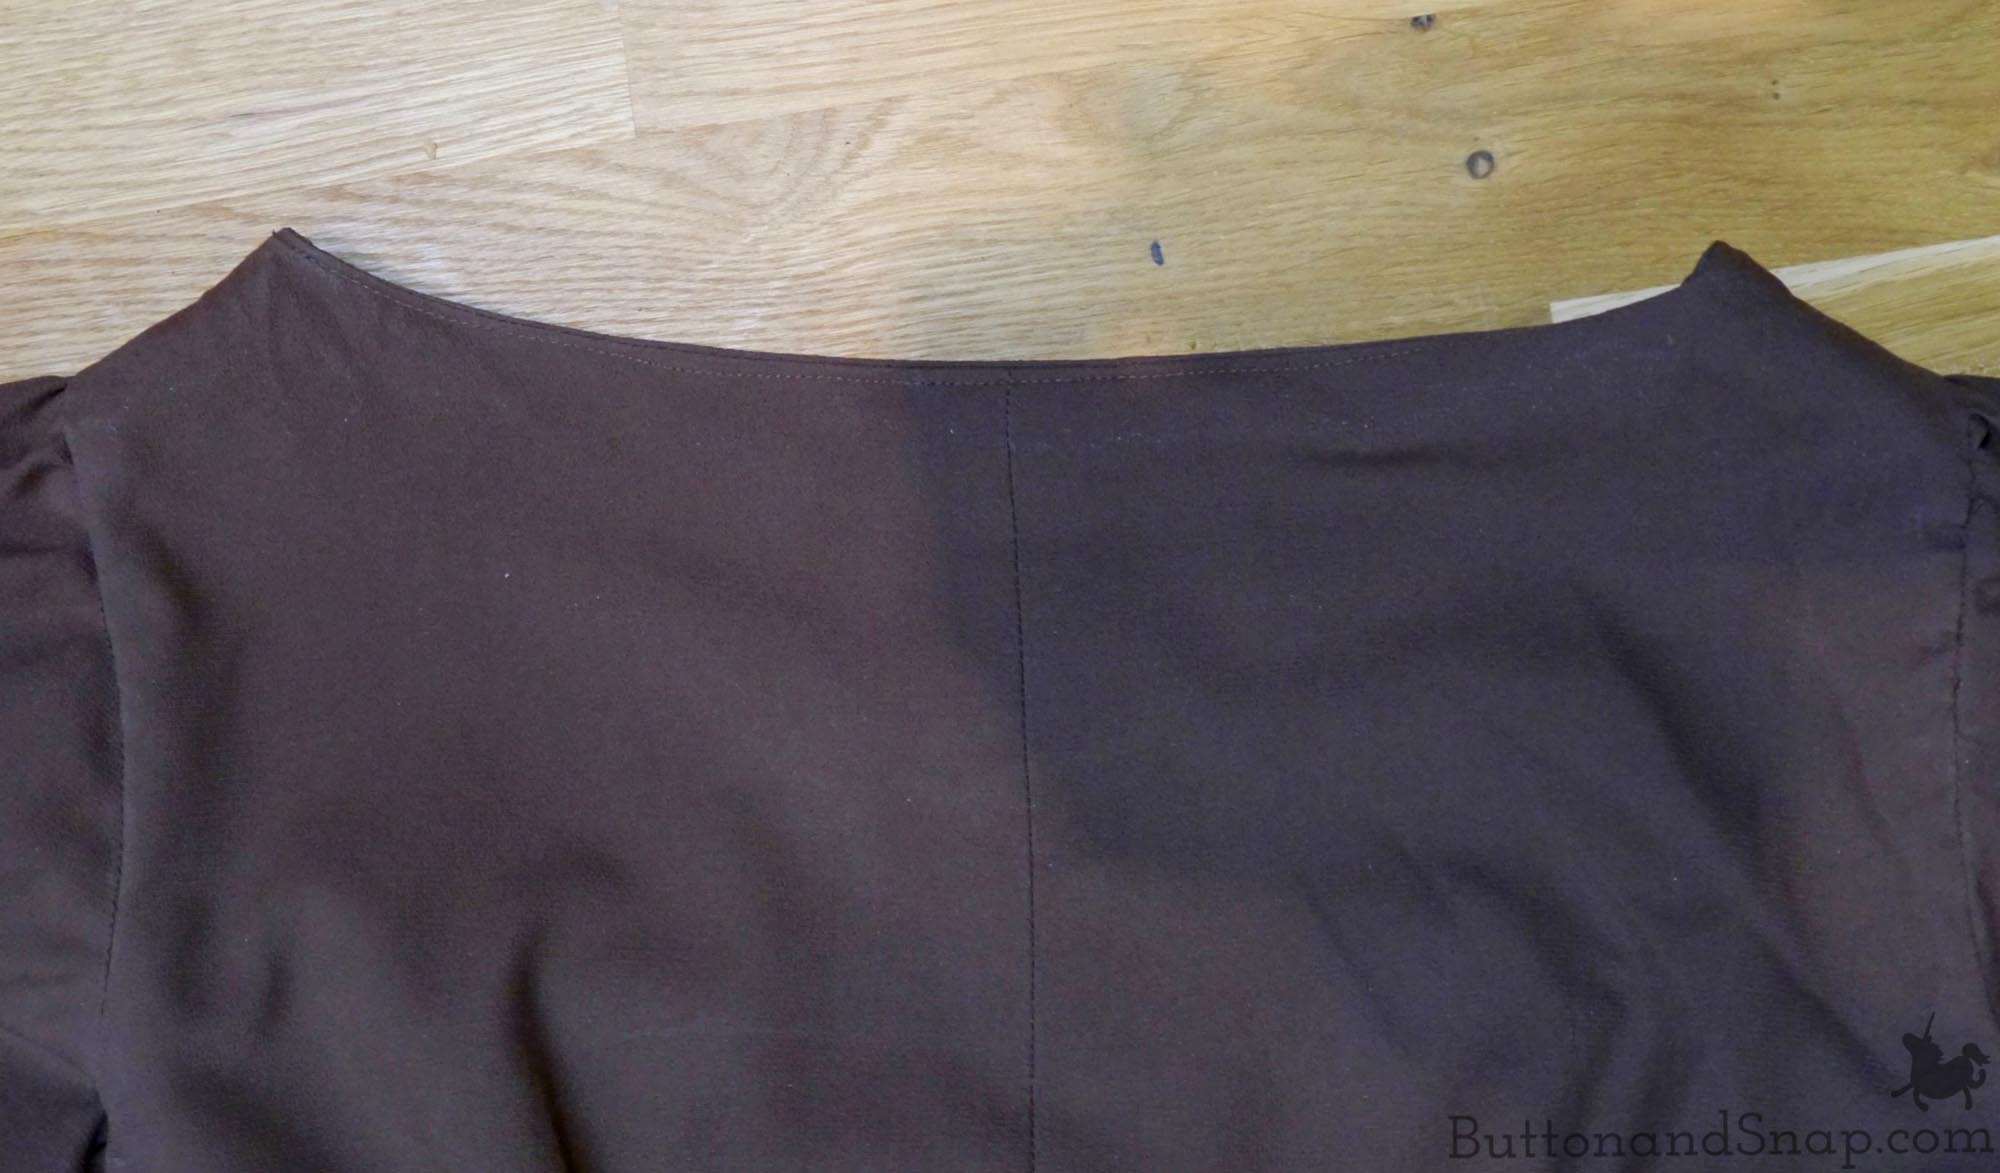
Now moving on to the back of the dress. Ok, I’ll admit I was getting tired back here. I inserted a zipper twice, but it didn’t turn out well, so I just added elastic to the center back waist and called it a day.

This wasn’t a great solution because now the dress is nearly impossible to get on and off. If I were a barbie doll, my arms would have long since popped off when I was wrenching myself out of this dress.

Here’s the inside view. This elastic is actually the only topstitching on the dress. I wanted everything smooth and un-topstitched, but such is the frustration that comes sometimes at the end of a project. Grrrrrrr.

PS. Everything, from pocket edges to neckline edges, is understitched to keep the lining from poking out. As the photo above demonstrates.
Come to think of it, are there any other edges than those I named?

Ah, yes, the hem. It’s not understitched.
Oh, beautiful hem. I’d much rather look at you than the back waist. Your stitches are so close to invisible on the outside.

I’ve hemmed the skirt using a facing, which is my favorite type of hem. (New worst pick-up line of 2016: Hey gurrl, what’s your favorite hem?)

The separate facing is great if a) you’ve cut the skirt too short and want to turn up the barest 1/4″, and b) you’d like to add weight to the hem by interfacing it.
Also c) it works great for hemming a circle skirt, but that doesn’t apply here.

Ok, enough of my grumblings and witticisms. Despite the fact that I’d change some things about it (isn’t that so with all sewing projects?), I’ve been feeling spiffy in this dress for over two years. I’m proud to finally be showing it off to you!
Nia Lorre
Clever as fk. Way to make it work. I love this.
Melissa E of mahlicadesigns
The details on this dress are outstanding, the curved inset, the secret pockets. Wonderful.