Tutorial: The best way to shorten a belt
If you have a belt that’s too long, the traditional fix is to punch an extra hole in it. But this lengthens the hanging tail of the belt, and that can end up looking ridiculous (as illustrated above 😛 ).
A better fix is to shorten the belt from the buckle end. With a little extra effort, you’ll get a much better result – an alteration that no one can spot from afar. And taking in your belt isn’t limited to after you’ve been on a diet.
Using this tutorial, you can buy belts in any size larger than your own and alter them to fit, which is perfect for thrift shopping or fixing belts that come with clothing, if they don’t fit.
So here is the step-by-step tutorial on how to shorten a belt:
1. Rip out the stitches holding the buckle and belt loop.
2. Try the belt on as if you were going to punch a hole in it. Figure out where that hole would be and mark the spot unobtrusively inside the belt. Now measure the distance between that mark and the hole want to wear the belt at.
Alternatively, if you already have an extra hole punched in your belt (like I have), measure between the punched hole and the hole you want to use.
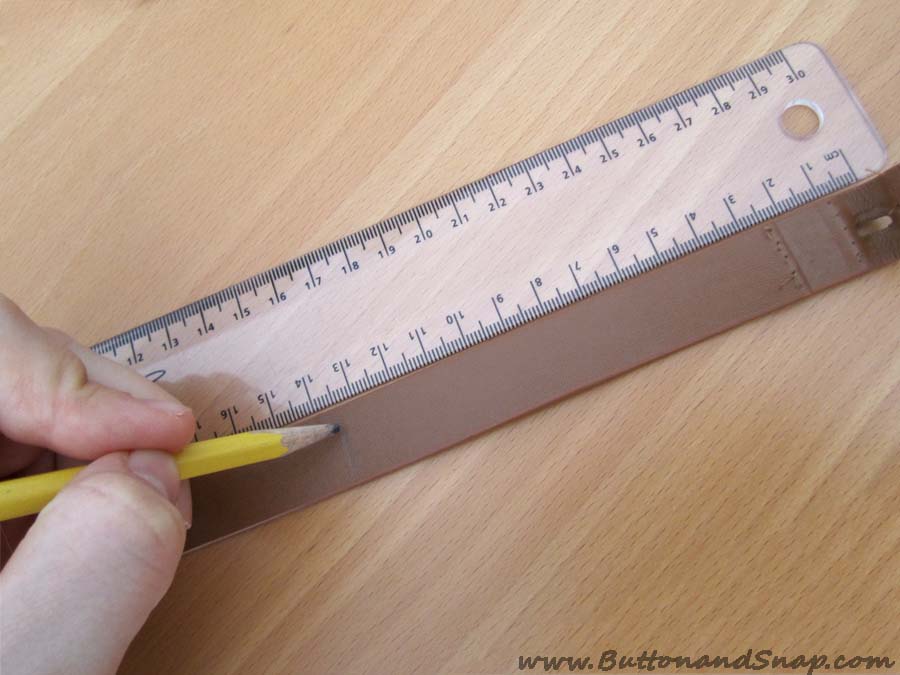
3. At the other end of the belt, measure this same distance from where the buckle used to be. Note that you won’t be measuring from the very end of the belt, but rather from the fold where the belt wrapped around the buckle. Make a mark at the length you measured. This is where you’ll be moving the buckle to.
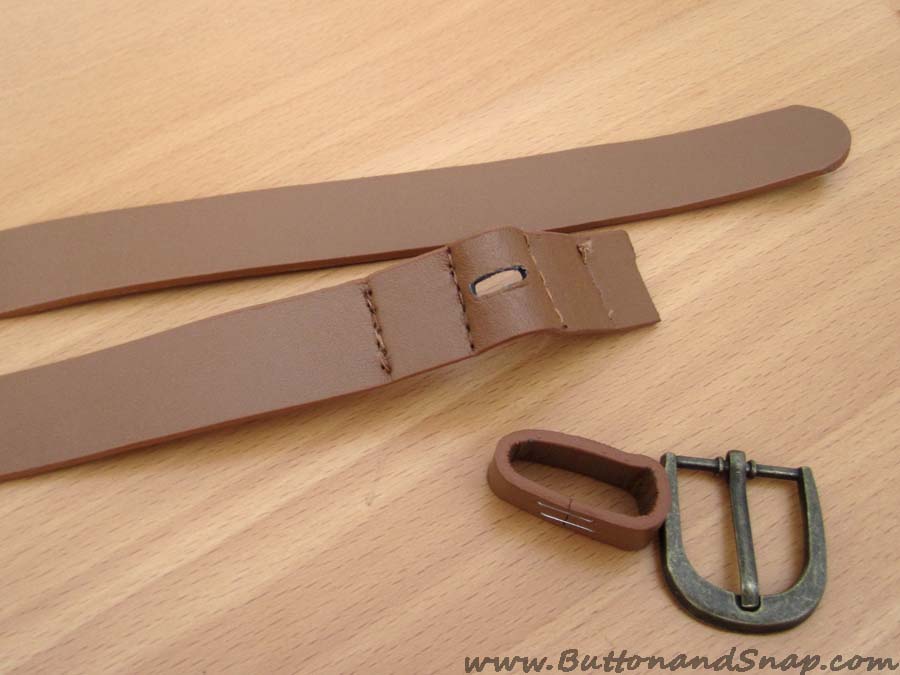
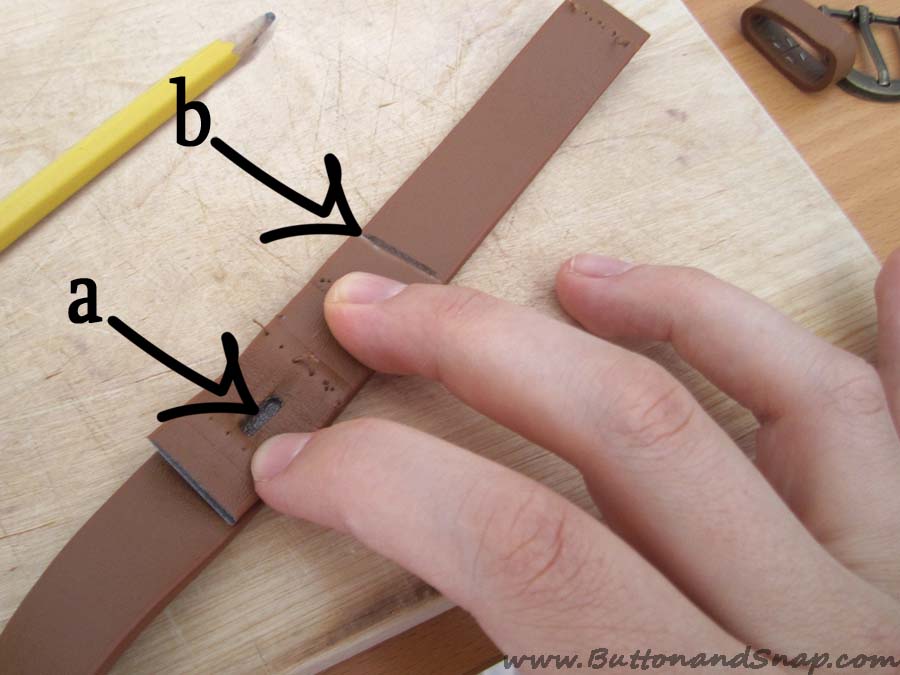
4. Cut off the very end of the belt so you have a separate piece with the hole for the belt prong. Using this as a template, trace the hole that the buckle’s prong went through over the mark you made in step 3 (a). Also, mark the belt’s end (b).
5. Working on a cutting board, use a craft knife to cut a hole in the belt. Try not to chop off any fingers! Also, cut off the belt and the end point you marked.
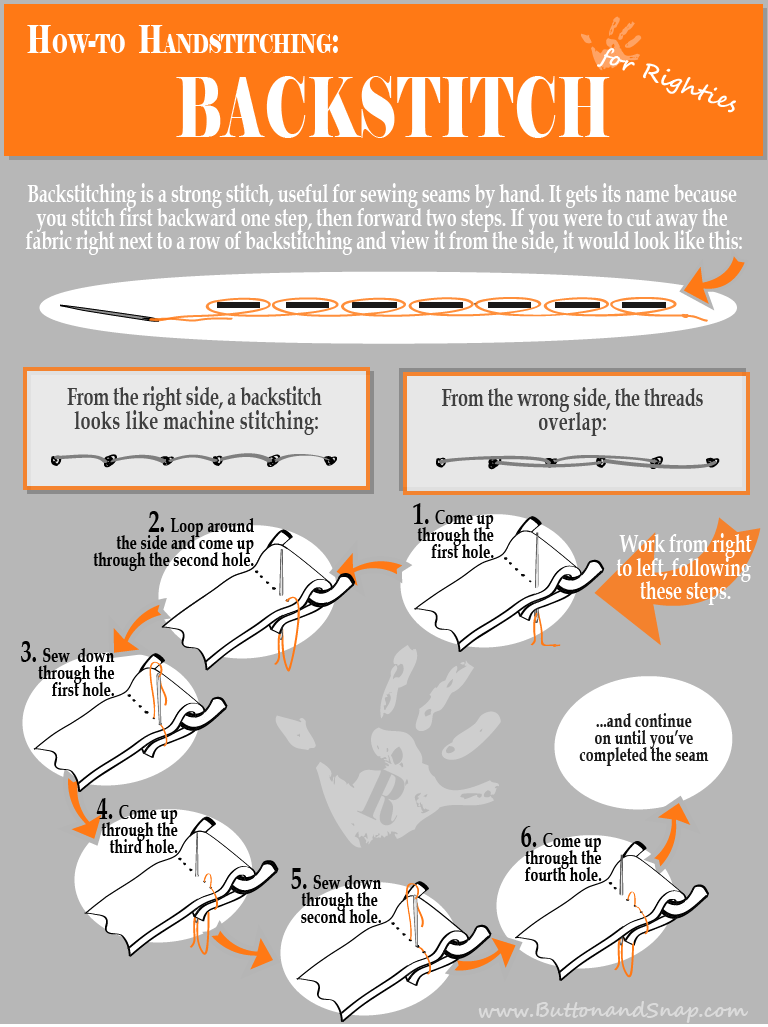
6. Slip the belt loop and buckle into place. Using sturdy thread and needle, backstitch the buckle and belt in place by hand.
Here’s a step-by-step guide to backstitching. If you’re left-handed, click here for the full post on backstitching. It includes a left-handed guide.
Tips for sewing:
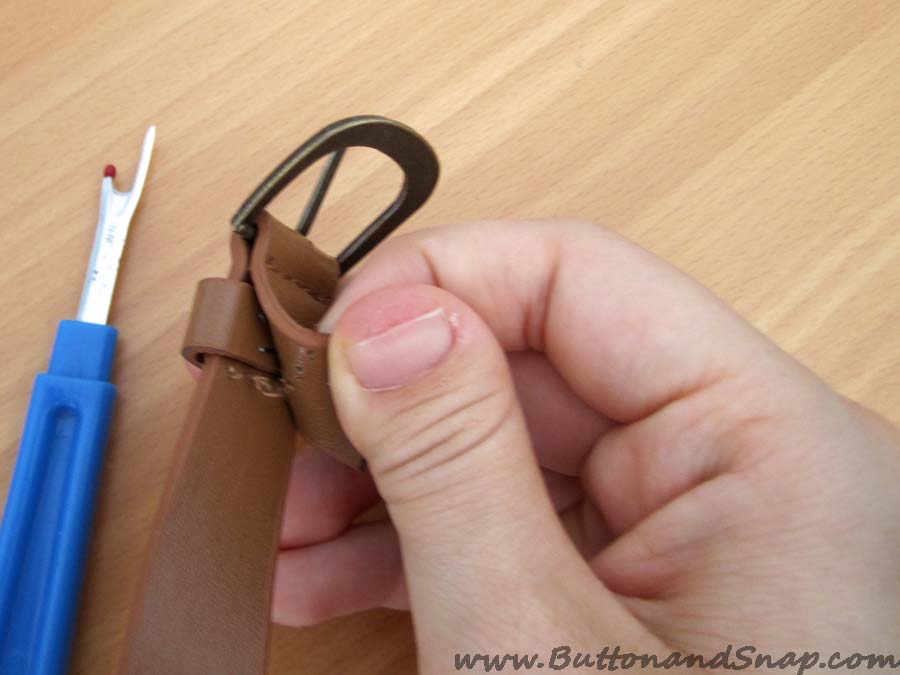
It can be hard stitching through the belt material, so it helps to use a thimble to push the needle through the material. If you don’t have a thimble, try pushing the needle against a flat, very firm surface. Once you have the tip of the needle through, you can use pliers to pull the needle through the rest of the way.
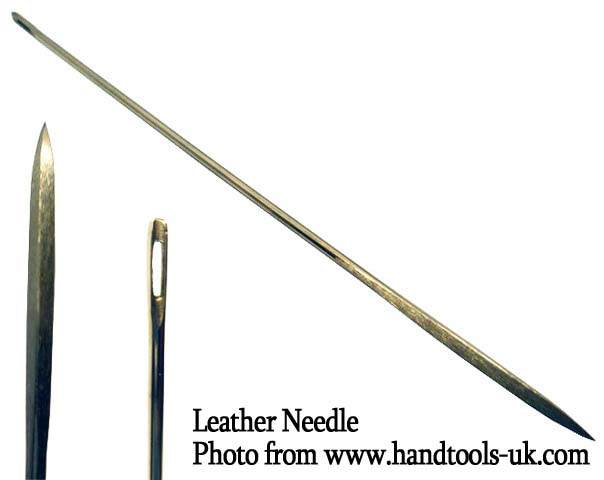
If your belt is made of real leather, it’s a good idea to invest in a leather needle. A leather needle has an angular, mini-serrated blade that cuts through leather like steak. Just google “leather needle” and you’ll find them.
Here’s the finished belt. Don’t worry if your stitching, like mine, doesn’t come out perfectly straight. Once you’ve buckled the belt, no one will ever see it.





Jamie Nez
This is awesome info thanks!
D
Thank you, my (belt) lady!!
Margaret
Its nice to have all of the steps spelled out so I don’t mess up.
Rhonda
Great info!