
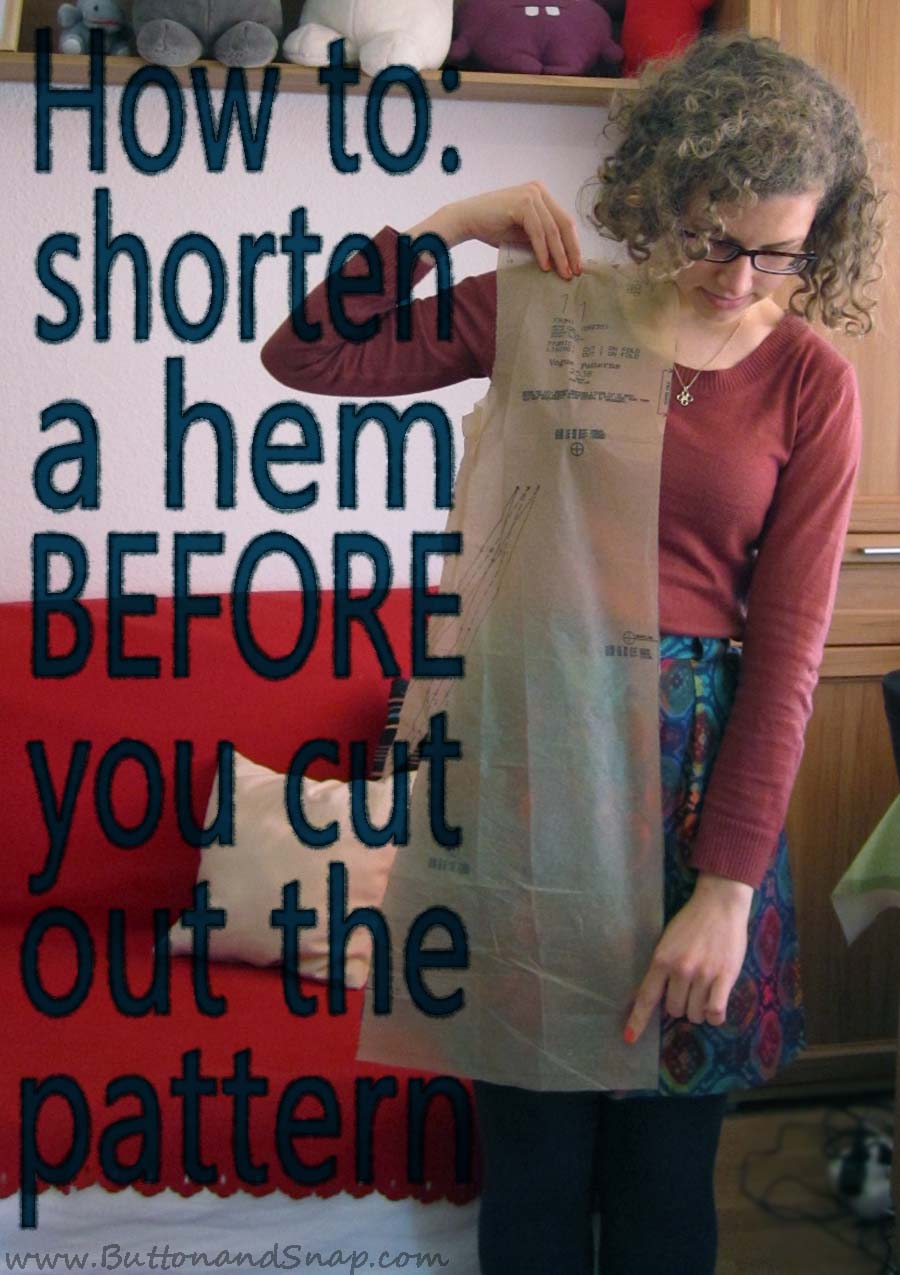
Tutorial: Shorten a hem BEFORE you cut out a pattern
- No Comments

 At the end of a sewing project, how often do you find yourself cutting half a foot of fabric off the skirt when you hem it?
That extra skirt length can make a big difference in how much fabric you need for a pattern layout. If you are trying to squeeze a pattern out of a small piece of fabric, or even if you just don’t like waste, shorten your hem before you lay out the pattern to save on fabric.
All you need to make this easy adjustment is a ruler and a pencil.
First, let’s do a tissue fitting. Hold the pattern up so that the shoulder seam is where it will be when sewn. Look in a mirror, decide on your length, then make a mark at this new length.
Tips:
- Put on the legwear you plan to actually wear with the skirt. It’s easier to guage how much leg you’re comfortable showing off when you can actually see your hosiery-clad/bare legs.
- If you’re having trouble deciding on a hem length, put on a skirt that’s the length you want your project to be and match your hem to that.
- When in doubt, go longer. You can always shorten the skirt more when you put in the final hem.
Once you’ve decided on a length, put the pattern down and measure the distance from the original hemline to your mark. I’ve decided to shorten the pattern by 5 inches.
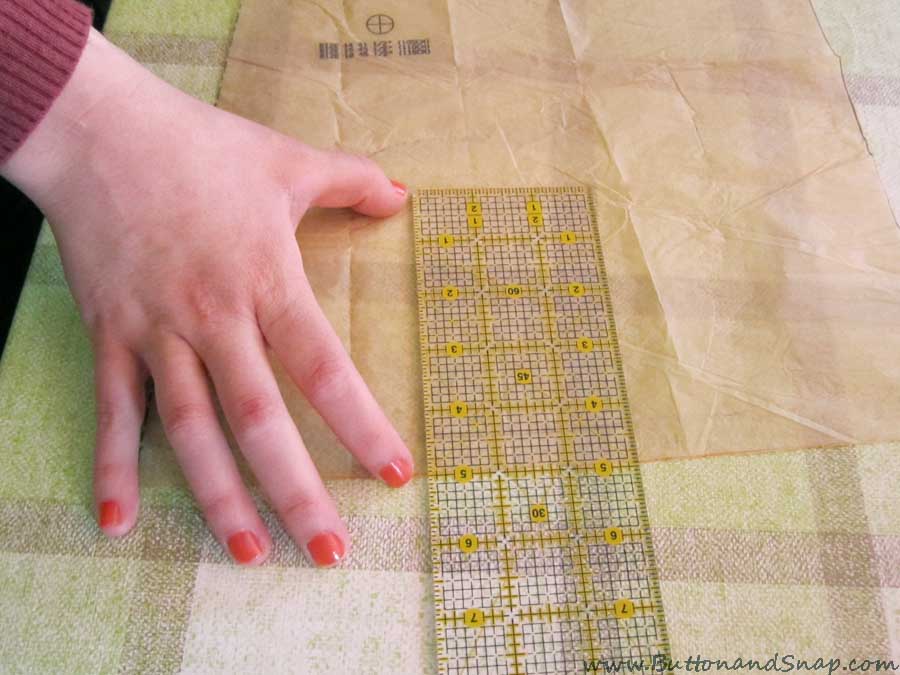
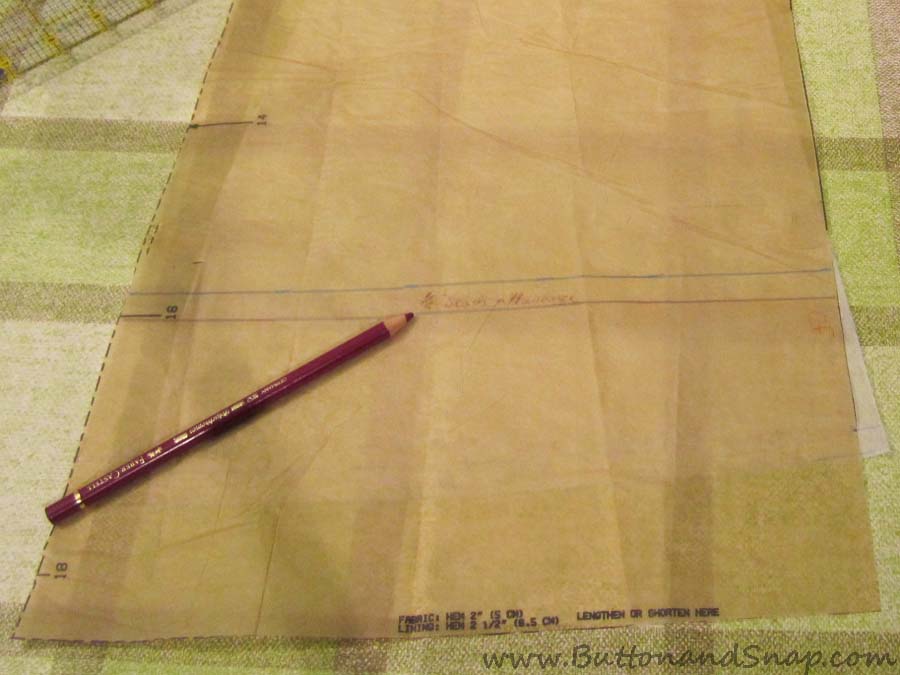
Now measure that distance up from the edge of the pattern. Use a pencil or colored pencil to make marks every couple of inches along the length of the hem.
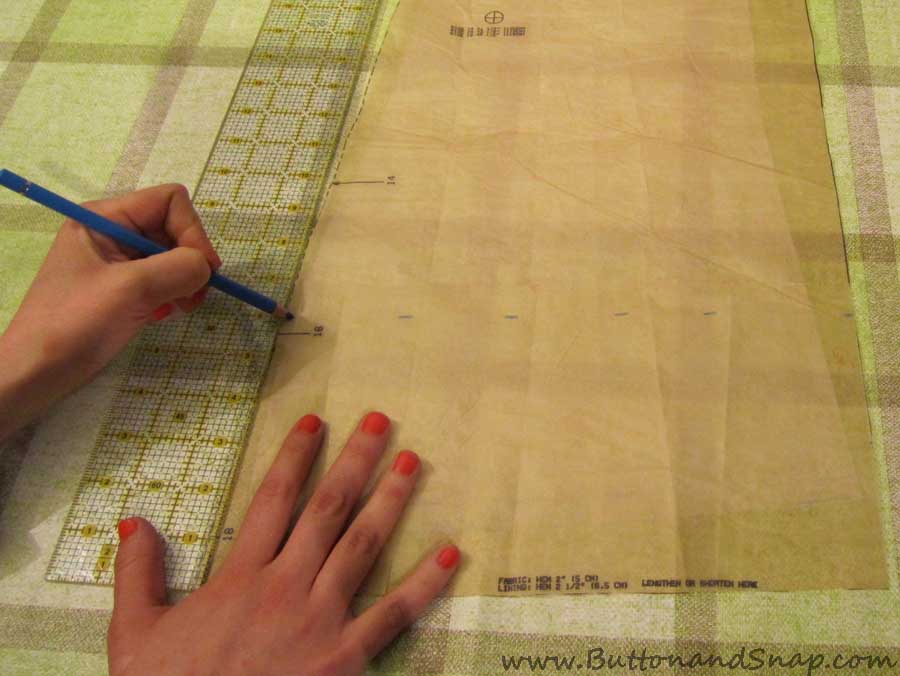
Use a ruler to connect each of the dots. Now you have a line that follows the curve of the original hem. It’s important to preserve this curve. If you had just drawn a straight line at your mark, you’d have ended up with a skirt that was longer at the sides and shorter in the middle.
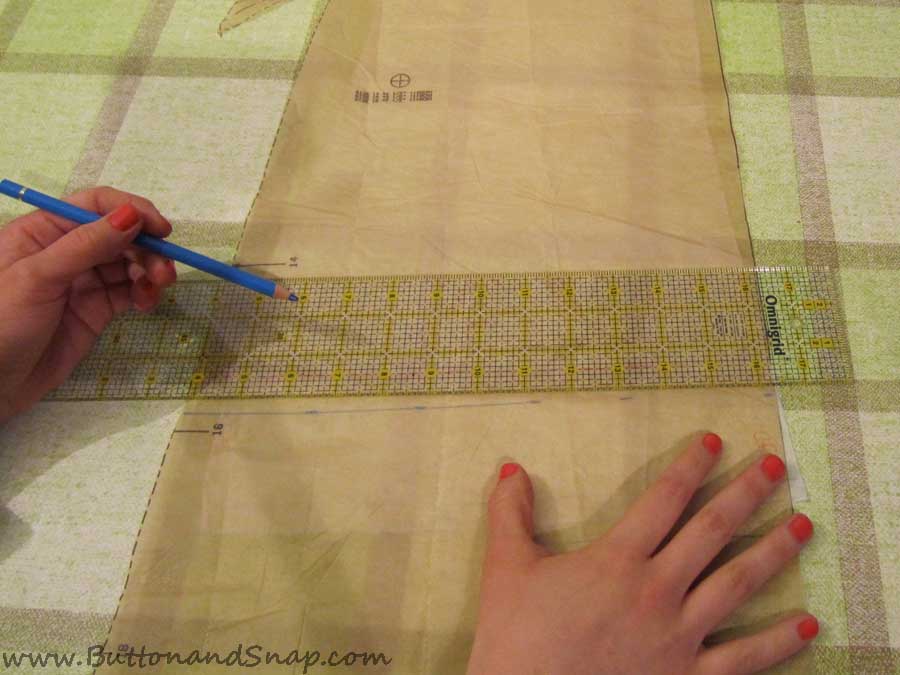
Now that the hem length is marked, we need to add hem allowance. Decide on how much hem allowance you want – I usually leave 1.5 to 2 inches for a hand-sewn hem and 3/4 to 1 inch for a rolled machine hem.
Mark your hem allowance in the same manner as you marked your hemline. Measure down from your new hemline the allowance that you want. Mark this at intervals, then connect the dots to create a curve that follows your hemline.
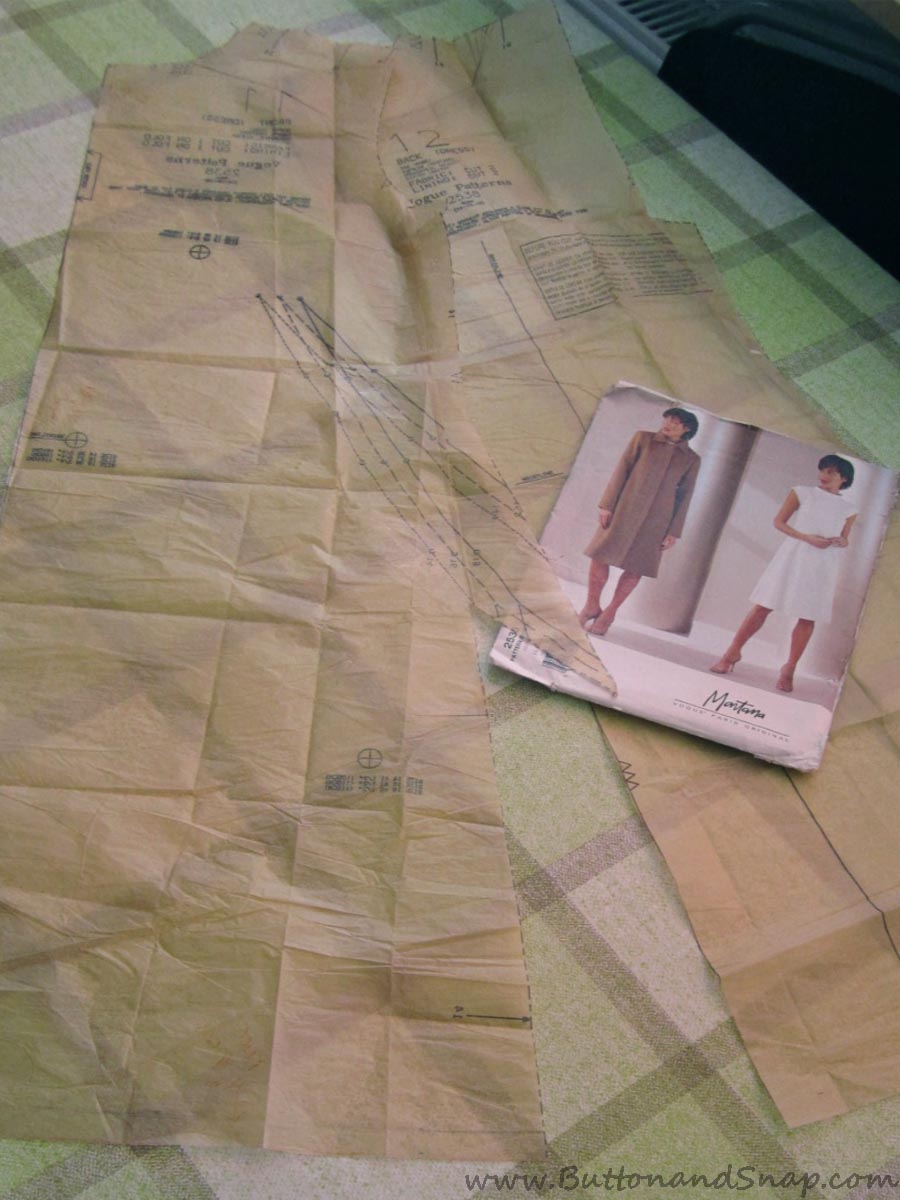
Cut off your pattern at the new hem allowance or fold the excess out of the way and pin it in place.
A tip: if you cut off the excess, label it with the pattern company name and number as well as what piece it was attached to. That way, if you want a longer version in the future, you can easily match up the pieces.
Repeat the process now for each of your other pattern pieces, using the same measurements as you did on the first piece.
 And that’s it! You’ve altered your pattern and now you can cut it out!

Leave a Reply